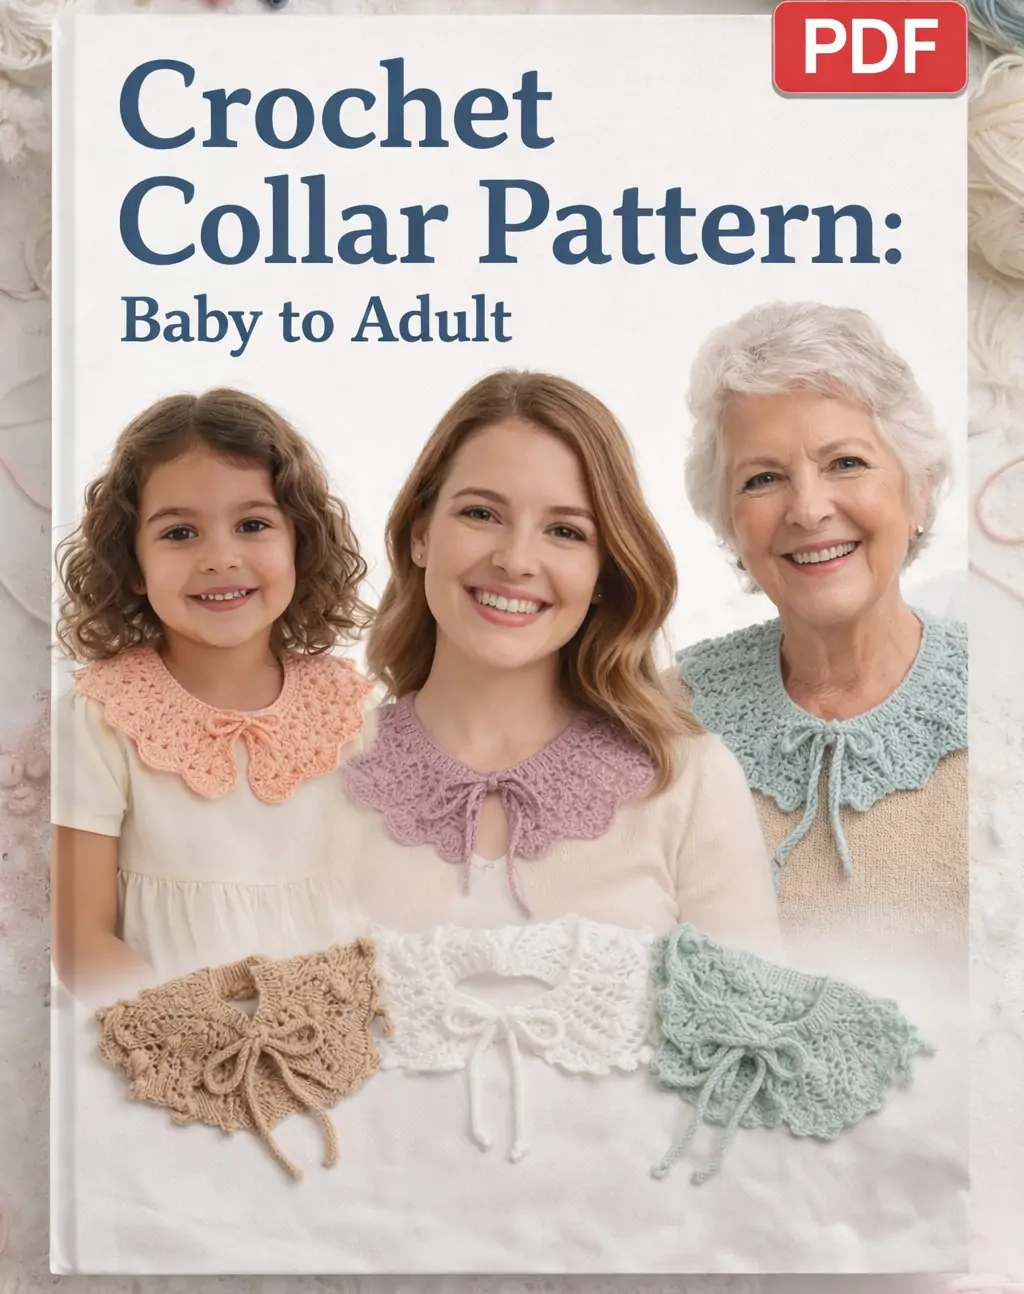
Handmade Crochet Cloud knitting collar is the perfect accessory to add a touch of elegance and warmth to any baby outfit. Named for its incredible airiness and light texture, this model is designed to be as soft as a breeze. Whether you are a beginner or an experienced knitter, this guide will walk you through the entire process using professional techniques.
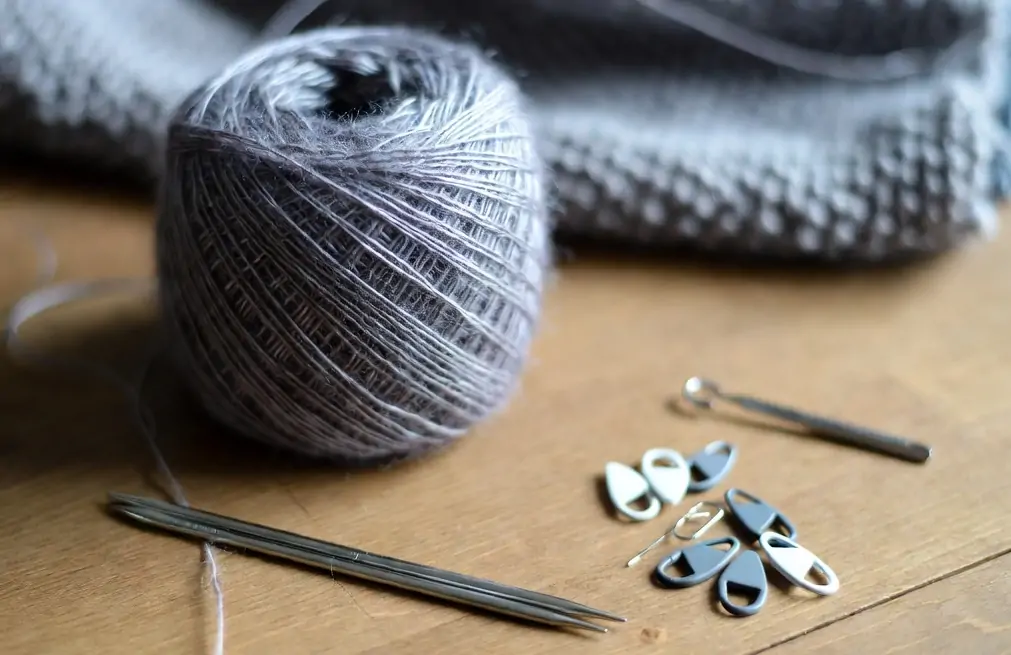
Materials You Will Need
To achieve the original look and feel of the Cloud collar, we recommend using high-quality materials:
- Yarn: Mink down (Original uses 2 main threads + 2 extra threads for fluffiness).
- Knitting Needles: Two sizes (e.g., 3.25mm for the band and 5mm for the main pattern).
- Markers: To keep track of your repeats.
- Hook: For finishing and hiding tails.
Step 1: Preparation and Sizing
Before you cast on, it is crucial to knit a 10 x 10 cm sample in stockinette stitch. Perform a Wet Heat Treatment (WTO) on your sample to find your exact density.
Pro Tip: In this pattern, the density is 2.0 loops per 1 cm.
Size Chart (Neck Circumference)
| Age | Neck Circumference (cm) | Loops to Cast On (at 2.0 density) |
| 1-3 Months | 21-22 cm | 52-54 loops |
| 9-12 Months | 24 cm | 58 loops (24+5 for fit) |
| 1-2 Years | 25 cm | 60 loops |
| 3-6 Years | 26-27 cm | 62-64 loops |
Step 2: Starting the Elastic Band
- Cast on the required loops (e.g., 58 loops for the 9-12 month size) using the smaller needles.
- Knit an elastic band (1×1): 1 Knit, 1 Purl for 5 rows.
- Note: Always slip the first stitch (edge) and purl the last stitch for clean borders.
Step 3: Calculations for the Pattern
In the 6th row, switch to the larger needles (Size 5). The main pattern requires a multiple of 17 loops + 2 edge loops.
How to calculate increases:
- If you have 58 loops: $58 / 17 = 3.4$. Round up to 4 repeats.
- $4 \times 17 = 68$ loops + 2 edge loops = 70 loops total.
- Difference: $70 – 58 = 12$ increases needed.
- Space them out by increasing roughly every 4-5 loops using a crossed yarn over.
Step 4: Knitting Pattern No. 1 (The Body)
Follow the stitch legend carefully to create the textured “Cloud” look:
- Knit (K) & Purl (P): Basic stitches.
- Yarn Over: To create lace holes.
- K3Together: Decrease tilted to the right or left as per the diagram.
- The “Bump” (Bobble): Knit 5 loops from 1, turn and work them, then knit them back together to create a 3D pop.
Step 5: Expanding the Collar (Pattern No. 2)
To give the collar its beautiful flared shape, you will perform increases between the pattern repeats:
- Row 1: 17 pattern loops, 1 increase, repeat.
- Row 3: 17 pattern loops, 2 increases, 1 Knit, 2 increases, repeat.
- Row 9: Add a “Bump” in the center of the increases to match the theme.
Step 6: Finishing and I-Cord Ties
- Closing: Use the decorative chain method (3 air loops) to create a soft, scalloped edge.
- Ties (I-Cord): Pick up 3 loops at the neck edge. Knit them, slide them back to the start of the needle without turning, and knit again. Continue for 20-25 cm.
Care Instructions (WTO)
To ensure the mink yarn blooms and stays soft:
- Hand wash in lukewarm water.
- Spin gently without twisting the fabric.
- Dry flat on a towel to maintain the shape.
Conclusion
The Cloud Collar is more than just a knitting project; it’s a handmade gift of love. Pair it with the matching “Cloud Hat” for a complete winter set that will keep any child cozy and stylish.
Happy Knitting!