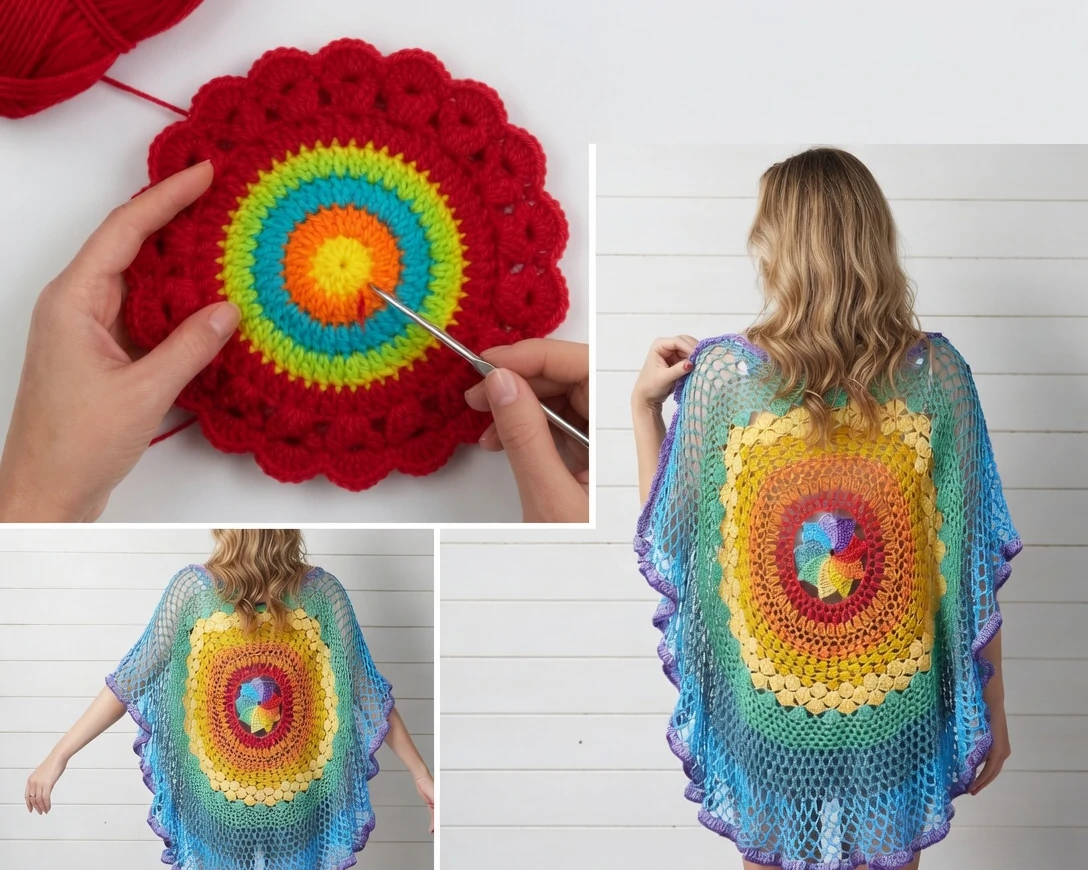

Learning how to crochet a circle is one of the most important skills in crochet. Once you understand it, you can make many projects like coasters, hats, bags, and even blankets.
If you are just starting, do not worry. Making a crochet circle is easier than it looks. You only need basic stitches and a little practice.
In this guide, I will walk you through everything in a simple and clear way.
What Is a Crochet Circle?
A crochet circle is a shape that starts from the center and grows outward in rounds. Unlike working in rows, you keep going around in a loop.
The key idea is simple:
You increase stitches in each round so the circle stays flat.
If you do not add enough stitches, your circle will curl.
If you add too many, it will become wavy.
What You Need to Start
Before learning how to crochet a circle, get these basic tools:
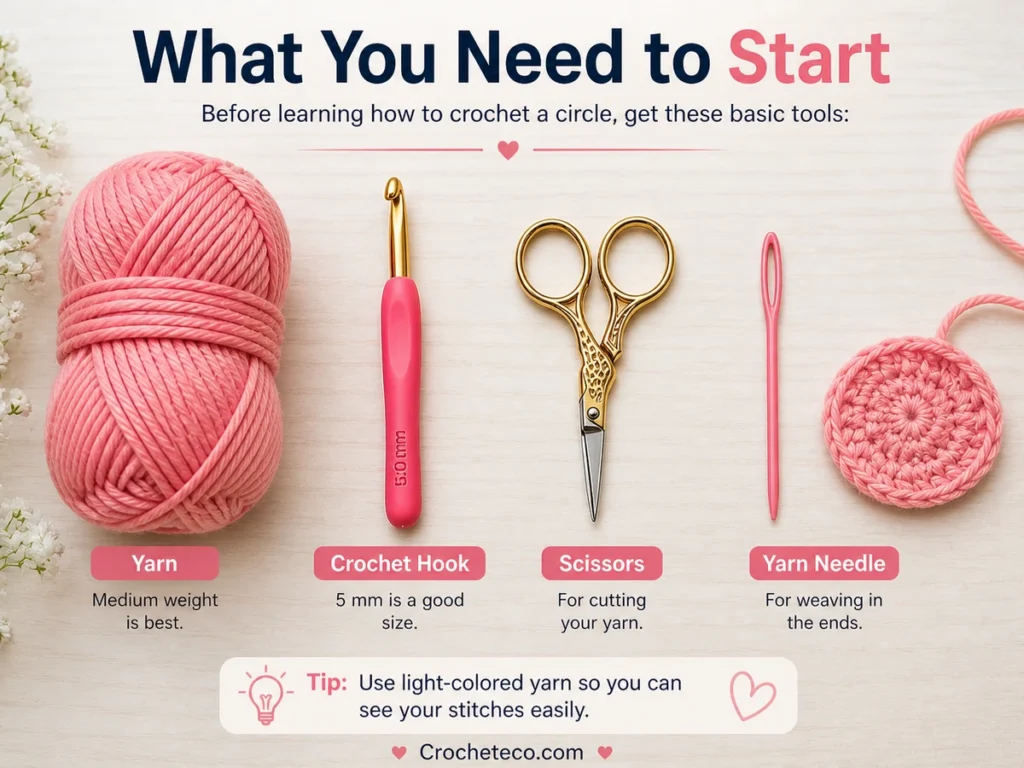
- Yarn (medium weight is best)
- Crochet hook (5 mm is a good size)
- Scissors
- Yarn needle
Tip: Use light-colored yarn so you can see your stitches easily.
Basic Stitches You Will Use
You only need a few stitches:
- Chain (ch)
- Single crochet (sc)
- Slip stitch (sl st)
That’s enough to make a perfect circle.
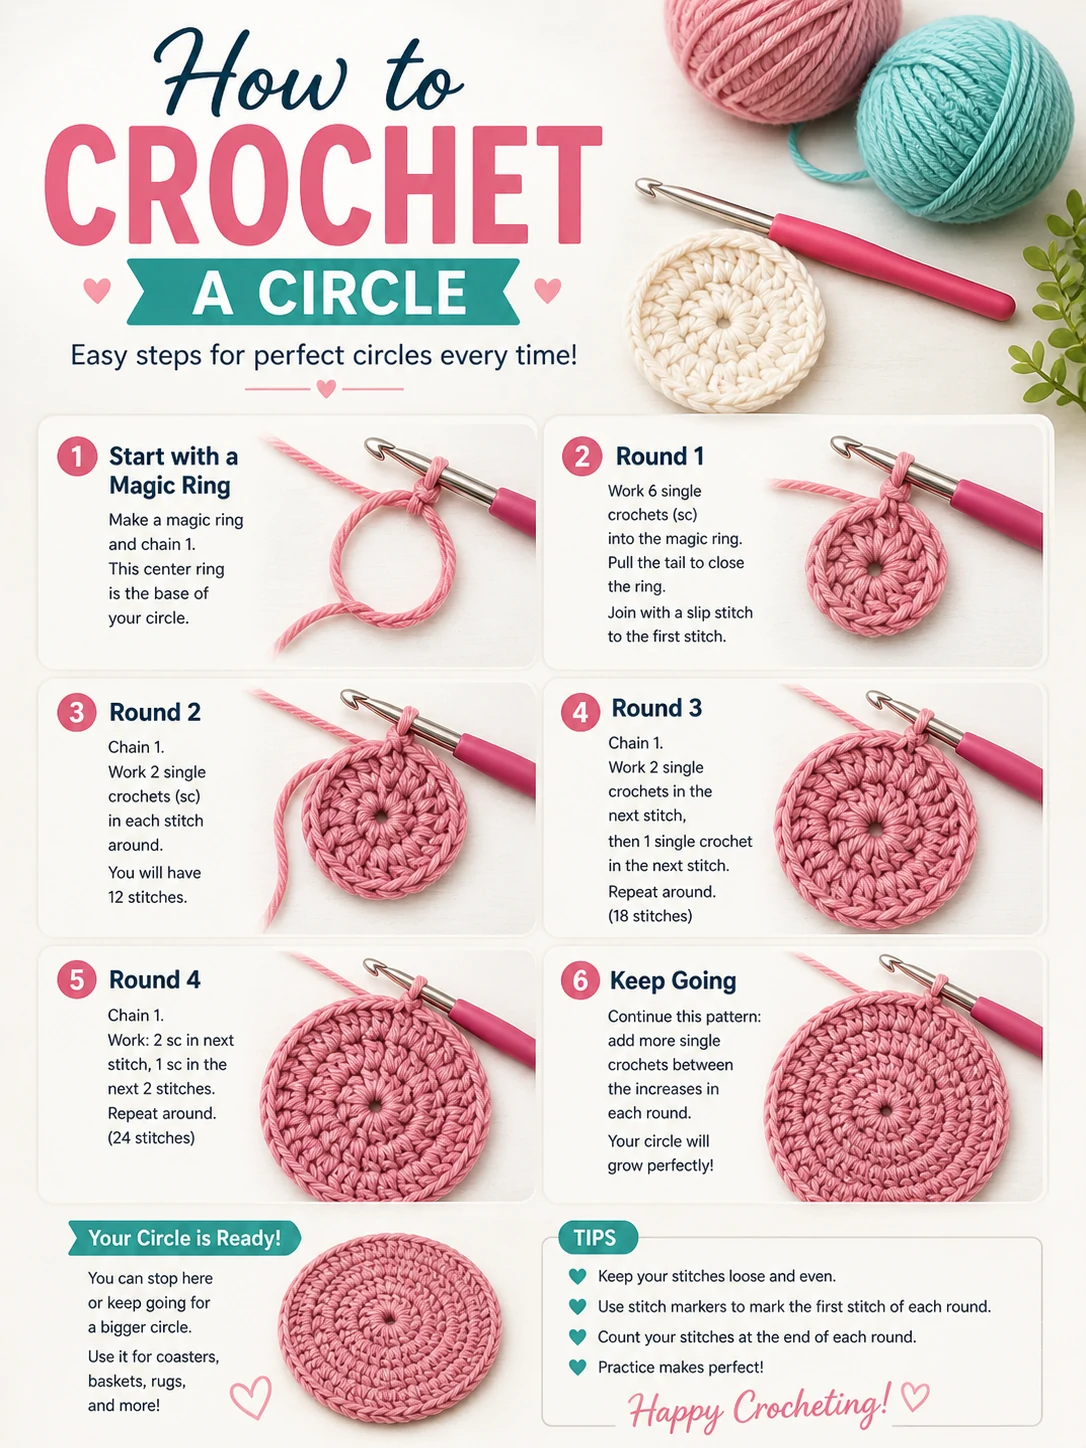
Step 1: Start with a Magic Ring
The best way to begin a crochet circle is with a magic ring.

- Make a loop with your yarn
- Insert your hook
- Pull up a loop
- Chain 1
This creates a flexible center that you can tighten later.
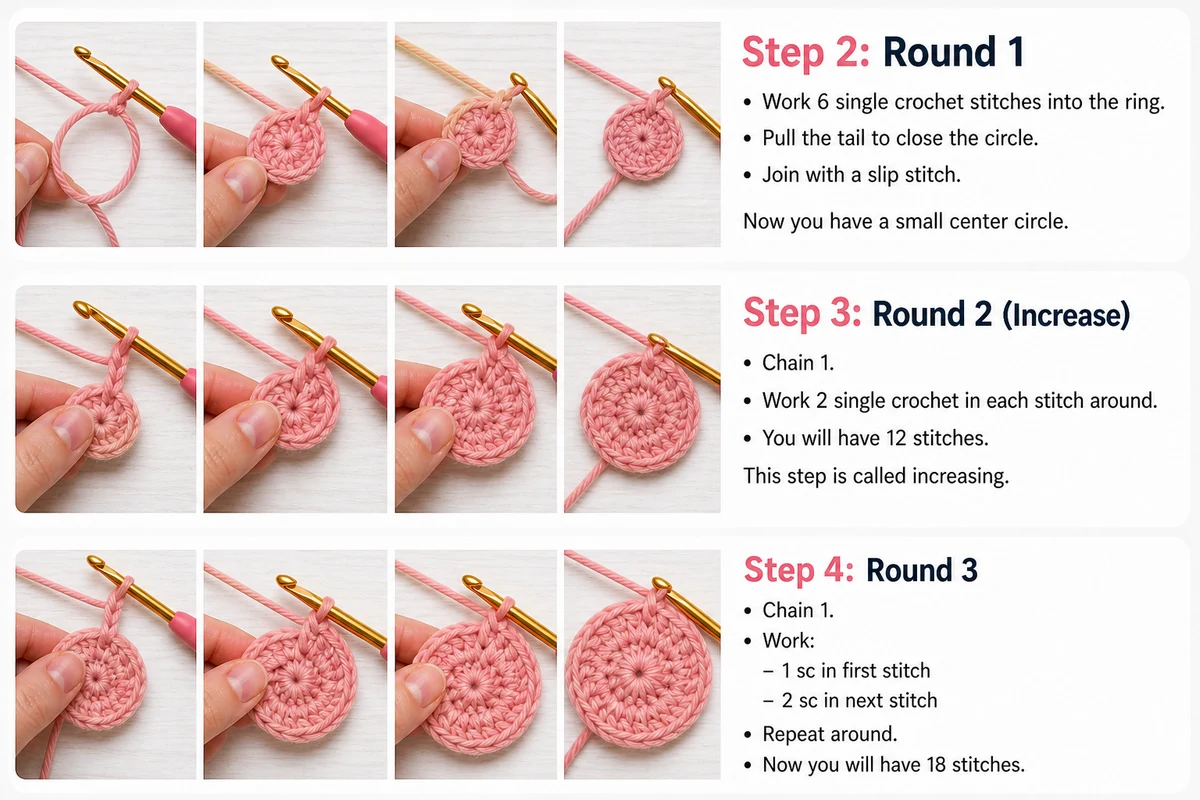
Step 2: Round 1
Work 6 single crochet stitches into the ring.
Pull the tail to close the circle.
Join with a slip stitch.
Now you have a small center circle.
Step 3: Round 2 (Increase)
Chain 1.
Work 2 single crochet in each stitch around.
You will have 12 stitches.
This step is called increasing.
Step 4: Round 3
Chain 1.
Work:
1 sc in first stitch
2 sc in next stitch
Repeat around.
Now you will have 18 stitches.
Step 5: Keep Growing the Circle
Follow this simple pattern:
Each round, add one more single crochet between increases.
Example:
Round 4 → 2 sc, then increase
Round 5 → 3 sc, then increase
Keep going until your circle reaches the size you want.
How to Keep Your Circle Flat
This is the most important part when learning how to crochet a circle.
- Always increase evenly
- Count your stitches
- Keep your tension relaxed
If your circle curls → add more stitches
If it waves → reduce stitches
Common Mistakes Beginners Make
Here are some simple mistakes to avoid:
Not counting stitches → uneven shape
Too tight tension → hard to work
Skipping increases → circle curls
Take your time and check your work often.
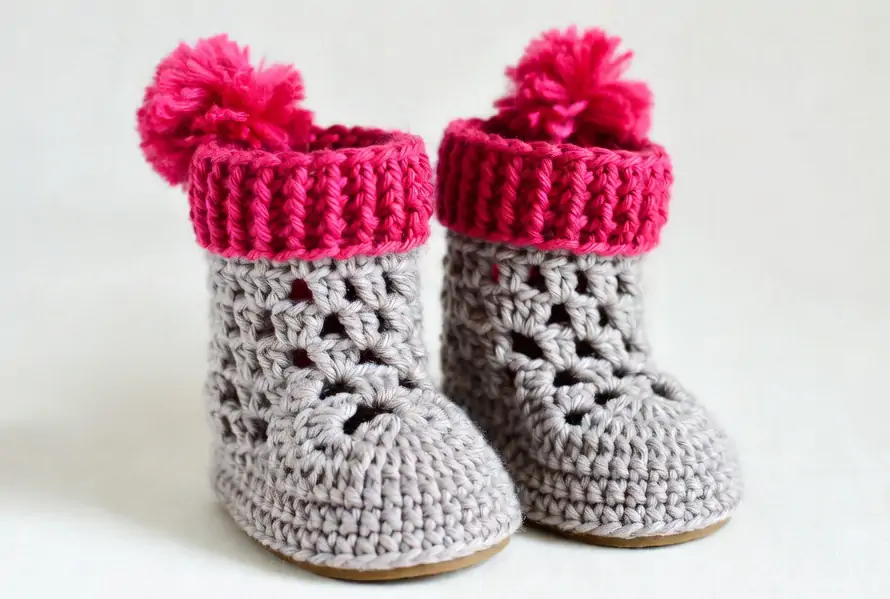
Easy Projects Using a Crochet Circle
Once you learn this, you can make many things:
- Coasters
- Hats
- Bags
- Rugs
- Placemats
This is why crochet circles are very useful.
Helpful Tips from Experience
- Use a stitch marker to mark the first stitch
- Work slowly at the beginning
- Practice with small circles first
- Do not worry about mistakes
Crochet gets easier with practice.
Why Learning Crochet Circles Matters
When you understand how to crochet a circle, you unlock many patterns.
Many advanced projects start with a simple circle. So this skill will help you grow in crochet step by step.
FAQ Crochet Circles.
Is it hard to crochet a circle?
No, it is easy once you understand how increases work.
Why is my crochet circle curling?
You may not be adding enough stitches in each round.
Why is my circle wavy?
You might be adding too many stitches.
Can beginners learn this easily?
Yes, this is one of the best beginner techniques.
Final Thoughts
Learning how to crochet a circle is simple once you understand the pattern of increases.
Start small. Practice a few rounds. Do not rush.
With time, your circles will look smooth and even.
Crochet is not about being perfect. It is about enjoying the process and improving little by little.