As the temperature drops and autumn sets in, nothing beats the feeling of wrapping yourself in a soft, hand-knitted cozy accessory. Whether you are a beginner looking for your first cowl project or an experienced knitter seeking to expand your winter wardrobe, creating your own snood is a rewarding experience.
In this guide, we will walk you through the process of designing your own tube snood, from selecting the right materials to finishing touches. We will use the tried-and-true techniques recommended by expert knitters to ensure you get the perfect size and warmth every time.
1. Choosing Your Materials: Quality and Warmth
The most important step in any knitting project is selecting the right yarn. For a snood that is both comfortable and durable, you should consider these two specific blends:
- Lanagold Classic: This is an ideal choice for standard-weight snoods. It provides a soft hand-feel and excellent structure.
- Superlana Maxi: If you prefer a thicker, cozier texture, this super-washable wool blend is perfect. It creates a robust fabric that stays warm even in deep winter winds.
Hook Size:
- For Lanagold Classic: We recommend a 4.5mm crochet hook.
- For Superlana Maxi: Use a 6.5mm to 7mm hook to maintain the correct density and prevent the fabric from becoming too stretched out.
2. Calculating Your Size: The Math Doesn’t Lie
One of the biggest mistakes knitters make is guessing the number of stitches and rows. A snood needs to fit comfortably without being too tight or too loose. Here is the secret to getting it right.
Step A: Check Your Gauge (Tension)
Before starting your main project, you must knit a swatch.
- After Washing (VTO): Always measure your fabric after washing and drying. Yarns often shrink slightly or stretch during washing.
- Measurement: If you find that 1 cm = 1.7 loops horizontally in Lanagold Classic, you can use that ratio to calculate your circumference.
Step B: The Calculation
Let’s say you want a snood that is 32 cm tall.
- Determine Rows: If you need 54 rows for the desired height.
- Even Rows Rule: The fabric must consist of an even number of rows (e.g., 54, not 55). This ensures the edges are straight and easy to sew. If you have an odd number, reduce by one row.
- Final Adjustment: Always wash your finished piece first. If you wash your snood and it shrinks slightly, you may need to reduce the row count slightly to fit your head perfectly.
Step C: Stitch Count
For a standard adult size, aim for 56 loops (including 2 edge loops) to start. If your gauge differs from the norm, adjust your starting chain accordingly.
3. Knitting Your Snood: A Step-by-Step
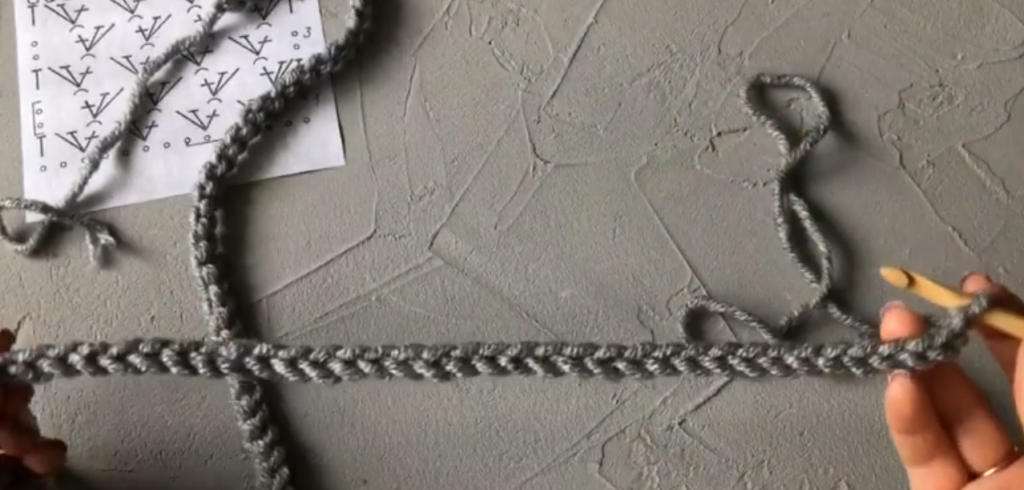
- Cast On: Using your chosen hook, cast on your loops (usually 56 loops or 150 loops for the thicker Superlana version). Do not make them too loose; the tension should be firm.
- Knit the Height: Continue knitting in the round or in a flat piece until you reach your target measurement (around 30–35 cm before washing).
- Pattern Variations:
- Striped Pattern: You can create vertical or horizontal stripes using color changes. Ensure you have enough yarn left for your design choice.
- Solid Color: A single-color snood is timeless and matches any outfit.
- Finishing:
- Once you reach the desired height, stop knitting.
- Do not weave in ends too soon. Keep the ends loose.
- First Wash: Perform a wash and dry (WTO). If the snood shrinks slightly after washing, you can always open the stitch tension, but you cannot add length back easily.
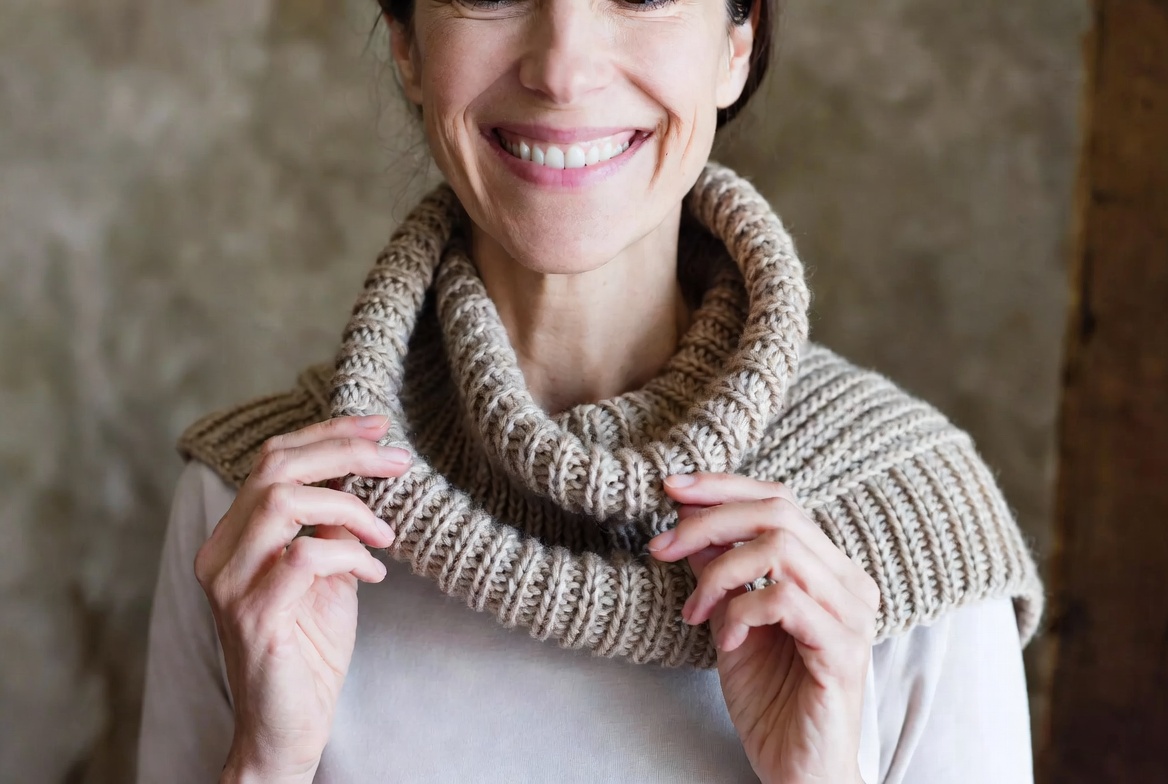
4. Wearing Styles: Style is in the Details
How you wear your snood is as important as the knitting itself. There are two popular styles depending on your outfit:
- Over the Collar: The snood sits high on the neck. This is versatile and works with jackets and coats.
- Under the Hood: This involves crossing the snood behind the head and tucking it under a hood. It adds a unique fashion element to your winter look.
- Crossed at the Front: This is a classic look where the ends cross over the chest for extra warmth.
5. Final Thoughts
Congratulations! With the right materials, the correct gauge, and a few finishing touches, your snood is ready. Remember to wash and wear it with love. It will keep your neck warm for years to come.
If you decide to create a version with horizontal stripes, always remember to knit a sample first to ensure your gauge matches your pattern. Every knitter has a unique tension, and a sample swatch is your best friend.