
Thin Crochet Headband Pattern: Easy Four-Stitch Guide for Beginners
Make a lightweight ribbed hairband with a small amount of yarn, adjustable ties, or an easy elastic finish
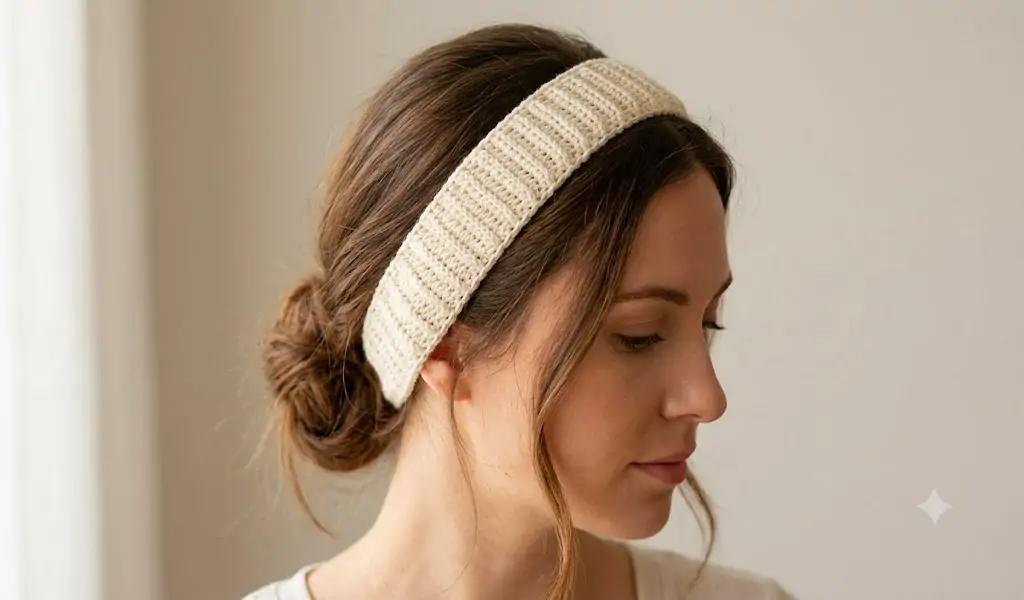
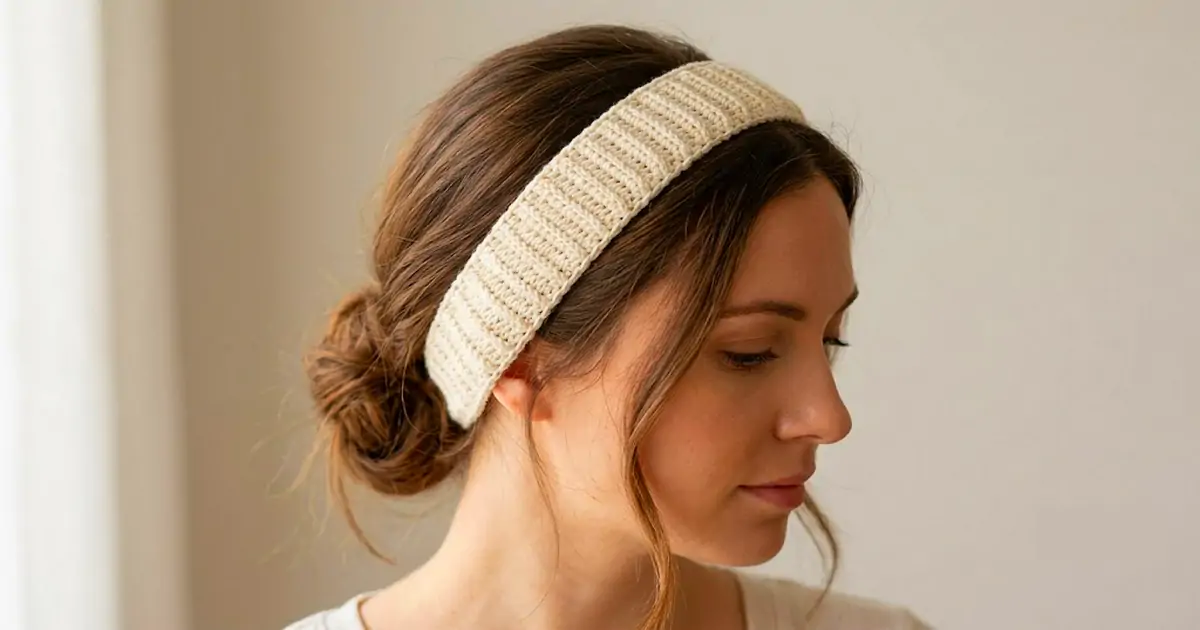
The finished four-stitch headband is narrow, lightweight, and easy to adjust before fastening off.
This thin crochet headband pattern is a simple way to turn a small amount of leftover yarn into a useful everyday hair accessory. The main strip is only four stitches wide, so beginners can see the shape developing quickly, count every row without confusion, and adjust the length before choosing a final closure.
The finished headband keeps loose hair away from the face without covering the ears or feeling as bulky as a winter ear warmer. It works with loose hair, a ponytail, a bun, or short hairstyles, and you can finish it with crochet ties, soft elastic, or a sewn loop.
A thin crochet headband is a narrow handmade hair accessory, usually about ½ to 1 inch wide. The easiest version is made as a straight crochet strip and finished with ties, elastic, or a sewn seam.
This free pattern uses single crochet worked through the back loop. That small change gives the strip a tidy ribbed texture without adding a complicated stitch. Beginners can follow the basic pattern exactly, while experienced crocheters can change the width, yarn color, edging, or finishing method.
Inside this crochet guide
1. Why Make a Thin Crochet Headband?
Wide crochet headbands are useful during cold weather, but they can feel heavy when you only want to hold back a few loose strands. A narrow design gives you the handmade appearance of crochet while remaining light enough for indoor wear, spring mornings, and warmer days.
This is also a forgiving first wearable project. A sweater may require careful gauge calculations, while a fitted hat must match the full head circumference. With this headband, you crochet a straight strip, test it against the head, and add or remove rows until the fit feels right.
Why the Four-Stitch Construction Works
The strip is worked across four stitches, with each completed row adding a small amount of length. This construction makes it easier to keep the headband narrow while creating enough flexibility to curve naturally around the head.
Because the project is small, it is also useful for yarn left over from larger crochet projects. Neutral shades create a simple everyday accessory, while brighter yarn can turn the same pattern into a more noticeable handmade detail.

A thin handmade headband sits behind the hairline without covering the ears.
2. Materials for the Thin Crochet Headband Pattern
The yarn matters more than the total amount. A smooth lightweight yarn keeps the headband narrow and allows the ribbed rows to remain visible. Thick or fuzzy yarn may turn four simple stitches into a heavier cord instead of a light hair accessory.
Sport or light DK yarn is a useful starting point. You can compare yarn categories using the Craft Yarn Council Standard Yarn Weight System before choosing your yarn.
Lightweight Yarn
Use sport, fine, or light DK yarn. Smooth cotton or a soft cotton blend works especially well.
3.5 mm Crochet Hook
A 3.5 mm hook creates a neat fabric with many lightweight yarns. Check the recommendation on your yarn label.
Scissors
Use sharp craft scissors to cut the yarn cleanly after completing the strip and ties.
Yarn Needle
A blunt yarn needle is needed for weaving in ends and attaching the optional elastic section.
Measuring Tape
Measure the strip regularly instead of depending only on the total number of rows.
Elastic, Optional
A soft hair elastic or a short piece of sewing elastic can replace the crochet ties.
Cotton creates a light fabric with clear stitch definition. A cotton-acrylic blend may feel softer and offer slightly more stretch, which can be useful for a closed-loop or elastic-back headband.
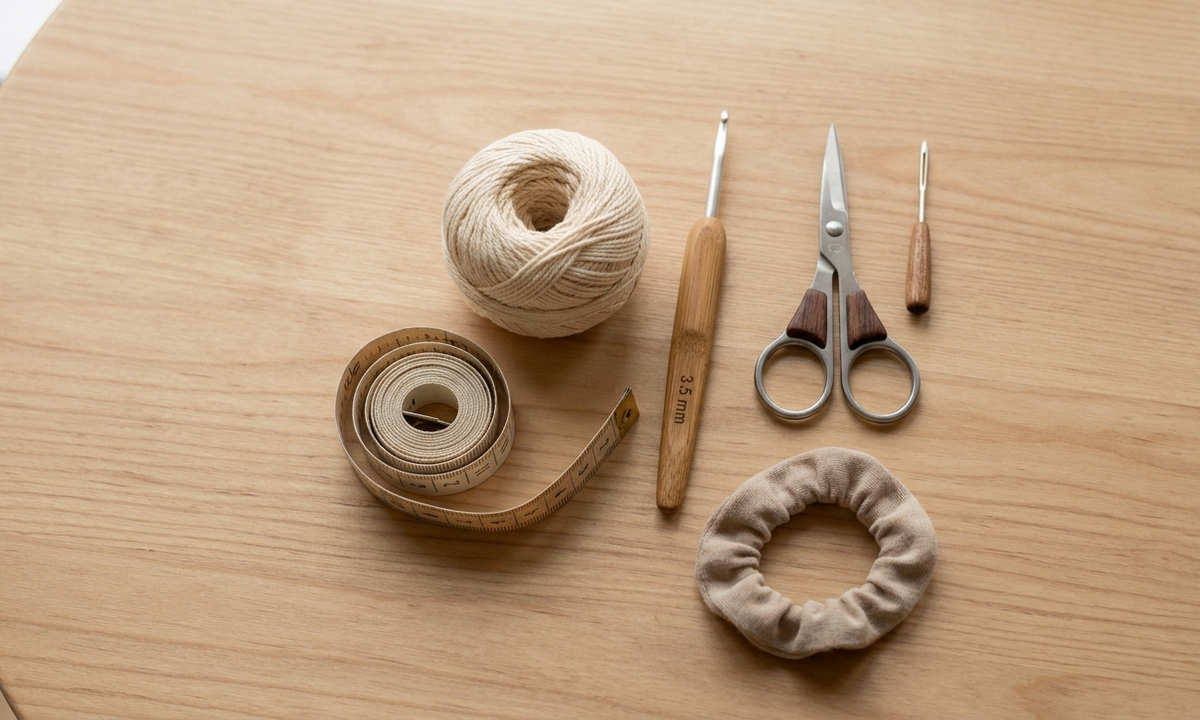
The project needs only lightweight yarn, a hook, scissors, a needle, measuring tape, and optional elastic.
3. How to Size Your Thin Crochet Headband Pattern
Measure around the head where the headband will naturally sit. The measuring tape should pass behind the ears and across the upper forehead or hairline. Keep it flat without pulling it tightly.
The final crochet length depends on the closure. A tie-back version can be shorter because the ties cover the remaining distance. An elastic-back version should leave a small gap for the elastic, while a fully closed crochet loop should be slightly smaller than the head circumference.
For more general measuring guidance, see the Craft Yarn Council head circumference chart.
Approximate Headband Measurements
| Size | Approximate head circumference | Main strip for tie-back version | Suggested width |
|---|---|---|---|
| Toddler | 18–19 in / 46–48 cm | 14–15 in / 36–38 cm | ½–¾ in |
| Child | 19–20 in / 48–51 cm | 15–16 in / 38–41 cm | ½–¾ in |
| Teen | 20–22 in / 51–56 cm | 16–17 in / 41–43 cm | ¾–1 in |
| Adult | 21–23 in / 53–58 cm | 17–18 in / 43–46 cm | ¾–1 in |
These measurements are starting points rather than strict rules. Hair thickness, yarn stretch, stitch tension, and personal comfort can all affect the final fit. Testing the strip against the intended wearer is more reliable than following an age label alone.
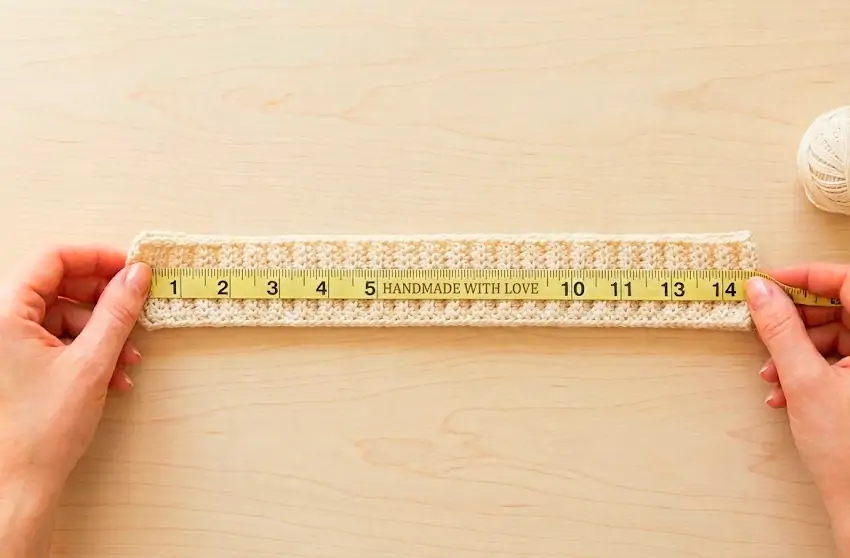
Measure the strip before adding the closure so the finished headband does not become too loose.
4. Free Thin Crochet Headband Pattern for Beginners
This free thin crochet headband pattern is worked flat in short rows. Only four stitches are used in each row, making it easier to count stitches and notice a mistake before it continues through the project.
The Four-Stitch Ribbed Headband
Materials
- Sport or light DK cotton yarn
- 3.5 mm crochet hook
- Scissors
- Yarn needle
- Measuring tape
- Optional elastic
Finished Measurements
- Width: approximately ¾ inch
- Adult strip: approximately 17–18 inches
- Ties: approximately 7–9 inches each
- Length adjusts row by row
- Uses a small amount of yarn
Pattern Details
- Skill level: beginner
- Worked flat in rows
- US crochet terminology
- No complicated shaping
- Three finishing options
Abbreviations — US Terms
Step-by-Step Instructions
FOUNDATION CHAIN: Chain 5. Keep the chains relaxed so the first row does not pull inward.
ROW 1: Single crochet in the second chain from the hook and in each remaining chain. You should have 4 single crochet stitches.
ROW 2: Chain 1 and turn. Work 1 single crochet through the back loop only of each stitch across. You should still have 4 stitches.
REPEAT: Repeat Row 2 until the strip reaches your preferred length. For an adult tie-back headband, begin checking the fit at approximately 17 inches.
COUNT THE STITCHES: Check that every row still contains 4 stitches. Straight edges show that no stitches have been accidentally added or skipped.
TEST THE FIT: Place the strip over the head and bring both ends behind the ears. Leave enough room for the ties, elastic, or final seam.
CHOOSE THE FINISH: Do not cut the working yarn until you have selected one of the three finishing options below.
The abbreviations in this pattern follow common US crochet terms. You can check unfamiliar terms in the Craft Yarn Council crochet abbreviations list.
Check the length again after several rows because different yarns produce different amounts of stretch.
How to Work Back-Loop Single Crochet
Look at the top of the next stitch. You will see two loops forming a small letter V. Insert the hook under the loop that is farthest away from you, yarn over, and complete the single crochet normally.
Working through the back loop leaves the front loop visible. Repeating this across every row creates the subtle ridges that give the headband its ribbed appearance.
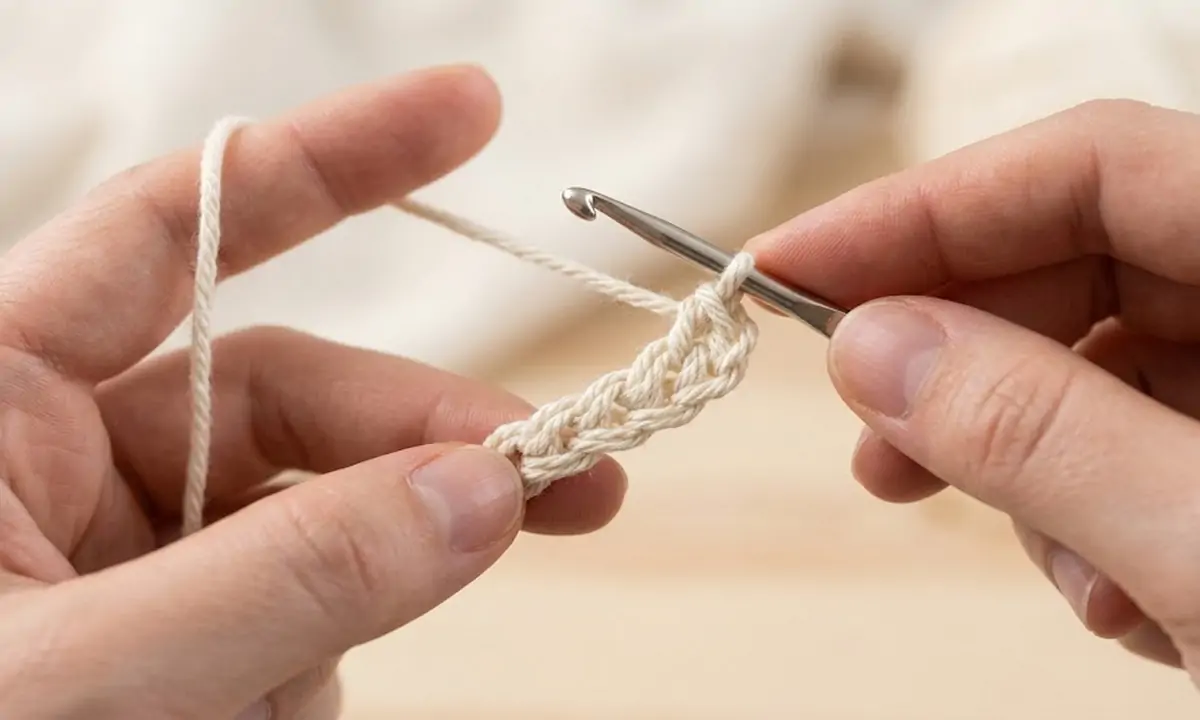
Insert the hook through the back loop only to create the raised ribbed texture.
What the Crochet Strip Should Look Like
As the rows build, the strip should remain narrow with two straight side edges. Small horizontal ridges will appear across the fabric. If one side begins to narrow, count the stitches and check that the final stitch of each row has not been missed.
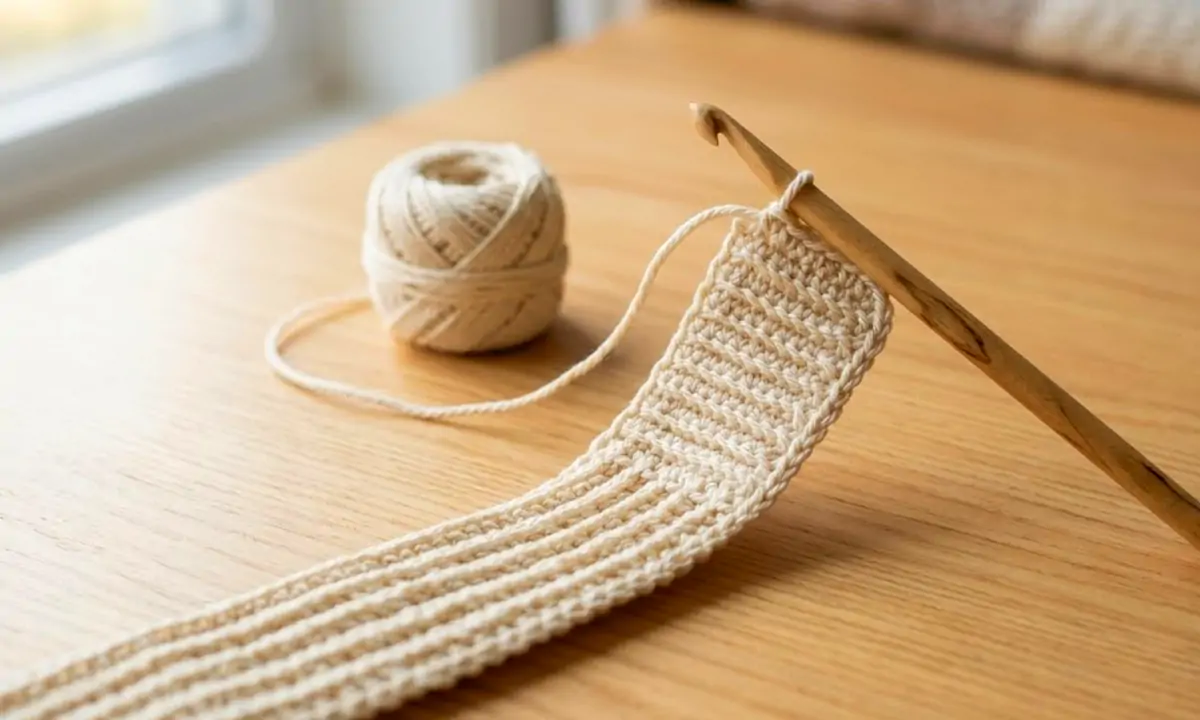
The strip grows one short row at a time, making the final length easy to adjust.
5. How to Finish the Thin Crochet Headband Pattern
All three finishing methods begin with the same ribbed strip. Choose crochet ties for maximum adjustability, elastic for easy everyday wear, or a sewn loop for an entirely crocheted finish.
Adjustable Crochet Ties
After completing the final row, chain until the first tie measures approximately 7 to 9 inches. Slip stitch back along the chain to strengthen it, then fasten off. Join the yarn to the opposite short end and make a matching tie.
Soft Elastic Back
Fasten off and leave a long yarn tail at each end. Cut a section of soft elastic long enough to bridge the remaining gap comfortably. Fold each crochet end around the elastic and sew it securely with several passes of yarn.
Fully Crocheted Closed Loop
Continue the strip until it is slightly smaller than the full head circumference. Place the short ends together and sew them with a whip stitch. Test the fit before tightening and weaving in the final tail.
The finished headband should stay in place without leaving a deep mark around the forehead or temples. Shorten it slightly if it slides backward. Add length or use adjustable ties if it feels tight after a few minutes.
6. Color and Style Ideas for a Thin Crochet Headband
Once the basic size fits correctly, you can change the appearance without learning a new construction. A different yarn color, width, edge, or finishing detail can make the same simple pattern look noticeably different.
Light Cotton Version
Use smooth cotton yarn for a breathable headband with clear stitches and a simple summer appearance.
Two-Color Stripes
Change the yarn every four or six rows to add narrow stripes without changing the pattern instructions.
Small Crochet Flower
Attach one flat crochet flower slightly off-center. Sew it firmly and avoid loose decorations for young children.
Mini Bow Detail
Wrap a short second crochet strip around the middle of the finished band and secure it to create a bow shape.
Contrasting Edge
Add slip stitches along both long sides with a contrasting yarn color for a cleaner and more defined outline.
Slightly Wider Band
Chain 6 or 7 instead of 5, then continue using the same back-loop single crochet rows.
Thin Crochet Headband vs. Wide Ear Warmer
A thin crochet headband is better than a wide ear warmer when the main purpose is controlling the hair rather than covering the ears. It uses less yarn, feels lighter, and fits more easily around a ponytail or under a hat.
A wide ear warmer remains the better choice for cold weather because it covers more of the forehead and ears. Although the two projects can look similar in photographs, they are designed for different uses.
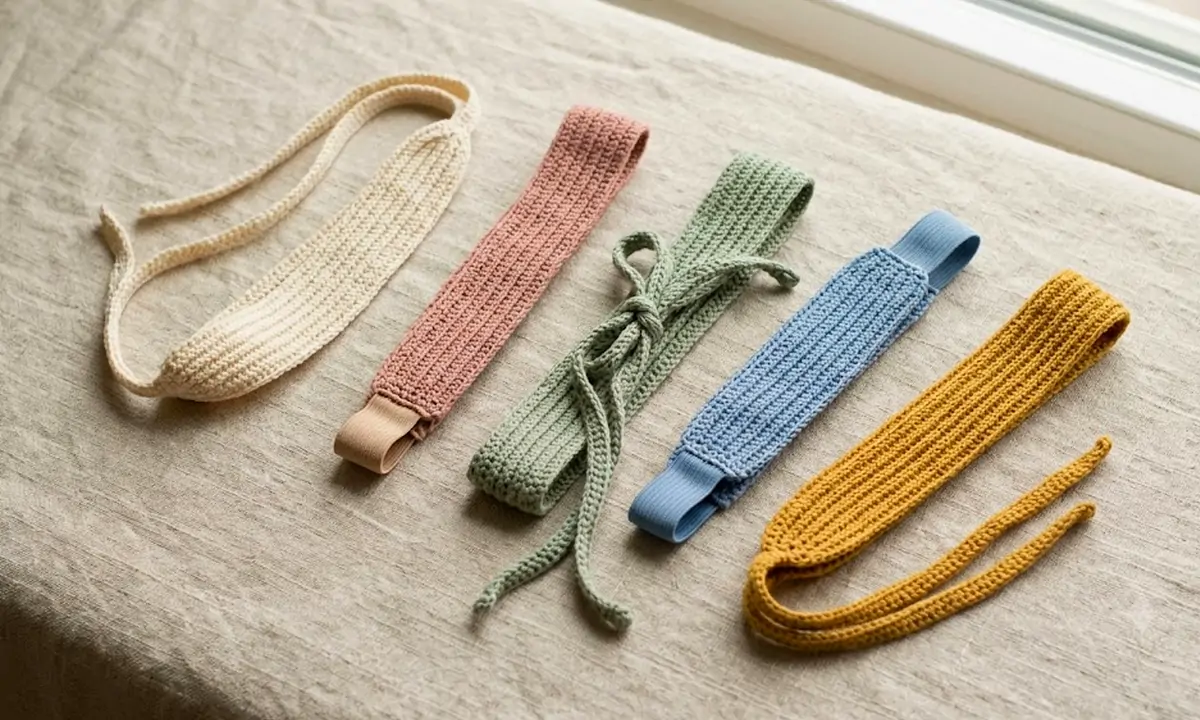
Cream, pink, sage, blue, and mustard yarn can give the same pattern a completely different style.
7. Common Thin Crochet Headband Pattern Mistakes
Losing One of the Four Stitches
Count the stitches after every row. The chain 1 used for turning does not count as a stitch in this pattern.
Working Through Both Loops
The headband will still work, but the surface will look flatter. Insert the hook through the back loop only to create the ribbed texture.
Crocheting Too Tightly
A very tight strip can feel stiff against the head. Relax your grip or move up to a slightly larger crochet hook.
Making the Strip Too Long
Crochet fabric may relax after it has been worn. Test the length before adding ties, elastic, or a permanent seam.
Using Yarn That Is Too Bulky
Thick yarn can turn a delicate headband into a heavy cord. Choose sport or light DK yarn for a genuinely narrow result.
Leaving the Yarn Ends Unsecured
Weave each yarn tail through several stitches in more than one direction so regular stretching does not pull it loose.
8. Thin Crochet Headband Pattern FAQs
How wide should a thin crochet headband be?
Most thin crochet headbands are approximately ½ to 1 inch wide. Four single crochet stitches made with lightweight yarn usually produce a narrow everyday band.
What yarn is best for a thin crochet headband pattern?
Sport or light DK cotton yarn is a practical choice because it creates a smooth, lightweight fabric. A cotton blend may provide slightly more softness and stretch.
Can a complete beginner make this headband?
Yes. You only need to know how to chain, make a single crochet stitch, turn the work, and identify the back loop of a stitch.
How do I stop a crochet headband from slipping?
Make sure the band is not too long, position it slightly behind the hairline, and consider using elastic at the back. Smooth yarn may slide more easily than lightly textured cotton.
How long should the crochet ties be?
Ties measuring approximately 7 to 9 inches each work for many adult headbands. Add extra chains when you prefer a larger bow or need more room for thick hair.
Can I make the headband wider?
Yes. Begin with 6 or 7 chains instead of 5 and work one single crochet into each stitch. Continue using back-loop rows until the strip reaches the required length.
Can I use an ordinary hair elastic?
Yes. Use a soft, snag-free elastic and sew it securely between the two ends. Check that the yarn cannot slide away from the elastic before wearing the headband.
Is this headband suitable for children?
The size can be adjusted for children, but avoid very long ties, loose buttons, beads, or decorations that could detach. The finished headband should never feel tight.
Final Notes for the Thin Crochet Headband Pattern
The most useful part of this project is the ability to stop and adjust the strip before completing the closure. Two people with the same head measurement may still prefer a different amount of stretch or pressure, especially when one has thicker hair.
Try the strip around the head before fastening off. Check the fit again after adding the ties or elastic, then weave in every yarn end securely. Once the basic version fits well, you can reuse the same measurements to create more headbands in different colors.
Ready to Make Your Crochet Headband?
Choose a small ball of lightweight yarn, crochet the first five chains, and measure the strip as it grows.
Explore More Free Crochet Patterns