
Moonlit Fox Crochet Pattern — Free Amigurumi Guide for Beginners
Make a moonlit black fox-eared companion with gold ring markings — a free amigurumi pattern anyone can follow
An Moonlit Fox crochet pattern is one of the most requested amigurumi projects among fans of moon-themed creatures, and it’s easy to see why — the dark body, pointed ears, fluffy collar, and glowing ring markings make for a striking little plush. This free crochet pattern inspired by the Moonlit Fox is written for beginners, so if you can single crochet, increase, and decrease, you can make this. Grab some black yarn, a touch of gold, and let’s build a companion that looks great on a shelf or in a bag.
Below you’ll find a full free amigurumi pattern, a supply list, step-by-step body and ear instructions, tips for the signature ring markings, color notes, and answers to the questions crafters ask most. This pattern uses standard amigurumi techniques worked in continuous rounds. If you’re new to amigurumi, our beginner crochet guide and stitch library are good places to start first.
📋 What’s in this guide
- What makes this design so popular with fans?
- Supplies you need (simple and affordable!)
- Free amigurumi pattern — step by step
- How to add the signature ring markings
- Yarn and color notes
- Finishing touches and styling ideas
- Frequently asked questions
1. What Makes This Design So Popular With Fans?
This little creature is best known for its sleek black body, large pointed ears, fluffy neck fur, and bright yellow ring markings that are said to glow in moonlight. As a result, it has become one of the most beloved dark-type designs among fans, and in turn a favorite subject for amigurumi makers looking for a project with real personality.
Why This Amigurumi Shape Works So Well
The body is a simple rounded amigurumi shape, similar to many small animal patterns, which makes it approachable even for a first-time maker. Meanwhile, the ears are worked flat and sewn on at an angle for that alert, foxlike look, and finally, the ring markings are added afterward with a contrast yarn, either embroidered on top or crocheted as small separate pieces and stitched in place.
Why Beginners Can Make This Amigurumi Pattern
Every part of this project relies on single crochet worked in continuous rounds, along with basic increases and decreases to shape the head and body. There is no complicated colorwork within a single round, since the contrast markings are added as a separate step at the end. As a result, most beginners can finish the whole project, ears and markings included, over a weekend.
Because this pattern is inspired by a well-known, trademarked character, it’s best kept as a personal or gift project rather than something made for resale, since the original design belongs to its creators. Many crafters enjoy making fan-inspired pieces like this purely for the joy of the craft.
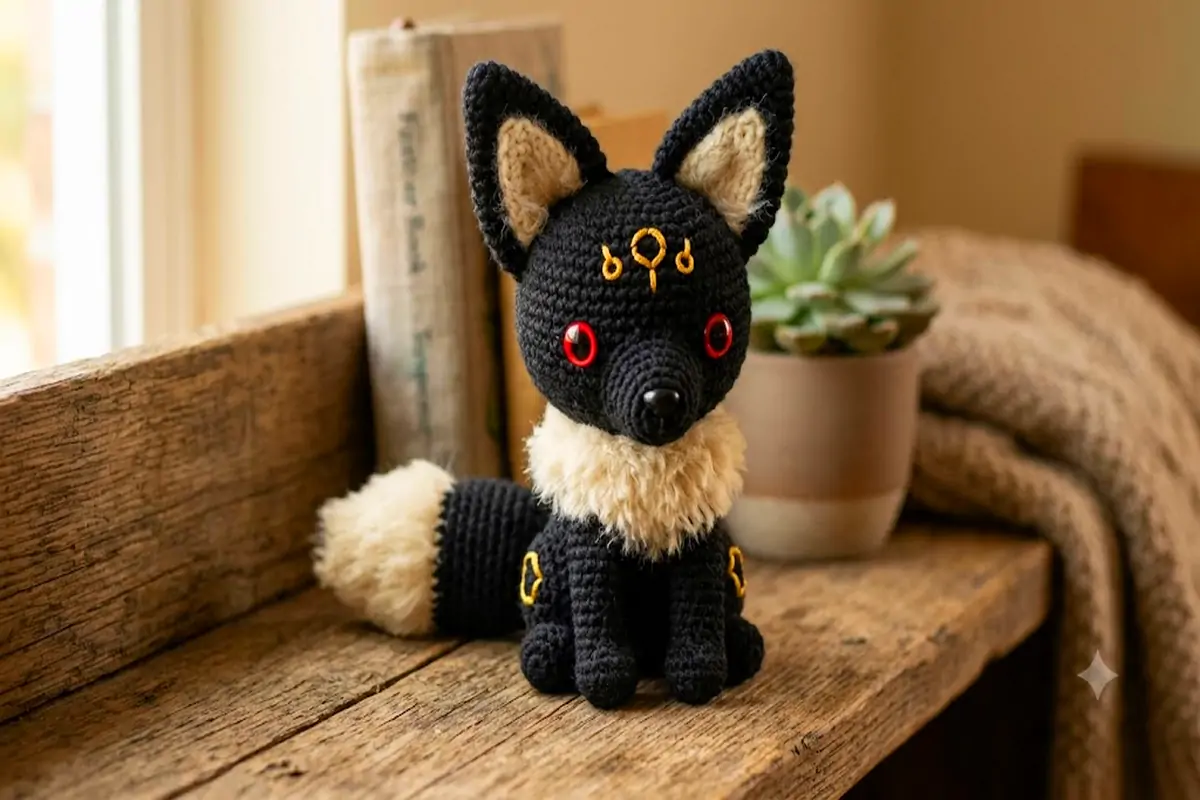
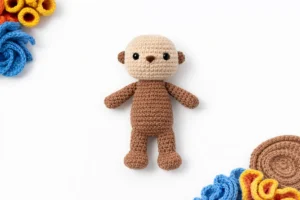
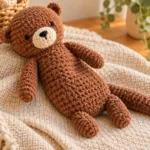
A finished amigurumi in the moonlit-fox style — sleek black body, pointed ears, and glowing gold accents.
2. Supplies for the Amigurumi Pattern
This project is a great stash-buster, since it mostly needs black yarn plus small amounts of a few accent colors.
What You Need
Yarn
Worsted weight acrylic or cotton yarn in black (main color), plus small amounts of gold or yellow, cream, and red for the markings and eyes.
Crochet Hook
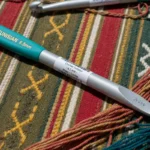
A hook one size smaller than recommended for your yarn (often 3mm–3.5mm for worsted weight) keeps amigurumi stitches tight so stuffing doesn’t peek through.
Fiberfill Stuffing
Polyester fiberfill to fill the body, head, and ears firmly enough to hold their shape.
Safety Eyes or Felt
9mm–12mm red or black safety eyes, or felt circles sewn on instead if the toy is for a very young child.
Yarn Needle
For sewing pieces together, closing seams, and embroidering the ring markings neatly.
Stitch Markers
Essential for tracking rounds while working the body, head, and ears in continuous spirals.
Measuring Tape
Handy for checking the head, body, and leg lengths against the pattern as you go, so all the pieces end up in proportion.
Locking Markers or Bobby Pins
A second set of markers, or a couple of bobby pins in a pinch, are useful for holding pieces like the ears and legs in place before you sew them permanently.
Fabric Glue (Optional)
A small dab can help hold felt eye pieces steady while you stitch them on, though sewing alone is sturdier for anything a child will handle.
If this amigurumi is meant for a baby or toddler, use embroidered or felt eyes instead of plastic safety eyes, and make sure all pieces are stitched on securely rather than glued, since small parts can be a choking hazard for very young children. For general guidance, the U.S. Consumer Product Safety Commission’s toy safety page is a useful reference when making any handmade toy for a young child.
3. Free Amigurumi Pattern — Complete Instructions
This free amigurumi pattern makes a finished toy about 8 inches tall when standing, a comfortable size for a shelf display or a child’s stuffed animal collection.
Pattern Notes — Read Before You Begin
🌙 The Moonlit Fox Amigurumi — Free Crochet Pattern
Materials
- Black worsted weight yarn (main)
- Small amounts of gold, cream, red
- 3mm–3.5mm crochet hook
- Fiberfill stuffing
- Safety eyes or felt + yarn needle
Finished Size
- Height: ~8 inches standing
- Body width: ~4 inches
- Yarn used: ~150–180 yards
- Time: ~4–6 hours
- Beginner-friendly amigurumi
Project Info
- Worked in continuous rounds
- Skill level: ⭐⭐ Beginner-Intermediate
- No complex colorwork
- Great gift or shelf display
- Markings added at the end
Abbreviations — US Terms
Step-by-Step Rounds — Head and Body
HEAD, RND 1: With black yarn, 6 sc into a magic ring.
RND 2: Inc in each st around = 12 sc.
RND 3: *Sc, inc* around = 18 sc.
RND 4: *Sc 2, inc* around = 24 sc.
RND 5: *Sc 3, inc* around = 30 sc.
RNDS 6–11: Sc even (no increasing) for 6 rounds = head sphere shape. Insert safety eyes between rounds 8 and 9, spaced about 8 stitches apart.
RNDS 12–15 — DECREASE FOR NECK: *Sc 3, dec* around, then continue decreasing evenly each round until 12 sts remain. Stuff the head firmly before closing.
BODY, RNDS 1–5: Repeat the same increase pattern as the head (rounds 1–5 above) to reach 30 sc, then work even for 8 rounds to form the body length.
BODY, FINAL RNDS: Decrease evenly over 3–4 rounds down to 8–10 sts, stuff firmly, then fasten off and sew the head onto the top of the body.
EARS (MAKE 2): Work a small triangular flat piece, increasing on one edge only over 6–8 rows to form a tall, pointed ear shape. Fold slightly and sew to the top of the head, angled outward.
LEGS (MAKE 4): Work 4 short tapered tubes, about 1.5 inches long, stuffed lightly, and sew evenly to the underside of the body so the finished piece can stand upright.
FLUFFY COLLAR AND TAIL: Work a ruffled trim in cream yarn around the base of the neck for the collar, and a tapered tail shape stuffed lightly and sewn to the back of the body, with a small cream tuft at the tip.
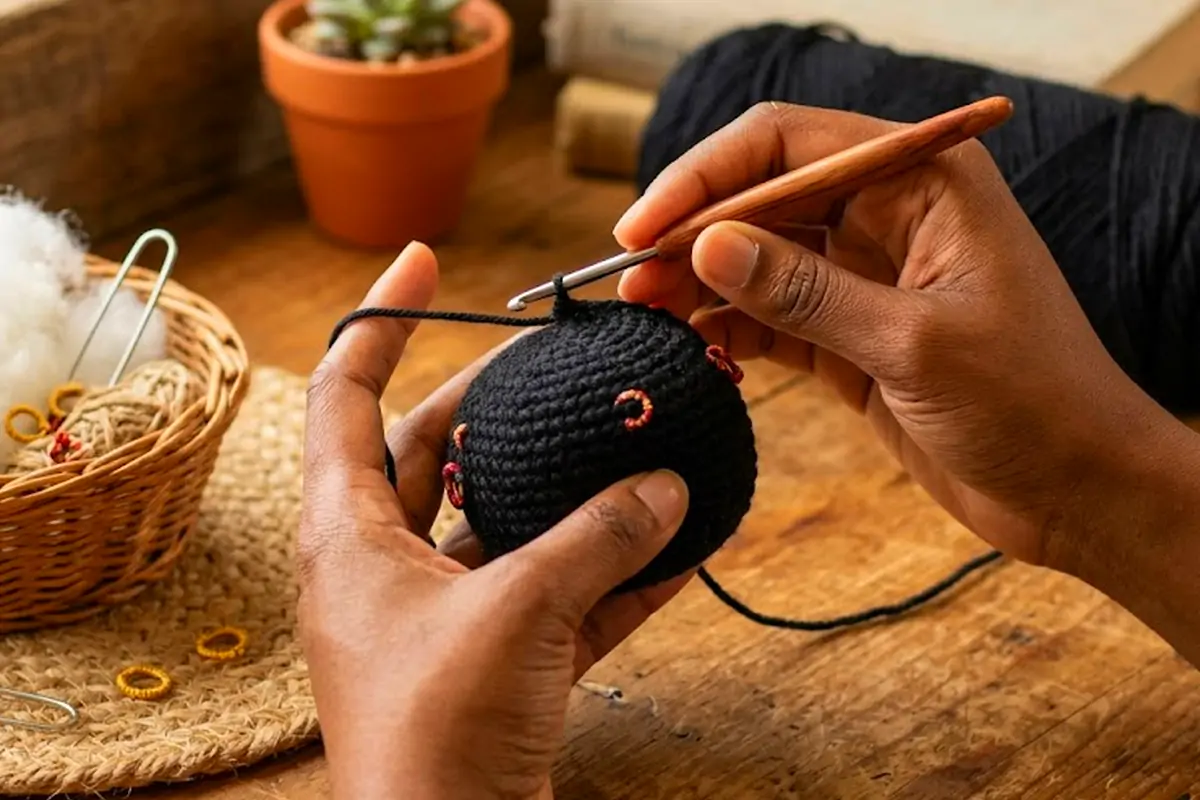
The head taking shape in continuous rounds — the foundation of every amigurumi project like this one.
4. How to Add the Signature Ring Markings
The gold ring markings are what make this design instantly recognizable, so it’s worth taking a bit of extra time on this step.
Step-by-Step Markings
Plan the Marking Placement
Before stitching anything, use a bit of scrap yarn or a fabric pen to mark where each ring will sit — typically on the forehead, chest, each hip, and the tail tip. This avoids uneven placement once you start sewing.
Crochet Small Ring Motifs
Work five or six tiny gold circles using a magic ring and 2–3 rounds of single crochet each, leaving a long tail on each for sewing. Alternatively, embroider simple circles directly onto the body using satin stitch if you’d rather skip separate pieces.
Sew the Rings in Place
Attach each ring motif at its marked spot using the long tail and a yarn needle, keeping the stitching invisible on the underside so the rings sit flat against the black body.
Add Final Face Details
Embroider a small triangular nose in black or dark brown, and add a few short straight stitches for the mouth if desired, finishing off the face before moving on to any last touches.
5. Yarn and Color Notes
While the classic look uses solid black with gold rings, there is still some room to make the design your own through yarn choice and texture.
Color and Yarn Options
⚫ Classic Matte Black
A standard matte black acrylic gives the most accurate, true-to-character look for the main body.
🌌 Midnight Blue-Black
A very dark navy-black blend adds subtle depth and looks striking under indoor lighting.
🌕 Bright Gold Rings
A true gold or bright yellow yarn for the ring markings gives the most eye-catching contrast against black.
🤍 Cream Collar and Tail Tip
A soft cream for the fluffy neck trim and tail tip adds texture and breaks up the solid black nicely.
❤️ Red Safety Eyes
Red safety eyes give the most recognizable expression, though black eyes work well as a softer alternative.
🩶 Heathered Gray-Black
A speckled or heathered dark gray yarn gives a softer, more plush toy-store look if you prefer.
🌑 Deep Plum-Black
A near-black with a faint purple undertone, catching a cool violet sheen under bright light.
🌾 Pale Ivory Accents
A lighter, warmer alternative to cream for the collar and tail tip, giving a softer overall contrast.
⬛ Velvet Black (Chenille)
A plush chenille or velvet-style yarn gives the body a soft, huggable texture, though it takes a bit more care to stitch evenly.
🟡 Antique Gold Rings
A slightly muted, warmer gold for the markings, giving an aged or vintage-inspired look instead of a bright pop of color.
Yarn Texture Tips
A smooth, matte acrylic yarn gives the cleanest, most polished amigurumi surface and is the easiest for beginners to work with evenly. On the other hand, a fuzzy or brushed yarn for just the collar and tail tip adds a nice contrast in texture, mimicking a soft furry accent without switching your whole project to a harder-to-control fluffy yarn throughout.
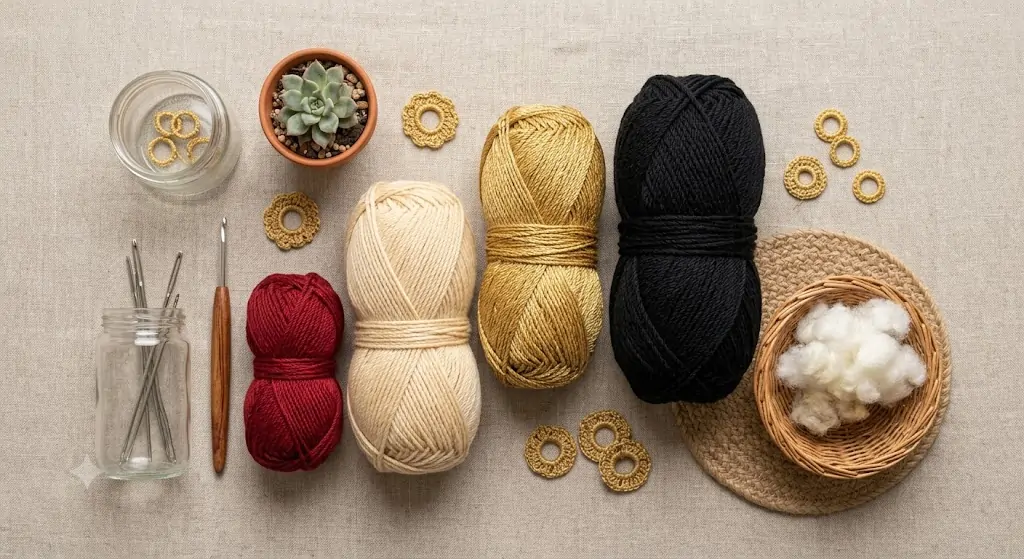
The color palette that brings this amigurumi to life — black, gold, cream, and a touch of red.
6. Finishing Touches and Styling Ideas
A few small extras can take this amigurumi from a simple toy to a genuinely polished display piece.
Ideas to Try
Glow-in-the-Dark Accent Thread
Blend a strand of glow-in-the-dark thread into the gold rings for a subtle glow effect once the lights go out, echoing the character’s moonlit theme.
Wire Armature for Posing
Insert thin pipe cleaners or floral wire into the legs and tail before stuffing so the finished piece can be posed sitting or standing.
Keychain or Bag Charm Version
Make a smaller 4-inch version and attach a keyring loop at the top of the head for a wearable charm instead of a full plush.
Display Shelf Styling
Pair the finished piece with a few other amigurumi creatures on a shelf for a themed collection display.
Thoughtful Handmade Gift
This pattern makes a lovely handmade gift for a fan of moon-themed or dark-type creatures, especially for a birthday or holiday.
Keep It Washable
Stick to acrylic or cotton yarn so the finished toy can be surface cleaned or gently hand washed as needed.
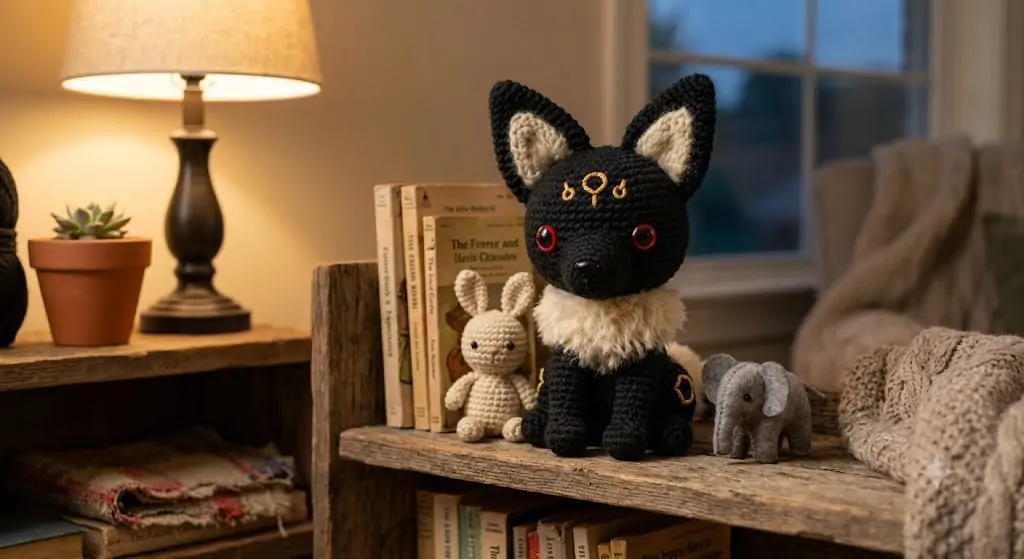
Finished and styled — this amigurumi looks right at home on a shelf or tucked into a bag.
7. Frequently Asked Questions About This Amigurumi Pattern
Common Questions Before You Start
Is this an official licensed pattern?
No. This is an original, fan-made amigurumi pattern inspired by the general look of a popular character, written independently and not affiliated with or endorsed by the original rights holders. It’s meant for personal crafting and gifting rather than commercial use.
What yarn works best for the black body?
A matte black worsted weight acrylic gives the cleanest, most solid color coverage and is easy for beginners to work with. Cotton yarn is a sturdier alternative if you want a firmer finished shape.
How long does this amigurumi take to make?
Most crafters spend around 4 to 6 hours total, split between the head, body, ears, legs, tail, and the final ring markings. Beginners may want to spread this across two or three shorter sessions.
Can I make the ring markings without crocheting separate pieces?
Yes, embroidering the rings directly onto the body with satin stitch in gold yarn works just as well and is often quicker than making and sewing on separate motifs.
Is this pattern safe for a baby or toddler?
With a few adjustments, yes. Swap plastic safety eyes for securely sewn felt or embroidered eyes, stitch every piece on firmly rather than gluing, and check regularly for any loose threads once the toy is in regular use.
Sharing and Selling Questions
Can I sell finished amigurumi made from this pattern?
Since this design is inspired by a trademarked character owned by another company, it’s best kept to personal projects and gifts rather than sold commercially, even when made from an original pattern like this one. If you’d like to sell amigurumi, consider adjusting the ears, markings, and colors enough to create your own original creature design instead. For more free, original crochet patterns you’re welcome to sell from, take a look at our free crochet pattern library.
Ready to Make Your Amigurumi? 🌙
Grab your black yarn, a bit of gold, and get crocheting. Your new shelf companion is just a weekend away.
Explore More Free Crochet Patterns →Finishing the face? Use the crochet eyes for amigurumi guide for a soft yarn-eye option, sizing tips, and even placement.



Reader discussion
Reader Comments
Tried this pattern? Share what worked, ask a question, or help another crocheter.
Your turn
Comments are moderated to keep the discussion useful and family-friendly. Please do not post personal information.