
Amigurumi, the Japanese art of crocheting small stuffed creatures, captivates with its charm and endless possibilities. A crucial element in bringing these adorable characters to life is the eyes. While various options exist, crochet eyes for amigurumi offer a unique blend of safety, customization, and handmade appeal that can truly elevate your creations. This guide will delve into the world of crochet eyes, providing valuable insights for both beginners and experienced crafters.
Why Choose Crochet Eyes for Your Amigurumi?
When it comes to amigurumi eyes, crafters often weigh the pros and cons of different types. Crochet eyes stand out for several compelling reasons:
• Safety First: For amigurumi intended for infants and young children, safety is paramount. Traditional plastic safety eyes, despite their name, can pose a choking hazard for children under three years old . Crochet eyes, being soft and integrated into the design, eliminate this risk, making them an excellent choice for baby-safe toys.
• Unmatched Customization: Unlike pre-made plastic eyes, crochet eyes offer boundless creative freedom. You can control their size, shape, color, and even add intricate details like pupils, irises, and glints, allowing for truly unique and expressive characters.
• Handmade Aesthetic: Crochet eyes seamlessly blend with the overall crocheted texture of amigurumi, enhancing the handmade charm and authenticity of your creations. They contribute to a cohesive and artisanal look that plastic eyes often cannot achieve.
Exploring Different Types of Amigurumi Eyes
Beyond crocheted eyes, it’s helpful to understand the other popular options available to amigurumi artists:
1. Plastic Safety Eyes
These are widely used for their convenience and variety. They consist of a plastic eye with a washer that secures it to the fabric. While quick to install, their safety for young children is a significant concern .
2. Embroidered Eyes
Embroidered eyes are another safe and popular alternative, especially for baby toys. Using embroidery floss, crafters can stitch various eye shapes and expressions directly onto the amigurumi. This method allows for a wide range of looks, from simple sleepy eyes to more detailed, expressive designs .
3. Felt Eyes
Felt eyes involve cutting shapes from felt fabric and attaching them to the amigurumi, typically with fabric glue or by sewing. They offer a soft, flat appearance and can be easily customized in terms of shape and color.
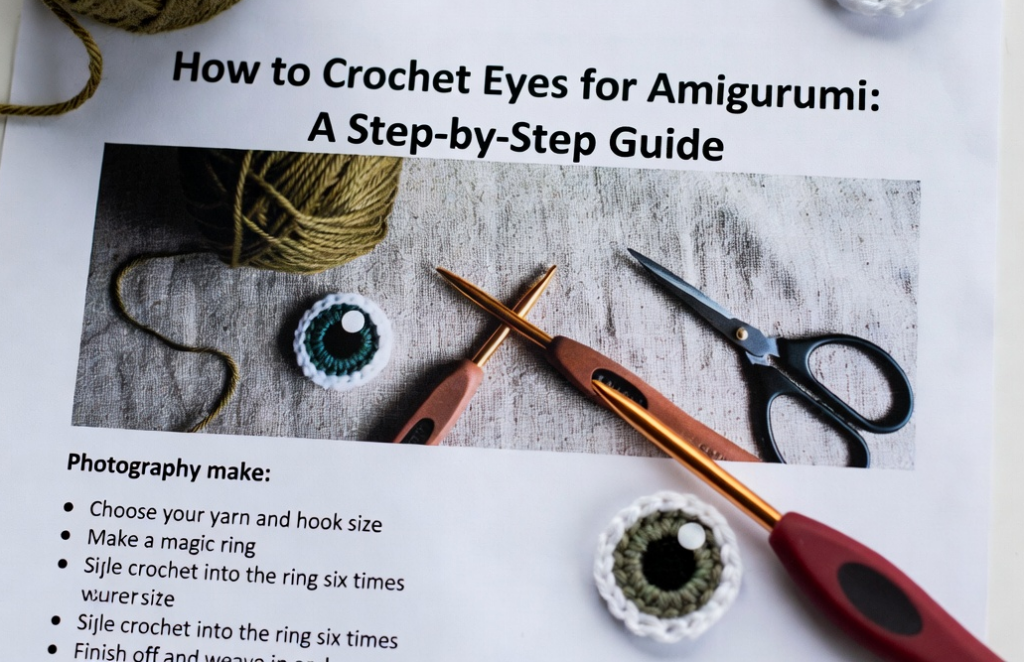
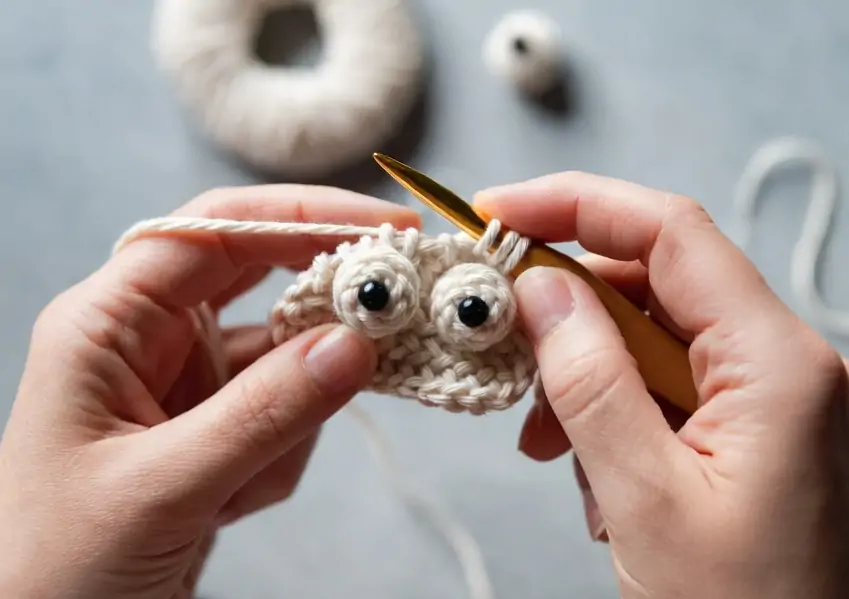
How to Crochet Eyes for Amigurumi: A Step-by-Step Guide
Creating crochet eyes for amigurumi is a rewarding process that adds a personal touch to your projects. Here’s a basic guide to get you started, focusing on simple round eyes, which are a versatile foundation for many designs :
Materials You’ll Need:
•Black crochet thread (size 10 is often recommended for a delicate look)
•Small crochet hook (e.g., 2.25mm or 2.5mm, suitable for your thread)
•Scissors
•Tapestry needle (for sewing the eyes onto your amigurumi)
•White crochet thread (optional, for adding asmall reflection or ‘glint’)
US Abbreviations:
•HDC: Half Double Crochet
•SC: Single Crochet
•Sl st: Slip Stitch
•MC: Magic Circle (also known as Magic Ring)
•Ch: Chain
Basic Round Crochet Eye Pattern (Example for a 9mm eye):
1.Round 1: Create a Magic Circle (MC) and work 8 Half Double Crochets (HDC) into the circle. Join with a Slip Stitch (Sl st) to the first HDC. (8 HDC)
2.Finishing: Fasten off, leaving a long tail for sewing the eye onto your amigurumi project.
Adjusting Size (Examples from Grace and Yarn ):
•10.5mm Eye: Round 1: MC with 12 HDC, join with Sl st. (12 HDC)
•12mm Eye: Round 1: MC with 8 HDC, join with Sl st, Ch 1. Round 2: 2 SC in each stitch, join with Sl st. (16 SC)
•15mm Eye: Round 1: MC with 8 HDC, join with Sl st, Ch 1. Round 2: 2 HDC in each stitch, join with Sl st. (16 HDC)
Adding a Glint (Optional):
To give your crochet eyes a lively sparkle, take a small amount of white crochet thread and pass it through a stitch once or twice on the eye, as if creating a tiny highlight. Secure and fasten off the thread. This small detail can significantly enhance the character of your amigurumi.
Tips for Perfect Placement and Expression
The placement of crochet eyes for amigurumi is just as important as their creation. Experimentation is key to achieving the desired expression for your character:
•Experiment with Position: Placing eyes closer together can create a more innocent or childlike look, while wider placement might suggest a more comical or surprised expression. Adjusting the vertical position (higher or lower on the head) can also dramatically alter the character’s mood .
•Consider Shape and Style: Don’t limit yourself to simple circles. You can crochet oval eyes, sleepy eyes (by crocheting a half-circle or embroidering a curved line), or even add eyelids for more nuanced expressions.
•Use Felt Backings: For an added layer of detail and expression, consider placing a small piece of felt behind your crocheted eyes. This can create a subtle border or a contrasting color that makes the eyes pop .
•Embroidered Details: Even with crocheted eyes, you can still incorporate embroidery for additional details like eyelashes, eyebrows, or even small freckles around the eyes. These small touches can bring your amigurumi to life.
Conclusion
Crochet eyes for amigurumi offer a wonderful way to personalize your handmade creations, ensuring both safety and artistic expression. By understanding the different types of eyes available and mastering the techniques for crocheting and placing them, you can infuse your amigurumi with unique personalities and charm. Embrace the creative process, experiment with various designs, and enjoy bringing your adorable characters to life, one stitch at a time.