
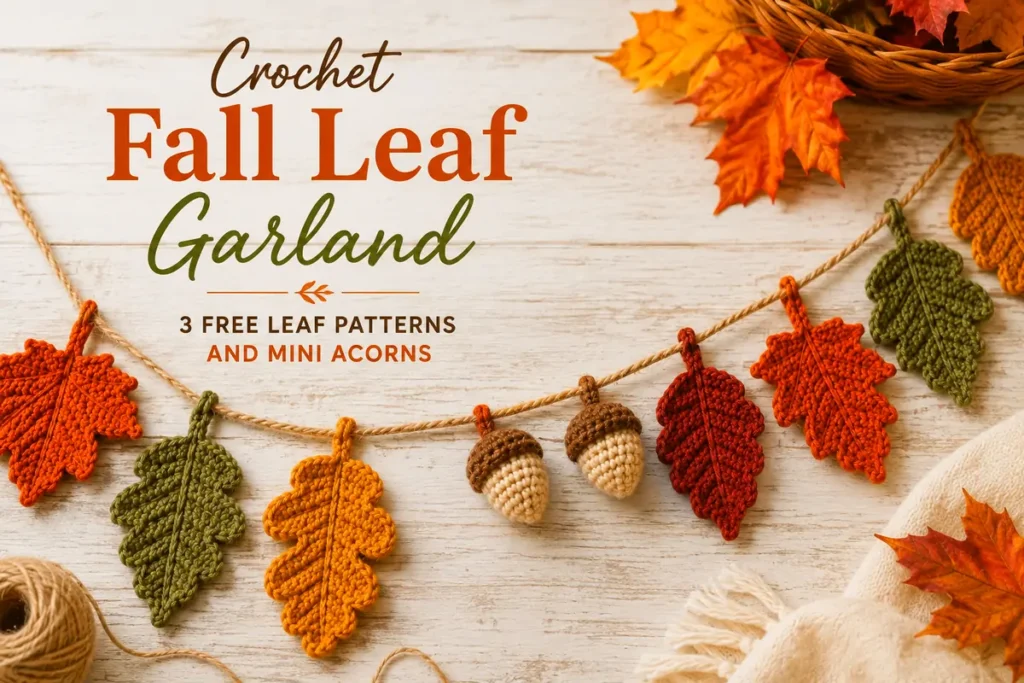
Crochet Fall Leaf Garland: 3 Free Leaf Patterns and Mini Acorns
Maple, oak, and birch leaves plus tiny acorns — a whole autumn garland from leftover yarn in one afternoon
A crochet fall leaf garland is the easiest way to bring autumn into your home without buying anything new. Each leaf uses a few yards of leftover yarn, takes about ten minutes, and never dries out or drops crumbs on the mantel.
Below you will find three free leaf patterns — maple, oak, and birch — plus a tiny acorn, and simple instructions for stringing them all together. Everything here uses basic stitches. If you can chain and single crochet, you can make this today.
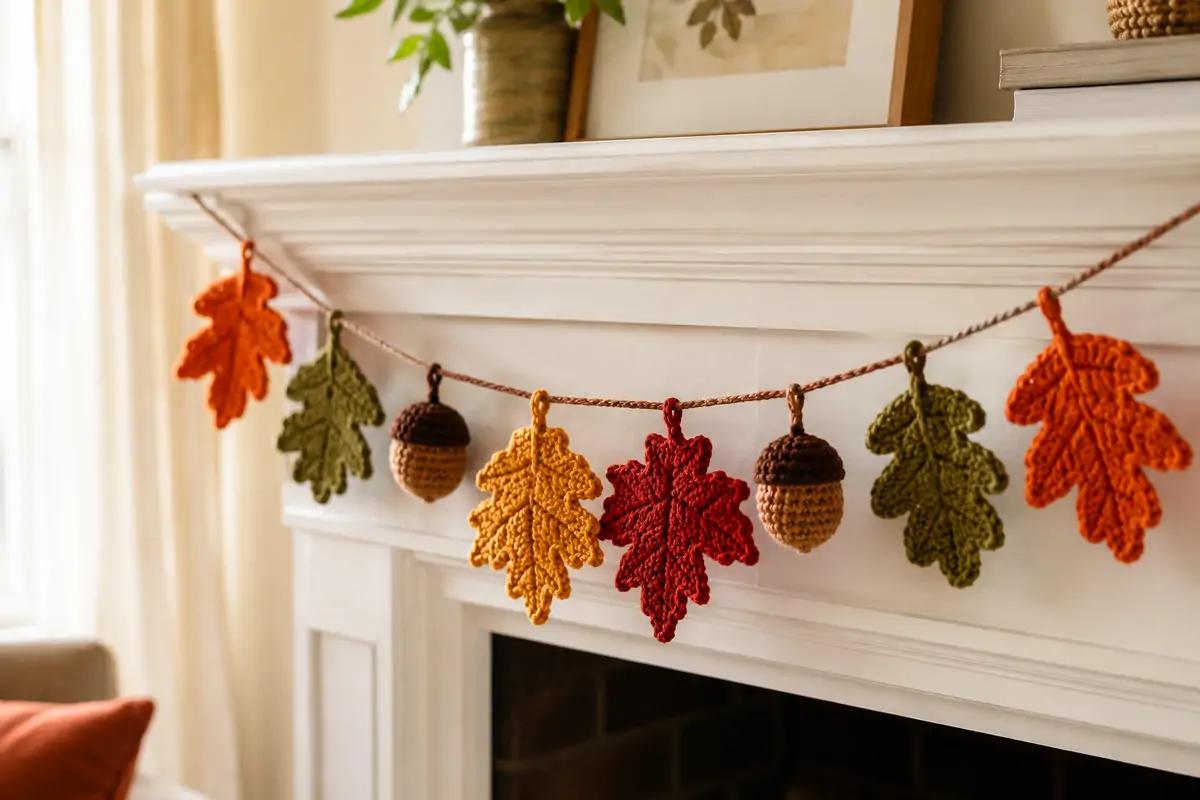
The finished garland on a mantel — orange, rust, gold and green leaves with two small acorns.
📋 What’s in this guide
- Why this is the perfect fall beginner project
- What you need
- Abbreviations and gauge
- Free Pattern 1 — Maple Leaf
- Free Pattern 2 — Oak Leaf
- Free Pattern 3 — Birch Leaf
- Free Pattern 4 — Mini Acorn
- How to assemble your garland
- Color guide for autumn shades
- Ways to display and gift it
- Common mistakes
- Frequently asked questions
1. Why a Crochet Fall Leaf Garland Is the Perfect Beginner Project
Most autumn decor projects ask for a big commitment — a blanket, a sweater, a pumpkin that eats half a skein. This one does not. Each leaf is finished before you lose interest, which is exactly why it works so well for beginners.
Four reasons it works
It uses scraps. A single leaf takes 5 to 10 yards. That bag of leftovers you have been saving is enough for an entire garland.
It is finished fast. Ten minutes per leaf means you see a result almost immediately, which is the single best thing for building a new skill.
Mistakes disappear. Real leaves are not identical, so a slightly wonky one just looks natural. There is no gauge to match and nothing to fit.
It lasts for years. Fold it into a box in November and bring it out again next September. That is the whole point of making decor instead of buying it.
Every leaf on this garland can be made from yarn you already own. Nothing new needs to be bought, and nothing gets thrown away in December.
Brand new to crochet? Work through our step-by-step beginner’s guide first, then come back — these leaves are a great first real project.
2. Supplies for Your Crochet Fall Leaf Garland
Yarn
Worsted weight (size 4) cotton or acrylic in autumn shades. About 10 yards per leaf. Scraps are ideal.
Crochet Hook
4 mm (G/6). Go one size down if your stitches look loose — leaves hold their shape better when worked firmly.
Scissors
Small and sharp, for clean cuts on the many short tails this project creates.
Yarn Needle
For weaving in ends and attaching leaves to the garland cord.
Cord or Twine
Natural jute twine, or a long crochet chain in brown yarn. Allow 4 to 6 feet.
Small Amount of Stuffing
Only for the acorns. A pinch of fibrefill, or use a scrap of the same yarn.
Not sure which hook matches your yarn? Our crochet hook size chart lists every weight and its recommended size. If you want the official reference, the Craft Yarn Council yarn weight system is the standard every US pattern follows.
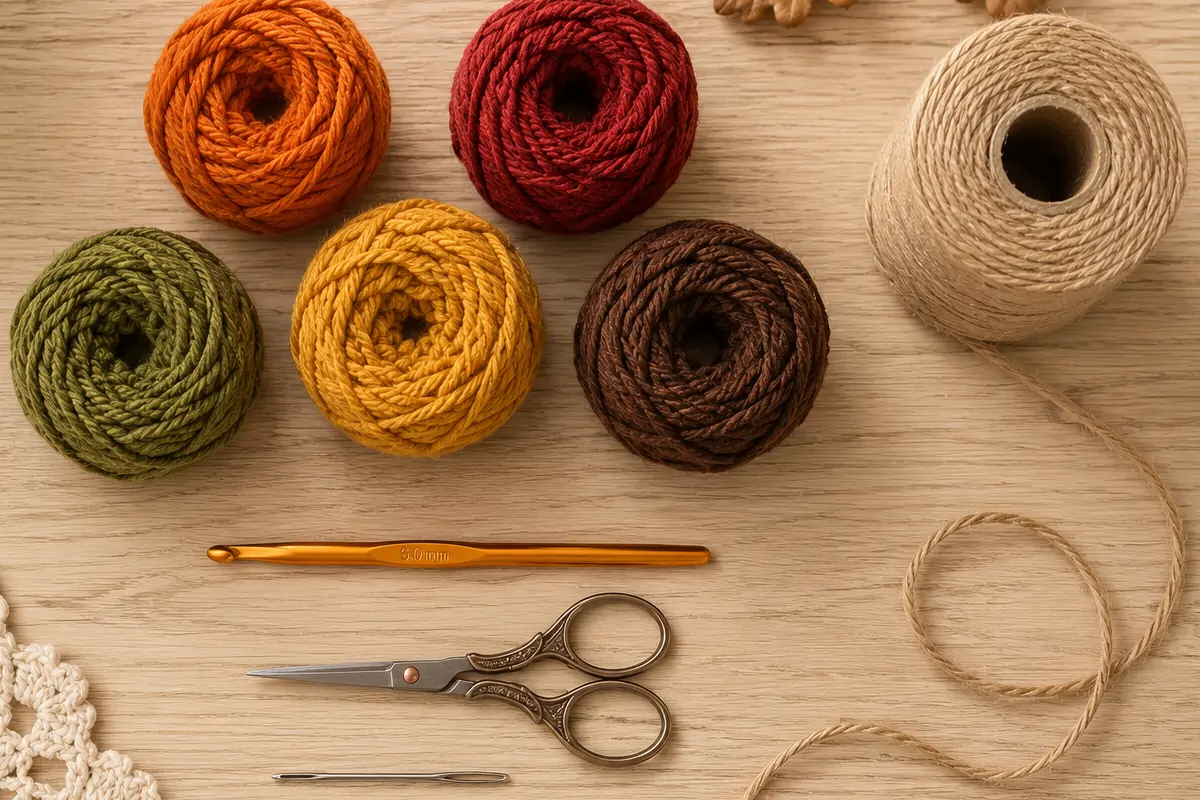
Everything you need — a handful of scrap yarn in autumn shades, one hook, and a length of twine.
3. Abbreviations and Gauge
US terms used in all four patterns
ch = chain · sl st = slip stitch · sc = single crochet · hdc = half double crochet · dc = double crochet · tr = treble crochet · st(s) = stitch(es) · inc = increase (2 sc in same stitch) · dec = decrease · MR = magic ring · FO = fasten off
Gauge does not matter here. Leaves come in every size in nature, so yours will be fine. Work firmly rather than loosely so the shapes hold. If you have not used a magic ring before, our magic circle tutorial covers it — you will only need it for the acorns.
4. Free Pattern 1 — Crochet Maple Leaf 🍁
The maple is the leaf everyone pictures when they think of autumn. This version is worked around both sides of a single foundation chain, so it comes off the hook in one piece with no sewing.
🍁 Maple Leaf — Free Pattern
Materials
- Worsted yarn in red or orange
- 4 mm (G/6) hook
- Yarn needle, scissors
Yarn Needed
- ~10 yards per leaf
- Cotton or acrylic both work
Finished Size
- Approx. 7 cm across
- Time: 10–12 minutes
- Level: ⭐ Beginner
Foundation: Ch 14. The last 4 chains will become the stem, so keep them a little tighter than the rest.
First side: Sl st in 2nd ch from hook. Sc in next ch. Hdc in next. Dc in next 2. Ch 3, sl st in 2nd ch from hook, sc in last ch of that spur, then sl st back into the main chain — this creates your first point. Hdc in next ch, dc in next 2.
Second point: Ch 4, sl st in 2nd ch from hook, sc, hdc in the remaining spur chains, then sl st back into the main chain. Dc in next ch, hdc in next.
Tip: Work (sc, hdc, dc, tr, dc, hdc, sc) all into the next chain to form the pointed top of the leaf. Then rotate to work back along the opposite side of the foundation chain.
Second side: Mirror steps 2 and 3 exactly, working into the free loops on the other side of the chain. Two more points will form, giving five in total.
Stem: Work sl st along the final 4 chains to make a firm little stem. FO, leaving a 6-inch tail for attaching to the garland. Weave in the starting tail only.
If your leaf curls, it is working too tightly at the points. Loosen the spur chains slightly on the next one. A light steam block — hover an iron above it without touching — will flatten the first attempt.
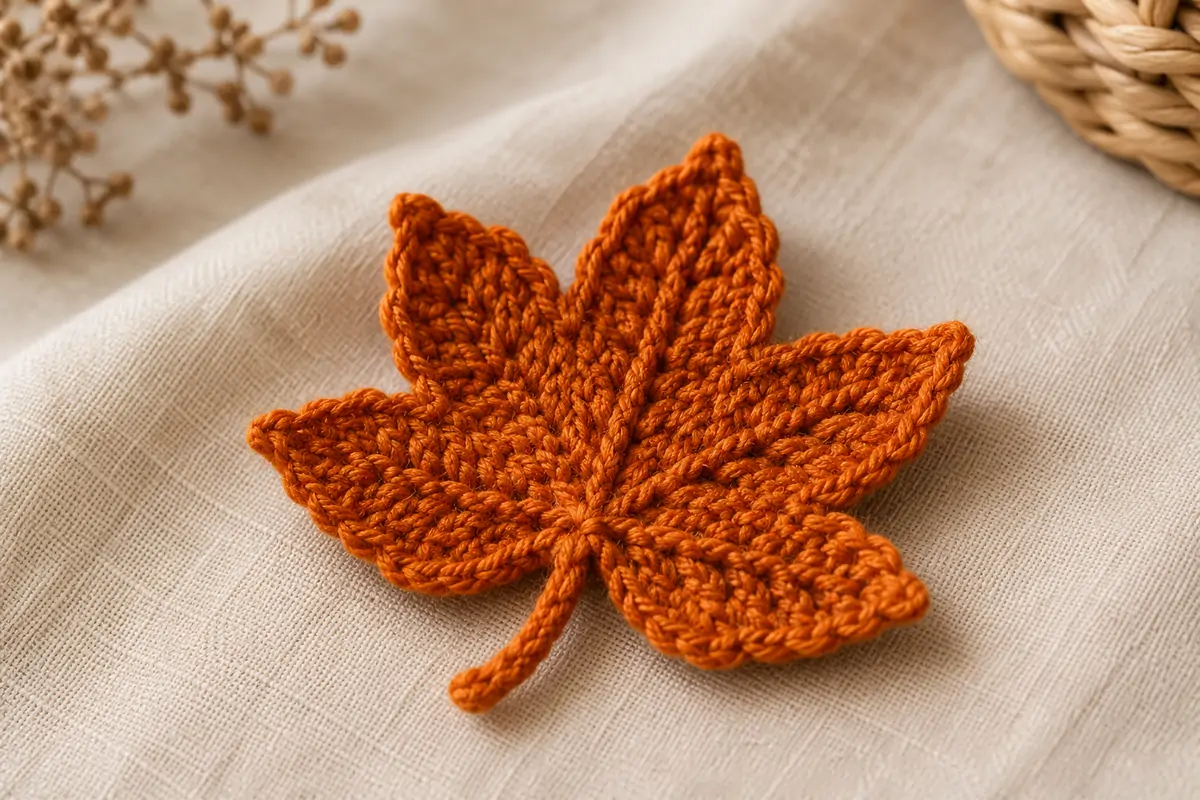
One finished maple leaf — five points, worked around both sides of a single chain, no sewing.
5. Free Pattern 2 — Crochet Oak Leaf 🌳
The oak leaf has rounded lobes instead of sharp points. You create them by changing stitch height as you travel along the chain — tall stitches push outward, short stitches pull inward.
🌳 Oak Leaf — Free Pattern
Materials
- Worsted yarn in gold or brown
- 4 mm (G/6) hook
- Yarn needle, scissors
Yarn Needed
- ~10 yards per leaf
- Mustard and rust look best
Finished Size
- Approx. 8 cm long
- Time: 10 minutes
- Level: ⭐ Beginner
Foundation: Ch 16.
First side: Sl st in 2nd ch from hook, sc in next, hdc in next, dc in next 2, hdc in next, sc in next — that is one lobe. Repeat the sequence (hdc, dc, dc, hdc, sc) twice more along the chain for three lobes total.
Tip: Work (sc, hdc, dc, hdc, sc) into the last chain to round off the top of the leaf.
Second side: Rotate and work back along the free loops of the foundation chain, mirroring step 2 exactly so both sides match.
Stem: Ch 5, then sl st back along those 5 chains. FO leaving a 6-inch tail.
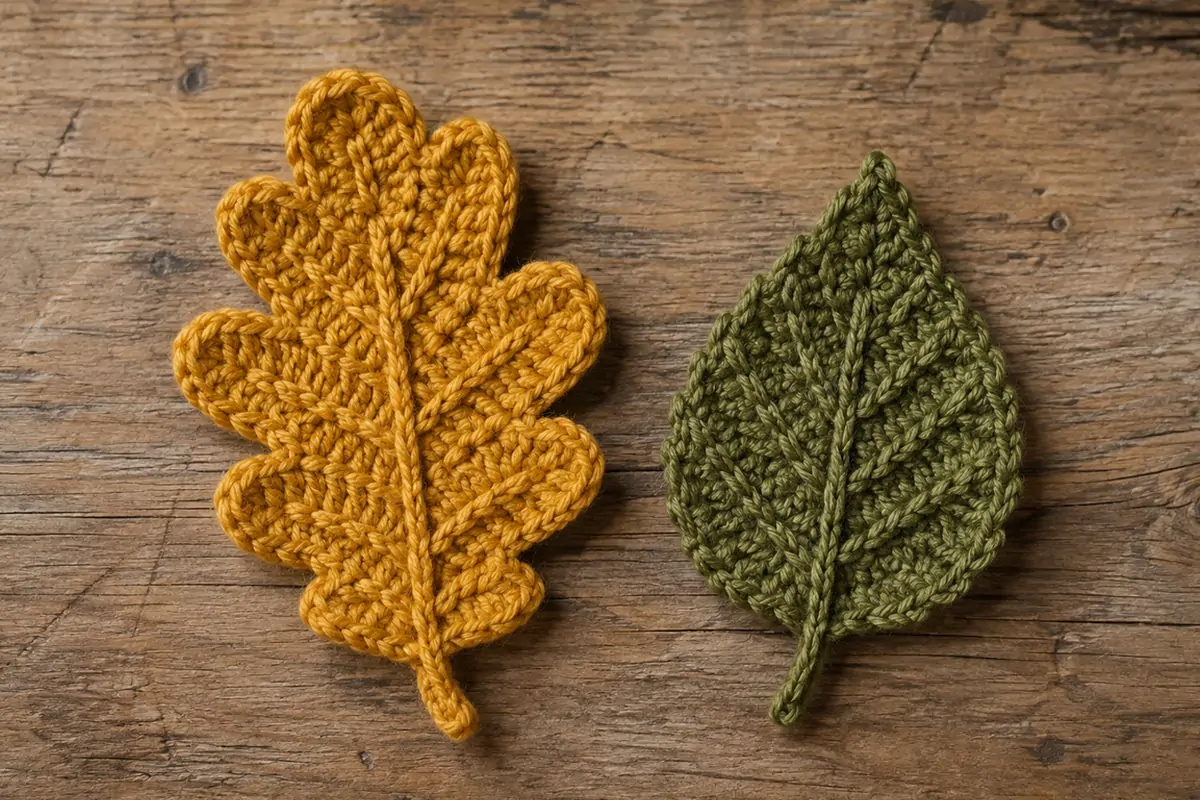
The oak leaf with its rounded lobes, next to the smaller pointed birch leaf.
6. Free Pattern 3 — Crochet Birch Leaf 🌿
The birch is the smallest and simplest of the three. It fills the gaps between the larger leaves and stops the garland looking repetitive. Make plenty of these — they take about five minutes each.
🌿 Birch Leaf — Free Pattern
Materials
- Worsted yarn in olive or sage
- 4 mm (G/6) hook
- Yarn needle, scissors
Yarn Needed
- ~5 yards per leaf
- Perfect for tiny scraps
Finished Size
- Approx. 5 cm long
- Time: 5 minutes
- Level: ⭐ Easiest
Foundation: Ch 10.
First side: Sc in 2nd ch from hook, hdc in next, dc in next 3, hdc in next, sc in next.
Tip: Work (sc, ch 2, sc) into the last chain to create a small point.
Second side: Rotate and work sc, hdc, dc×3, hdc, sc back along the free loops of the chain. Sl st into the first stitch to close.
Stem: Ch 4, sl st back along the chains. FO leaving a 6-inch tail.
7. Free Pattern 4 — Mini Crochet Acorn 🌰
Acorns are the detail that makes the garland look finished. They are worked in the round in two small pieces, and each one takes about fifteen minutes.
🌰 Mini Acorn — Free Pattern
Materials
- Tan or cream yarn (nut)
- Dark brown yarn (cap)
- 3.5 mm hook, pinch of stuffing
Yarn Needed
- ~8 yards tan
- ~5 yards brown
Finished Size
- Approx. 3 cm tall
- Time: 15 minutes
- Level: ⭐⭐ Easy
Nut (tan): MR, 6 sc. R2: (sc, inc)×3 = 9. R3–5: sc×9. R6: (sc, dec)×3 = 6.
Stuff: Add a small pinch of fibrefill, or push in a short scrap of the same yarn. Do not overfill — the acorn should stay firm, not bulge.
Close: FO leaving a tail, thread it through the front loops of the remaining 6 stitches and pull tight. Weave the tail inside.
Cap (brown): MR, 6 sc. R2: inc×6 = 12. R3: sc×12 in back loops only. This makes the rim sit down neatly over the nut. Sl st to join.
Stalk: Ch 5, sl st back down the chains, then sl st into the centre top of the cap. FO leaving a long tail.
Join: Sit the cap on the nut and sew around the rim with the brown tail. Keep the stalk tail long — you will use it to tie the acorn onto the garland.
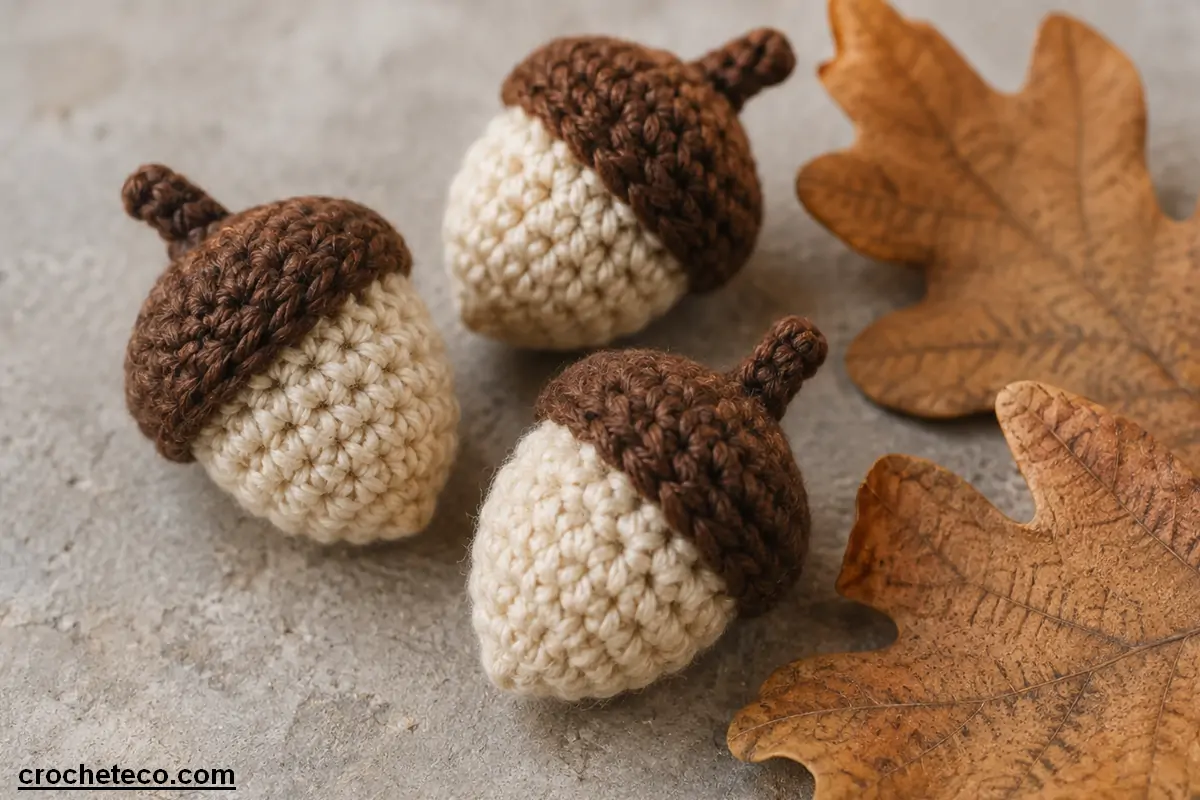
Mini acorns — cream bodies with textured brown caps, worked in the round in two small pieces.
8. How to Assemble Your Crochet Fall Leaf Garland
Aim for around 15 pieces on a 5-foot garland: 5 maple, 4 oak, 4 birch, and 2 acorns. Adjust to whatever your mantel or window needs.
Make the cord
Either cut 5 feet of jute twine, or chain a long cord in brown yarn — roughly 200 chains gives you about 5 feet with a 4 mm hook. Leave 8 inches spare at each end for hanging loops.
Lay everything out first
Spread the cord on a table and arrange all your leaves along it before attaching anything. Alternate sizes and colours so no two of the same leaf sit next to each other. This five-minute step is what separates a garland that looks designed from one that looks random.
Attach the leaves
Using the 6-inch tail on each leaf, tie a double knot around the cord at the base of the stem. Space them about 4 inches apart. Trim the tails to half an inch and tuck them behind the leaf so they do not show from the front.
Add the acorns and finish
Tie the acorns on last, spaced apart rather than side by side. Make a loop at each end of the cord for hanging. Give the whole garland a gentle steam if any leaves are curling, then hang it up.
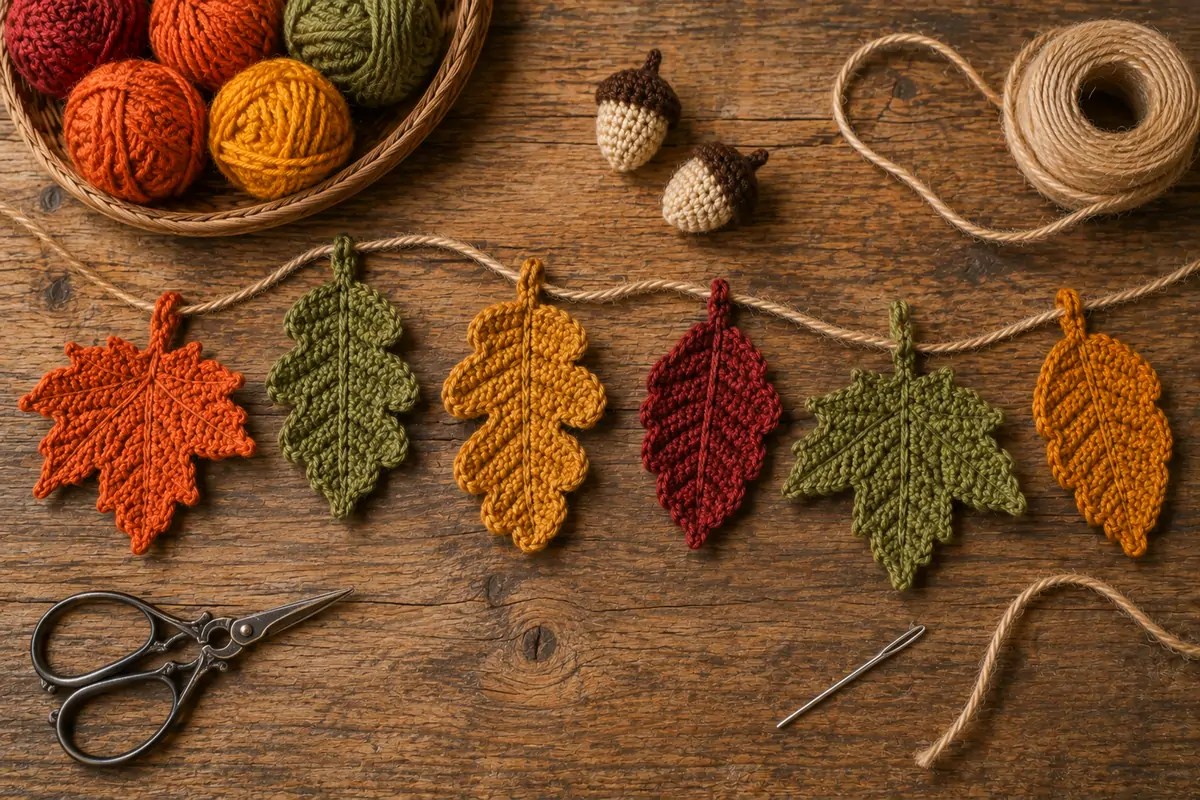
Lay everything out along the cord before you tie a single knot — it makes all the difference.
9. Color Guide for Your Crochet Fall Leaf Garland
Colour is what makes this project look expensive or homemade in the wrong way. Pick one palette and stay inside it rather than using every autumn shade at once.
| Palette | Colours | Best for |
|---|---|---|
| Classic fall | Burnt orange, rust red, mustard, brown | Traditional mantel decor |
| Muted modern | Terracotta, oatmeal, sage, dusty clay | Neutral or minimal rooms |
| Deep autumn | Burgundy, forest green, gold, charcoal | Evening light, darker interiors |
| Soft harvest | Cream, wheat, pale peach, sage | Nurseries and light rooms |
Use three main colours plus one neutral. More than that and the garland starts to read as visual noise rather than autumn. If you are working purely from scraps, sort them into piles first and pick the three you have most of.
10. Ways to Display and Gift It
Five places it works
Mantelpiece: the classic, draped with a gentle dip in the centre. Window frame: hang it across the top so light comes through the stitches. Stair banister: weave it loosely through the rails. Bookshelf: a shorter version along a single shelf edge. Doorway: across the top of an interior door frame, where it moves slightly as people walk through.
Three ways to give it
Rolled and ribboned: coil the garland loosely, tie with ribbon, and add a tag saying it stores flat and lasts for years. Single leaves: individual maple leaves make lovely gift toppers or place-setting markers for a Thanksgiving table. Acorn set: three acorns in a small drawstring bag make a quiet, thoughtful little gift on their own.
Looking for more autumn makes once this one is finished? Ravelry holds one of the largest searchable pattern libraries online, and it is worth browsing for seasonal ideas.
11. Common Mistakes
Leaves that curl instead of lying flat
Almost always tension at the points. The spur chains need a little slack. Steam blocking fixes the ones you have already made — hover a steam iron a few centimetres above the leaf, never touching, then pat flat and let it dry.
Losing count on the second side
When you rotate to work back along the foundation chain, it is easy to skip a stitch. Count the free loops before you start the return trip, and mirror your first side exactly.
Spacing leaves evenly
Evenly spaced leaves look mechanical. Vary the gaps between three and five inches, and let a couple sit closer together. Nature is not tidy, and the garland looks better when it is not either.
Using every colour you own
The most common reason a handmade garland looks cluttered. Stick to the three-colour rule above and it will read as intentional.
12. Crochet Fall Leaf Garland — Frequently Asked Questions
How long does a crochet fall leaf garland take to make?
About three to four hours in total for a 5-foot garland with 15 pieces. Each leaf takes 5 to 12 minutes and each acorn about 15. It splits easily across a few evenings, since every leaf is a finished object on its own.
What yarn works best for crochet leaves?
Worsted weight cotton gives the crispest, flattest leaves and holds its shape well. Acrylic works perfectly and comes in a wider range of autumn shades. Avoid fuzzy or novelty yarn — it hides the stitch definition that makes the leaf shape readable.
Do I need to block the leaves?
Not necessarily, but it helps. Cotton leaves benefit most: wet them, pin them flat, and let them dry. For acrylic, a hover-steam is enough — never press an iron directly onto acrylic yarn, as it will flatten and shine permanently.
Can a complete beginner make this garland?
Yes. The birch leaf uses only chain, single crochet, half double, and double crochet. Start with that one, make three or four, then move up to the oak and maple once the rhythm feels comfortable.
How do I store the garland after the season?
Coil it loosely and lay it flat in a box rather than folding it, which creases the leaves. Keep it away from damp. Stored properly it will come out looking new for many autumns.
Can I sell garlands made from these patterns?
Yes. These are original CrochetEco designs, and you are welcome to sell finished garlands, leaves, and acorns at markets or in your own shop. Please do not republish or resell the written instructions themselves.
Final Thoughts
A crochet fall leaf garland is one of those rare projects where the effort and the reward line up perfectly. Nothing here takes more than fifteen minutes, nothing needs a full skein, and the finished piece comes back out of its box every September for years.
Start with three birch leaves tonight. By the weekend you will have a garland on the mantel and a use for that bag of scraps you have been carrying around since spring.
More Free Patterns for Fall 🍂
Small projects, real instructions, and nothing that needs a full skein to finish.
Browse the Pattern Library →







Reader discussion
Reader Comments
Tried this pattern? Share what worked, ask a question, or help another crocheter.
Your turn
Comments are moderated to keep the discussion useful and family-friendly. Please do not post personal information.