
Last updated: August 2026
If you searched for how to purl crochet, you probably ran into a confusing answer somewhere: “purl is a knitting stitch, crochet doesn’t have one.” That is only half true, and it is not a helpful place to stop.
Here is the honest version. Crochet has no stitch officially named “purl.” But crochet absolutely can produce the same bumpy, ridged, stretchy purl texture that knitters get — and it takes four different techniques, each suited to a different project. This guide walks through all four, step by step, so you can pick the right one and start a swatch today.
If you are brand new to the hook, start with our beginner’s guide to crochet first, then come back here.
Quick Answer
To create a purl texture in crochet, use back post stitches. Working a back post double crochet pushes the stitch toward the back of your fabric, leaving a recessed bump on the front — exactly what a purl stitch looks like in knitting. Alternate it with front post double crochet and you get true crochet ribbing.
Purl vs. Crochet: What Is Actually Happening
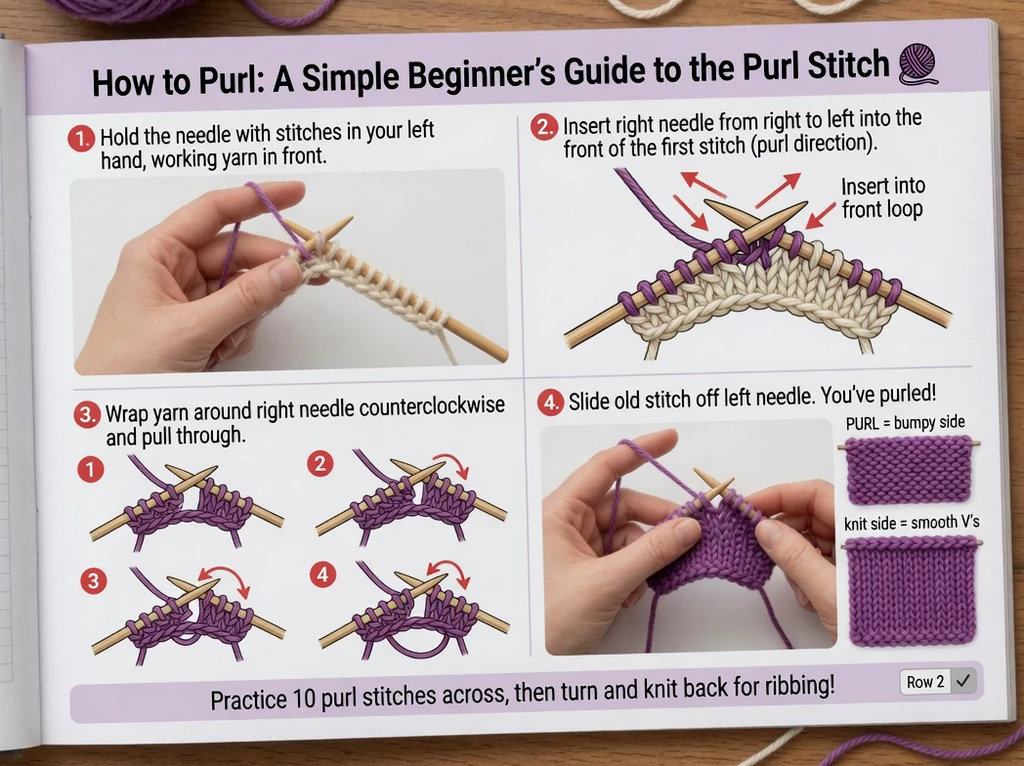
In knitting, every stitch has two faces. The knit face is a smooth “V.” The purl face is a horizontal bump. You get texture by choosing which face points toward you.
Crochet works differently. Each stitch is a finished, self-contained loop, so there is no front face and back face to flip. That is why there is no direct one-to-one purl equivalent.
What crochet can do is change where you insert the hook. Insert it in a different place and the stitch leans forward or backward, and that lean is what creates the ridge. Once you understand that, purl texture stops being a mystery.
Abbreviations used in this guide (US terms):
| Abbreviation | Meaning |
|---|---|
| ch | chain |
| sl st | slip stitch |
| sc | single crochet |
| dc | double crochet |
| FPdc | front post double crochet |
| BPdc | back post double crochet |
| BLO | back loop only |
Method 1: Back Post & Front Post Ribbing (Best Overall)
This is the closest thing crochet has to knit-and-purl ribbing, and it is what most patterns mean when they call for a “ribbed” cuff, hem, or hat band.
What you need
- Worsted weight yarn (size 4)
- 5 mm (H/8) hook — see our crochet hook size chart if you are using a different yarn weight
- Scissors and a yarn needle
How to work a back post double crochet (the “purl”)
- Yarn over.
- Instead of going into the top of the stitch, insert your hook from the back, around the post of the stitch below, and back out to the back again. The post is the vertical bar of the stitch.
- Yarn over and pull up a loop. You now have three loops on the hook.
- Yarn over, pull through two loops.
- Yarn over, pull through the last two loops.
The finished stitch sits toward the back, leaving a dip on the front. That dip is your purl.
How to work a front post double crochet (the “knit”)
Exactly the same, except in step 2 you insert the hook from the front, around the post, and back out to the front. The stitch pops forward as a raised column.
Putting them together
Make a starting chain in any even number, then:
- Row 1: dc in the 3rd ch from hook and in each ch across. Turn.
- Row 2: ch 2, then *FPdc in the next stitch, BPdc in the next stitch*; repeat across. Turn.
- Rows 3 and up: ch 2, then work FPdc into every raised stitch and BPdc into every recessed stitch. Match what you see.
After three rows the ribbing appears and the fabric starts to stretch sideways like knit ribbing.
Best for: hat brims, sweater cuffs and hems, chunky scarves, anything that needs to hug. Useful if you are working through beginner sweater patterns.
Method 2: Slip Stitch Ribbing (Easiest to Learn)
If post stitches feel awkward, this one uses a single stitch you already know.
- Chain the number of stitches you want your ribbing to be tall (not wide). For a 2-inch cuff, about 8 chains.
- Row 1: sl st in the 2nd ch from hook and in each ch across. Turn.
- Row 2: ch 1, then sl st in the back loop only of each stitch across. Turn.
- Repeat Row 2 until the strip is long enough to wrap your wrist, hat brim, or hem.
- Sew or slip stitch the two short ends together.
Working in the back loop only leaves the front loop sitting on the surface as a raised bar. Rows of those bars read as purl ridges.
Watch your tension here. Slip stitches tighten faster than any other stitch. Work loosely, and if the strip will not stretch, go up one full hook size.
Best for: cuffs, hat brims, and clean edges added after a project is finished.
Method 3: The Purl Slip Stitch (The Closest True Purl)
This is the technique that actually earns the name. It comes from slip stitch crochet, sometimes called Bosnian crochet.
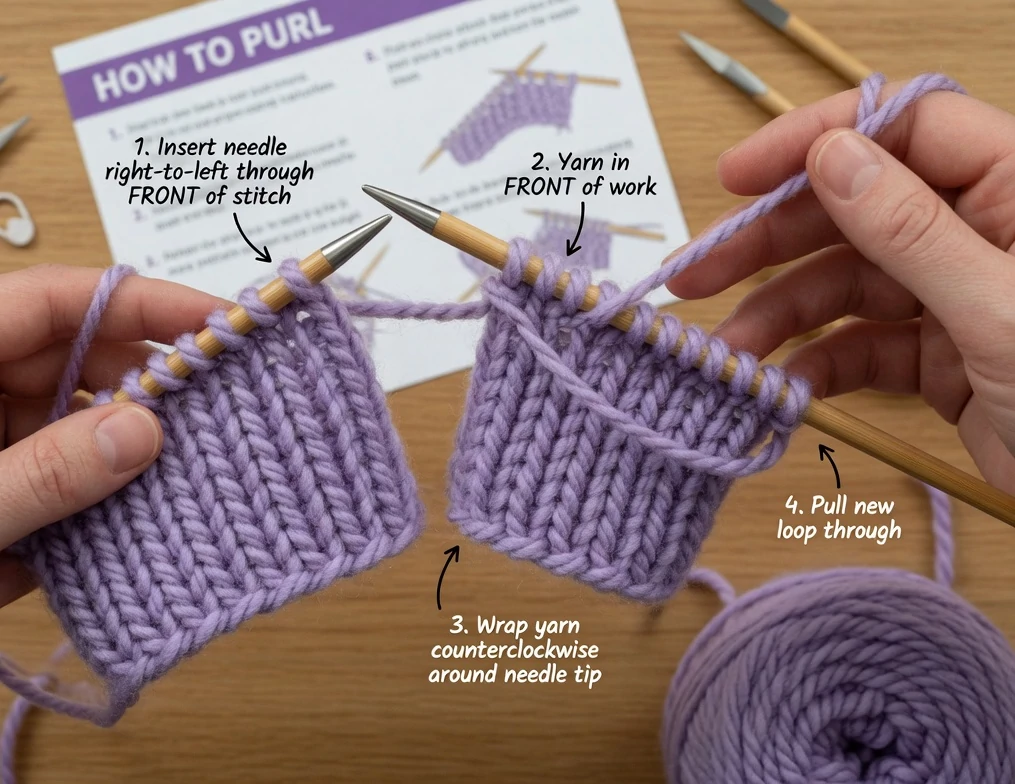
- Bring your working yarn to the front of your work, so it sits between you and the fabric.
- Insert the hook into the next stitch as usual.
- Yarn over and draw the loop through the stitch and through the loop on your hook in one motion.
Holding the yarn in front forces a horizontal bump onto the front face — visually almost identical to a knit purl bump.
It is fiddly at first and slower than the other methods, so treat it as a texture tool rather than a way to build a whole garment. It shines in small decorative panels and surface detail.
Best for: decorative bands, texture accents, faux-knit panels.
Method 4: Waistcoat Stitch (For the Knit Side)
Purl only means something next to its opposite. If you want the smooth knit “V” face to contrast against your purl ridges, use the waistcoat stitch.
Work a single crochet, but insert your hook into the center of the V of the stitch below instead of under the top two loops. The result looks convincingly like stockinette.
Two notes before you commit: it works best in rounds rather than rows, and it eats yarn — expect noticeably less coverage per skein than plain single crochet. It also fights back if your tension is tight, so use a hook one size larger than the yarn label suggests.
Best for: hats, bags, and anything worked in the round where you want a knit look.
Which Method Should You Use?
| Method | Difficulty | Stretch | Best for |
|---|---|---|---|
| Front/back post ribbing | Beginner+ | High | Cuffs, hems, hat brims |
| Slip stitch ribbing | Beginner | High | Edges, brims, quick cuffs |
| Purl slip stitch | Intermediate | Low | Decorative texture panels |
| Waistcoat stitch | Intermediate | Low | Knit-look hats and bags |
Practice Swatch: A Ribbed Wrist Cuff (30 Minutes)
The fastest way to make any of this stick is to make something small and finish it.
You need: worsted weight yarn, 5 mm hook, yarn needle.
- Ch 24 (or enough to wrap your wrist loosely).
- Row 1: dc in the 3rd ch from hook and in each ch across. Turn. (22 dc)
- Row 2: ch 2, *FPdc, BPdc*; repeat across. Turn.
- Rows 3–6: ch 2, work FPdc on raised stitches and BPdc on recessed stitches. Turn.
- Fasten off, leaving a 12-inch tail.
- Fold the strip so the short ends meet, then whip stitch them together with the yarn needle.
- Weave in your ends.
You now have a wearable cuff and a permanent reference for what post stitches look like. Ready for something bigger? Try our thin crochet headband pattern next — it uses the same rhythm.
Common Mistakes to Avoid
Working into the top of the stitch instead of around the post. The single most common error. If your fabric looks flat with no ridges, this is why. Post stitches wrap the vertical bar, not the top loops.
Skipping the stitch behind the post stitch. You do not skip it — the post stitch replaces it. Skipping causes your stitch count to shrink every row.
Pulling too tight. Post stitches need room to travel around the post. Tight tension makes them stiff, and stiff ribbing does not stretch, which defeats the entire point.
Losing the pattern on the turn. After you turn, stop and look at the fabric. Raised column facing you means FPdc. Recessed dip means BPdc. Read the stitch instead of counting from memory.
Not blocking the finished piece. Wet the piece, pin it flat, let it dry. Ribbing evens out dramatically after blocking.
Frequently Asked Questions
Is there a real purl stitch in crochet? Not officially. No standard crochet stitch is named “purl.” But back post stitches and the purl slip stitch both create the same bumpy texture, so the effect is fully reproducible.
Can I follow a knitting pattern using crochet? No, not stitch for stitch. The construction is different and your gauge will not match. You can recreate the look of a knit pattern using the four methods above, but you will need to rework the numbers.
Why does my crochet ribbing not stretch? Almost always tension. Go up one hook size and work more loosely. Slip stitch ribbing in particular needs a deliberately relaxed hand.
What is the easiest purl-look method for a complete beginner? Slip stitch ribbing in the back loop only. It uses one stitch you already know and produces a convincing ridge on the very first row.
Do I need special hooks for post stitches? No. Any hook works. Some crocheters find an inline hook slightly easier for getting around the post, but it is a preference, not a requirement.
Final Thoughts
The short version: crochet cannot purl the way knitting purls, but it can produce every texture purling gives you. Back post stitches handle ribbing, slip stitch ribbing handles edges, the purl slip stitch handles decorative bumps, and waistcoat stitch handles the smooth knit face.
Pick one, make the wrist cuff above, and you will understand this better in half an hour than in an hour of reading. Then browse our free pattern library and put it to work on a real project.