
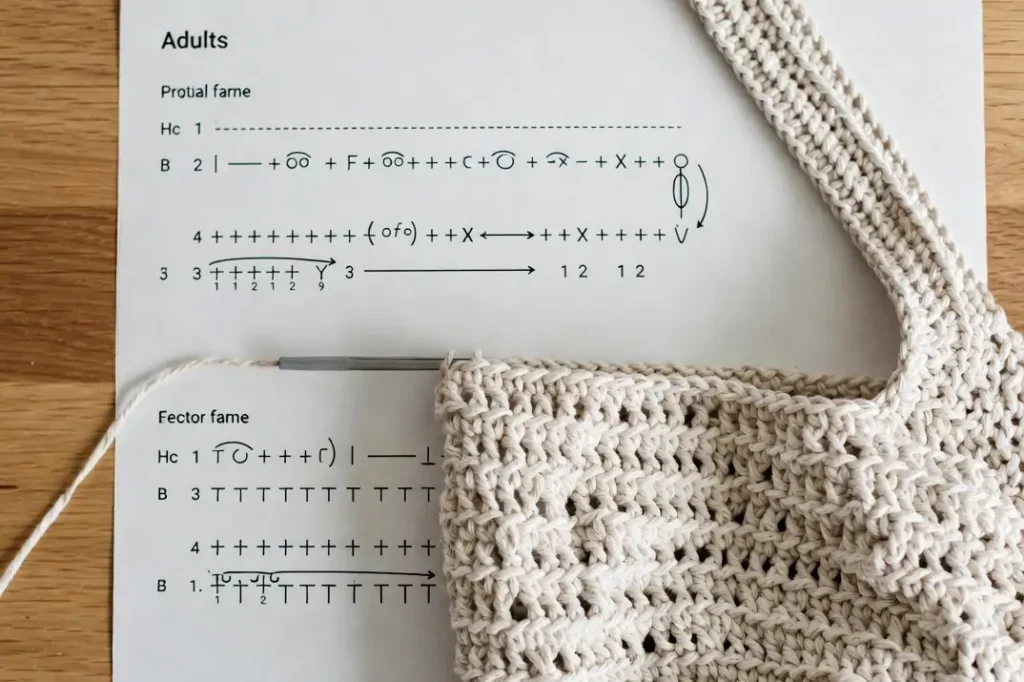
Easy Everyday Crochet Tote Bag
A solid single-crochet bag with a rectangular base, a roomy body, and two shoulder-length handles.
This crochet bag pattern for adults makes one practical, dense-fabric tote. You will crochet a flat base, a separate body panel, and two handles. The body has exactly the same number of stitches as the base has edge positions, so the pieces join without guessing at the corners.
The stitch counts and assembly math have been checked. Finished measurements and yardage are approximate because yarn, tension, and finishing can change the result. Make and wash a gauge swatch before starting the bag.
How This Everyday Tote Is Built
This is a solid tote, not an open mesh market bag. The base is a 56-stitch by 16-row rectangle. The body begins with 144 stitches and is seamed into a tube. Its lower edge divides into 56 + 16 + 56 + 16, which matches the four edges of the base.
The handles are crocheted separately, then sewn over a generous section of the body. That overlap spreads the pull across more fabric than a handle attached at only one or two points.
If you need a stretchy, open bag for produce, use the free crochet market bag pattern. The pattern on this page is denser and is intended as an everyday shoulder tote.
Finished Size, Gauge, and Skill Level
Approximate finished size
- Width: 14 in. / 35.5 cm
- Body height: 12 in. / 30.5 cm
- Base depth: 3¾ in. / 9.5 cm
- Handle drop: about 10 in. / 25.5 cm
Gauge in single crochet
- 16 sc = 4 in. / 10 cm
- 17 rows = 4 in. / 10 cm
- Measure after washing the swatch
- Measure the center, not the edges
The skill level is advanced beginner. You only need chains, single crochet, and slip stitch, but accurate gauge and tidy assembly matter. If single crochet is new to you, review this step-by-step beginner crochet guide first.
Make the gauge swatch
Ch 25. Starting in the second chain from the hook, sc across. Ch 1 and turn after every row. Work at least 22 rows. Wash or wet the swatch the same way you plan to care for the bag, reshape it without stretching, and let it dry flat.
Count 16 stitches and 17 rows across the middle 4 inches. If you have too few stitches, try a smaller hook. If you have too many, try a larger hook. The hook size is only a starting point; gauge decides the finished size.
Materials
- 650–750 yd. / 595–685 m of #4 medium-weight cotton or a firm cotton blend
- 4.5 mm crochet hook, or the size needed to match gauge
- Optional 4 mm hook for a firmer top edge
- Locking stitch markers or sewing clips
- Sturdy yarn needle and scissors
- Optional cotton fabric and cotton twill tape for lining and handle support
A smooth, low-stretch yarn helps the tote keep its shape. A soft acrylic can work, but the body and handles may lengthen under use. If the yarn label is unfamiliar, the worsted yarn weight guide explains the #4 category.
Yardage is an estimate, not a guarantee. Buy enough from one dye lot when possible. A different fiber, tighter tension, longer handles, or an added border will use more yarn.
US Crochet Terms and Pattern Notes
| Abbreviation | US term | Pattern use |
|---|---|---|
| ch | chain | Foundation and turning chain |
| sc | single crochet | Main stitch throughout |
| sl st | slip stitch | Joins the top-edge round |
| st / sts | stitch / stitches | Stitch counts |
| rep | repeat | Repeat an instruction |
- The ch 1 at the beginning of a row does not count as a stitch.
- Work the first sc in the first stitch unless the instruction says otherwise.
- Count each row before turning. A missed edge stitch will change the assembly math.
- Keep the foundation chains relaxed. A tight chain can pull the base or body out of shape.
- Use the same yarn and main hook for all pieces unless you intentionally use the optional smaller hook at the top.
Free Crochet Tote Bag Pattern
Work the base and body flat in rows. Do not fasten off early or change the counts to make the pieces appear to fit. If an edge is short, find the missing stitch before assembly.
Part 1: Crochet the rectangular base
Finish: Fasten off. The base should measure about 14 × 3¾ in. / 35.5 × 9.5 cm at the stated gauge.
Part 2: Crochet the body panel
Finish: Fasten off, leaving a long tail for the side seam. The panel should measure about 36 × 11¾ in. / 91.5 × 30 cm before seaming.
The final body row must have 144 stitches. Mark stitches 56, 72, and 128. The remaining endpoint is stitch 144. These markers divide the lower edge into 56, 16, 56, and 16 stitches.
Seam the Body and Add the Base
Make the body tube
Bring the two 50-row side edges together with the right sides facing each other. Seam the edges with mattress stitch or whipstitch. Match one row end to one row end so the top and bottom stay level. Turn the tube right side out.
Mark the four sections
Along the bottom edge, place markers after 56 stitches, after 72 stitches, and after 128 stitches. The side seam can sit at the end of the last 16-stitch section.
Clip the base in place
With right sides together, match one 56-stitch section to a long edge of the base. Match the next 16 stitches to a short edge. Repeat for the second long and short edges. Clip all four corners before sewing.
Sew one position to one position
Whipstitch through one body stitch and one base edge position at a time. Each long edge uses 56 positions; each short edge uses 16 row ends. Do not add an extra stitch at a corner. Fasten securely, then turn the bag right side out.
Add the top edge
Join the yarn at the side seam. Ch 1, then sc in each stitch around. Join with a sl st to the first sc. Count 144 sc. Fasten off. Keep this round relaxed; if the opening draws inward, undo it and use the larger hook or looser tension.
Crochet and Attach the Handles
Make two matching handles. The stated length gives about a 10-inch drop after the ends are attached. Measure the first finished handle before making the second because row gauge can change the length.
Handle — make 2
Finish: Fasten off, leaving a long tail for sewing. Each handle should be about 2 in. / 5 cm wide and 26 in. / 66 cm long before attachment.
Mark each handle position
Lay the bag flat with the side seams aligned. Each front or back panel contains 56 stitches. On each panel, the first handle end covers stitches 9–16 and the second covers stitches 41–48.
Sew the handles
- Pin one handle end over body rows 39–50 and stitches 9–16. The 12-row overlap is about 2¾–3 inches.
- Check that the handle is not twisted. Pin its other end over rows 39–50 and stitches 41–48.
- Sew around all four sides of each overlap. Add a diagonal X through the center without pulling the fabric out of shape.
- Repeat on the back panel. Compare both handle drops before making the final knots.
The approximate drop comes from a 26-inch handle minus two 3-inch attachment sections: 20 inches remain exposed, and half of that length forms the 10-inch drop.
Before use, pull firmly on every sewn end and inspect the yarn between stitches. A fabric lining or twill tape behind the handle areas can reduce stretching, but this pattern does not have a tested weight rating.
Stitch Count Checkpoints
| Checkpoint | Required count | Why it matters |
|---|---|---|
| Every base row | 56 sc | Keeps both long edges the same length |
| Base side edges | 16 row ends each | Matches both 16-stitch body sections |
| Every body row | 144 sc | Matches the complete base perimeter |
| Top-edge round | 144 sc | Prevents an accidental increase or decrease |
| Every handle row | 8 sc | Keeps the straps the same width |
| Each handle layout | 8 + 8 + 24 + 8 + 8 | Centers two 8-stitch ends on a 56-stitch panel |
How to Adjust the Size
Swatching is still required. These formulas use the stated gauge of 4 stitches and 4.25 rows per inch.
Change the width or depth
- Base stitches = desired width in inches × 4
- Base rows = desired depth in inches × 4.25
- Round to a whole number
Recalculate the body
- Body stitches = 2 × base stitches + 2 × base rows
- Body rows = desired height in inches × 4.25
- Re-center both handle pairs after resizing
For a different handle drop, crochet until the strip length equals twice the desired drop plus both attachment lengths. For example, a 12-inch drop with 3 inches attached at each end needs about 30 inches total: (12 × 2) + 3 + 3.
Optional Fabric Lining
A lining is useful for keys, pens, and other small items that can work through crochet fabric. It also limits some body stretch. It does not turn the tote into a heavy-load bag.
- Measure the finished bag instead of relying on the pattern dimensions.
- Cut two fabric rectangles with seam allowance on all sides.
- Sew the side and bottom seams, then box the lower corners to match the base depth.
- Fold the top edge under and hand-sew it just below the crochet top edge.
- If desired, place cotton twill tape behind each handle attachment area before securing the lining.
Troubleshooting
| Problem | Likely cause | Fix |
|---|---|---|
| The base curls | Foundation chain or tension is too tight | Try a larger hook for the chain, then return to the gauge hook. See why crochet curls. |
| The body will not match the base | A row lost or gained a stitch | Recount the final body row and all four base edges. They must be 144 total positions. |
| The top edge puckers | The edging round is tighter than the body | Redo the round with looser tension or the next larger hook. |
| One handle twists | The second end was flipped before sewing | Unpin that end, lay the strip flat, and attach it without rotating the strip. |
| The handles stretch | Yarn is elastic or the load is pulling on a small area | Add twill tape behind the handles, reinforce the seams, or shorten the handles. |
| The sides lean | Edge stitches were missed or added | Count each row and place a marker in the first and last stitch. |
Care and Safe Use
- Follow the yarn label when washing.
- Use cool or lukewarm water unless the label permits otherwise.
- Reshape the empty bag and dry it flat.
- Do not hang the wet tote from its handles.
- Inspect handle seams and worn stitches regularly.
- Do not use the bag to carry a child, pet, sharp tool, or hot item.
No maximum carrying weight is stated because the yarn, seams, lining, and workmanship have not been load-tested. Use ordinary judgment and stop using the tote if a handle seam loosens.
Frequently Asked Questions
What yarn works well for this crochet tote?
A smooth #4 cotton or firm cotton blend with limited stretch is a practical choice. Whatever yarn you use, match the washed gauge and make sure the fabric is dense enough that small objects do not slip through.
Does the bag need a lining?
No. The single-crochet fabric is solid, so a lining is optional. Add one if you carry small items or want to limit stretching.
Can I make the handles longer?
Yes. Add rows equally to both handles. Each extra 8 or 9 rows adds about 2 inches at the stated row gauge. Remember that a longer strap may stretch more in use.
How can I keep crochet handles from stretching?
Use a firm yarn, keep the fabric at gauge, sew each end over the full 12-row overlap, and add cotton twill tape behind the handles if needed. Do not rely on a few attachment stitches.
Can I use a different hook size?
Yes. Use the hook that produces 16 single crochet stitches and 17 rows per 4 inches with your yarn. The crochet hook size chart can help when moving up or down a size.
Why does my finished bag have a different size?
Small gauge differences multiply across 144 stitches and 50 rows. Measure both stitch and row gauge after washing. Fiber choice and blocking can also change the dimensions.
Recount the top edge, tug each handle seam, and weave every yarn tail through several stitches in two directions. The tote is ready when the base sits flat, both handles have the same drop, and no seam opens under a firm hand pull.


Reader discussion
Reader Comments
Tried this pattern? Share what worked, ask a question, or help another crocheter.
Your turn
Comments are moderated to keep the discussion useful and family-friendly. Please do not post personal information.