
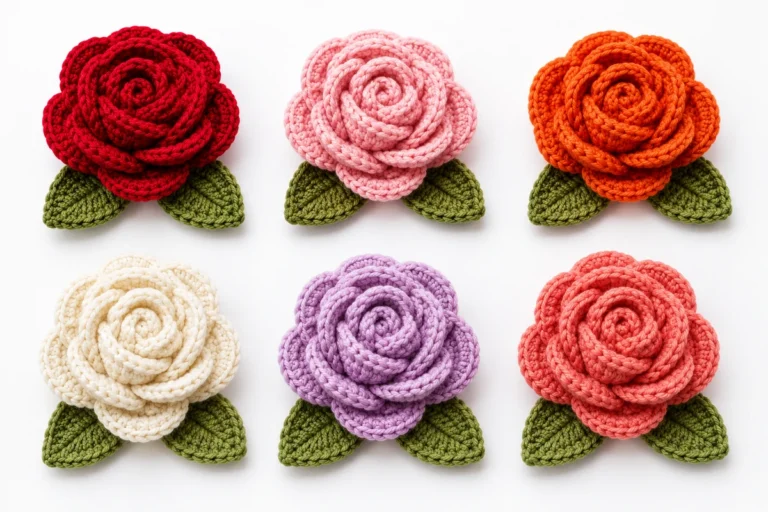
Amigurumi Flowers Free Patterns — 4 Easy Designs for Every Skill Level
Rose, sunflower, daisy, and tulip — free step-by-step crochet flower patterns you can make today
These amigurumi flowers free patterns are some of the most satisfying and joyful projects in all of crochet. In fact, a finished amigurumi flower takes less than an hour to make — yet the result lasts forever, never wilts, and genuinely delights everyone who receives one. Furthermore, free amigurumi flower patterns have exploded in popularity in 2026 because they work beautifully as handmade gifts, bouquet decorations, hair accessories, bag charms, and home décor. Therefore, whether you are a complete beginner or an experienced crocheter looking for a quick and joyful project, these four amigurumi flowers free patterns are exactly what you need. Let’s make some flowers! 🌸
In this guide, you will find four complete free amigurumi flower crochet patterns — a classic rose, a bright sunflower, a sweet daisy, and an elegant tulip. Additionally, each pattern includes a full materials list, step-by-step instructions, color suggestions, and tips for assembling and displaying your flowers beautifully. Moreover, all four patterns are completely free and suitable for every skill level.
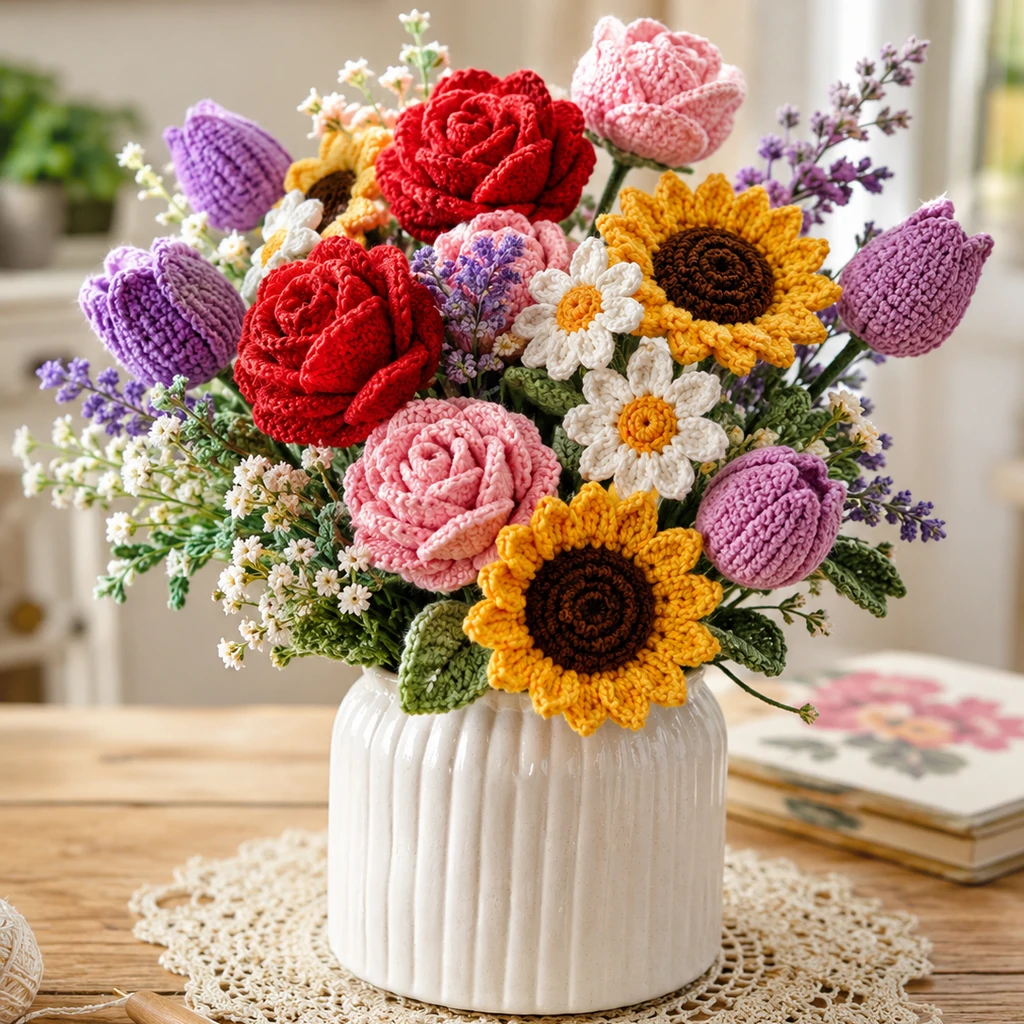
A stunning collection of amigurumi flowers — four free patterns, endless color possibilities, and zero wilting. Ever.
📋 What’s in this guide
- Why amigurumi flowers free patterns are perfect for beginners
- Supplies you need — yarn, hook, and tools
- Essential techniques before you begin
- FREE PATTERN 1 — Amigurumi Rose
- FREE PATTERN 2 — Amigurumi Sunflower
- FREE PATTERN 3 — Amigurumi Daisy
- FREE PATTERN 4 — Amigurumi Tulip
- Color guide and creative ideas
- How to display and gift your flowers
- Frequently asked questions
1. Why Amigurumi Flowers Free Patterns Are Perfect for Beginners
Of all the amigurumi flowers free patterns available online, the ones in this guide were specifically chosen because they are achievable for every skill level. Furthermore, unlike large amigurumi animals or dolls, flowers are small — consequently, most can be completed in a single sitting. As a result, they are incredibly satisfying as a first crochet project or as a quick weekend make for experienced crocheters.
What Makes These Crochet Flower Patterns So Popular?
There are several reasons why amigurumi flower patterns have become so beloved in the crochet community. First of all, they use minimal yarn — typically less than 50 yards per flower. Additionally, they require very few supplies and no complex shaping. Furthermore, the finished result is genuinely beautiful and has dozens of practical uses. For example, you can use them as gift toppers, hair clips, brooch pins, garland decorations, wreath accents, and even boutonnières for weddings. Moreover, since most of these flowers do not require stuffing, they are even simpler to make than standard amigurumi projects.
Who These Amigurumi Flower Patterns Are For
Importantly, these patterns are suitable for complete beginners who know only the chain stitch and single crochet. However, they are equally enjoyable for experienced crocheters who want a quick and creative project. Furthermore, all four flowers are worked flat or in simple rounds — consequently, no advanced techniques are required at all. In addition, if you need a refresher on basic stitches, check out our complete beginners crochet guide and our amigurumi basics tutorial for step-by-step photo guidance.
“A handmade crochet flower says something no store-bought bouquet ever can — that someone took time, chose colors with care, and made something just for you.”
Each of these amigurumi flowers free patterns takes between 15 and 45 minutes to complete. Furthermore, you only need a small amount of yarn — making them ideal for using up leftover scraps. Additionally, all four designs are completely free to use for personal and commercial purposes. Therefore, you can make them as gifts, sell them at craft fairs, or use them to decorate your home without any restrictions.
2. Supplies for Amigurumi Flowers Free Patterns
One of the greatest advantages of these amigurumi flowers free patterns is that they require very few supplies. Therefore, even if you are starting completely from scratch, you can gather everything you need for under $15. Here is exactly what you will need:
Essential Tools and Materials
Yarn
DK weight (size 3) or worsted weight (size 4). Any smooth acrylic works perfectly. You will need 20–50 yards per flower color.
Crochet Hook
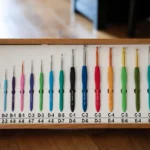
3mm–4mm depending on yarn weight. A smaller hook creates tighter, neater petals — especially important for roses and tulips.
Scissors
Small sharp scissors for clean yarn cuts. Essential for every project, however small.
Yarn Needle
For weaving in ends and sewing flower parts together such as center to petals and leaves to stems.
Stitch Markers
Helpful for marking the beginning of rounds when working flower centers. Consequently, you will never lose your place mid-round.
Green Yarn for Stems
Any green shade for leaves and stems. Alternatively, use floral wire wrapped with green yarn for poseable stems.
Best Yarn Brands for Crochet Flowers
For the most beautiful results, use smooth, tightly-spun yarn with good color saturation. Specifically, Paintbox Simply DK or Lion Brand Pound of Love are excellent affordable choices. Furthermore, cotton yarn such as Lion Brand 24/7 Cotton creates especially crisp, defined petals that hold their shape beautifully over time. Additionally, avoid fuzzy or novelty yarns because they obscure the petal definition that makes these amigurumi flowers look so elegant and well-crafted.
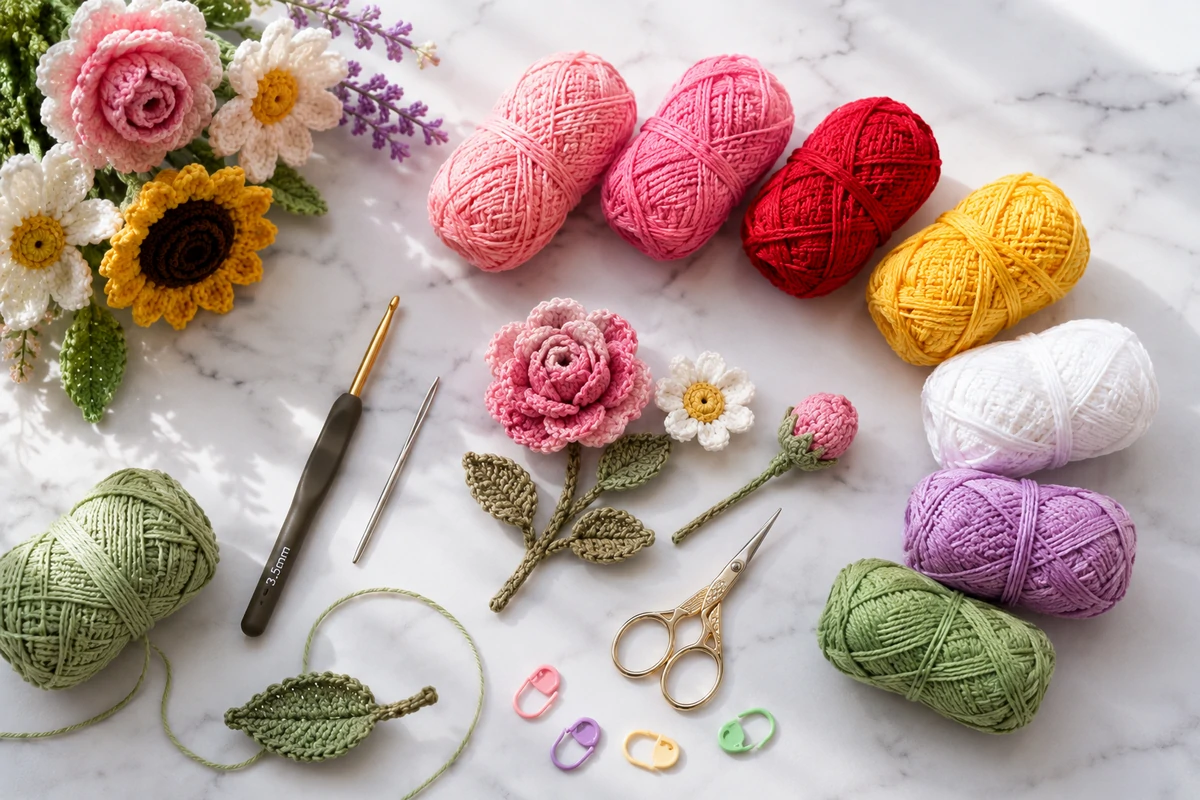
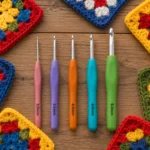
Everything you need for these amigurumi flowers free patterns — a small yarn collection, a hook, and about an hour of your time.
3. Essential Techniques for Amigurumi Flowers Free Patterns
Before diving into the amigurumi flowers free patterns, it is important to be comfortable with a few basic techniques. However, none of these are difficult — in fact, you can learn all of them in under 30 minutes if you are a complete beginner. Therefore, take a few minutes to review these key skills before you start.
The Magic Ring — How to Start Every Flower
Magic Ring (Magic Circle)
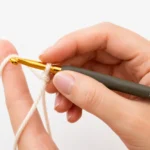
Almost every amigurumi flower pattern starts with a magic ring. Therefore, learning this technique is essential. To make a magic ring: wrap the yarn around your fingers to form a loop, insert your hook, pull up a loop of working yarn, chain 1 to secure, then work your stitches into the ring. Subsequently, pull the tail end to close the ring tightly. As a result, you will have a perfectly closed center with no hole — which looks much more professional than starting with a simple chain ring.
Key Abbreviations — US Crochet Terms
Quick Reference for All Patterns Below
MR = magic ring · ch = chain · sc = single crochet · hdc = half double crochet · dc = double crochet · tr = treble crochet · sl st = slip stitch · inc = increase (2 sc in same stitch) · st(s) = stitch(es) · FO = fasten off
All patterns use US crochet terminology. Furthermore, if you are used to UK terms, remember that US dc = UK tr, and US sc = UK dc. Consequently, using the wrong term will produce very different results, so always double-check which system your pattern uses.
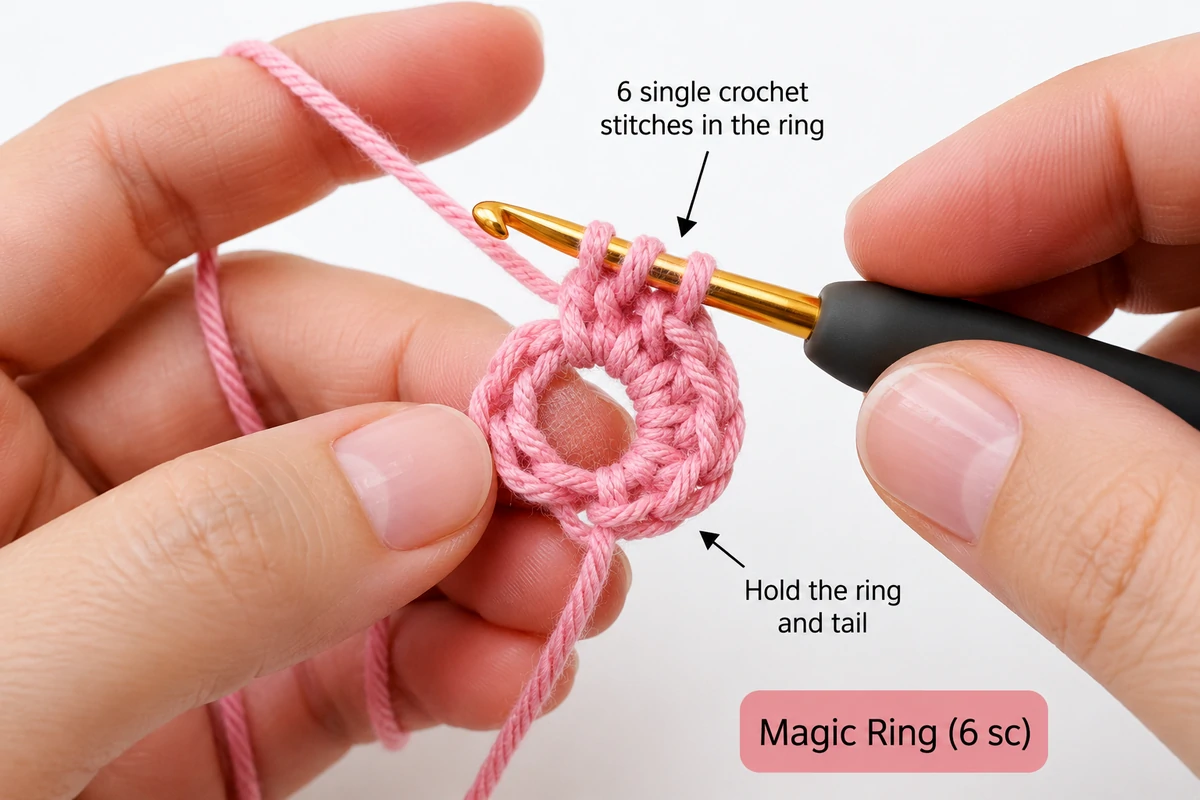
The magic ring — the single most important technique for beautiful amigurumi flower centers. Once you learn it, you will use it forever!
4. Free Amigurumi Flower Pattern 1 — Crochet Rose 🌹
The rose is the most iconic of all amigurumi flowers free patterns. In fact, a crocheted rose makes one of the most universally beloved handmade gifts you can give. Furthermore, this particular design creates a beautifully layered, realistic-looking rose that spirals naturally as you work. Moreover, it works up in about 20–30 minutes once you have practiced it once. Therefore, it is an ideal starting point for anyone new to crochet flower patterns.
Rose Pattern Materials and Instructions
🌹 Amigurumi Rose — Free Pattern
Materials
- DK yarn — Red / Pink / Cream
- 3mm or 3.5mm hook
- Scissors + yarn needle
- Optional: green yarn for leaves
Yarn Needed
- ~30–40 yards main color
- ~10 yards green (leaves)
- Any smooth DK or worsted
Finished Size
- Approx. 6cm diameter
- Time: 20–30 minutes
- Level: ⭐ Beginner
Foundation: Ch 40. This long chain forms the entire spiral base of the rose. Keep tension loose and even throughout — consequently, the petals will lay flat and spiral naturally.
Row 1 — Small Petals: Starting in 2nd ch from hook: sc×2, (hdc, dc, hdc) in next ch, sc×2. Repeat 4 times total = 4 small petals. You should be at approximately stitch 20.
Row 2 — Medium Petals: Continue along the chain: sc×2, (hdc, dc, dc, hdc) in next ch, sc×2. Repeat 3 times = 3 medium petals. Furthermore, each petal gets slightly larger as you work toward the end of the chain.
Row 3 — Large Petals: For the remaining chain stitches: sc, (hdc, dc, tr, dc, hdc), sc. Repeat 2 times = 2 large outer petals. FO, leaving a long 12-inch tail for assembly.
Assembly: Starting from the small-petal end, roll the strip into a tight spiral. As you roll, the petals naturally layer around each other. Subsequently, use the yarn tail and needle to sew through the base several times to hold the spiral firmly in place. Weave in all remaining ends.
Leaves (optional): With green yarn, ch 8. Sc in 2nd ch from hook, hdc, dc, hdc, sc, sl st. FO. Make 2 leaves. Sew them to the back base of the rose, angling outward for a natural look.
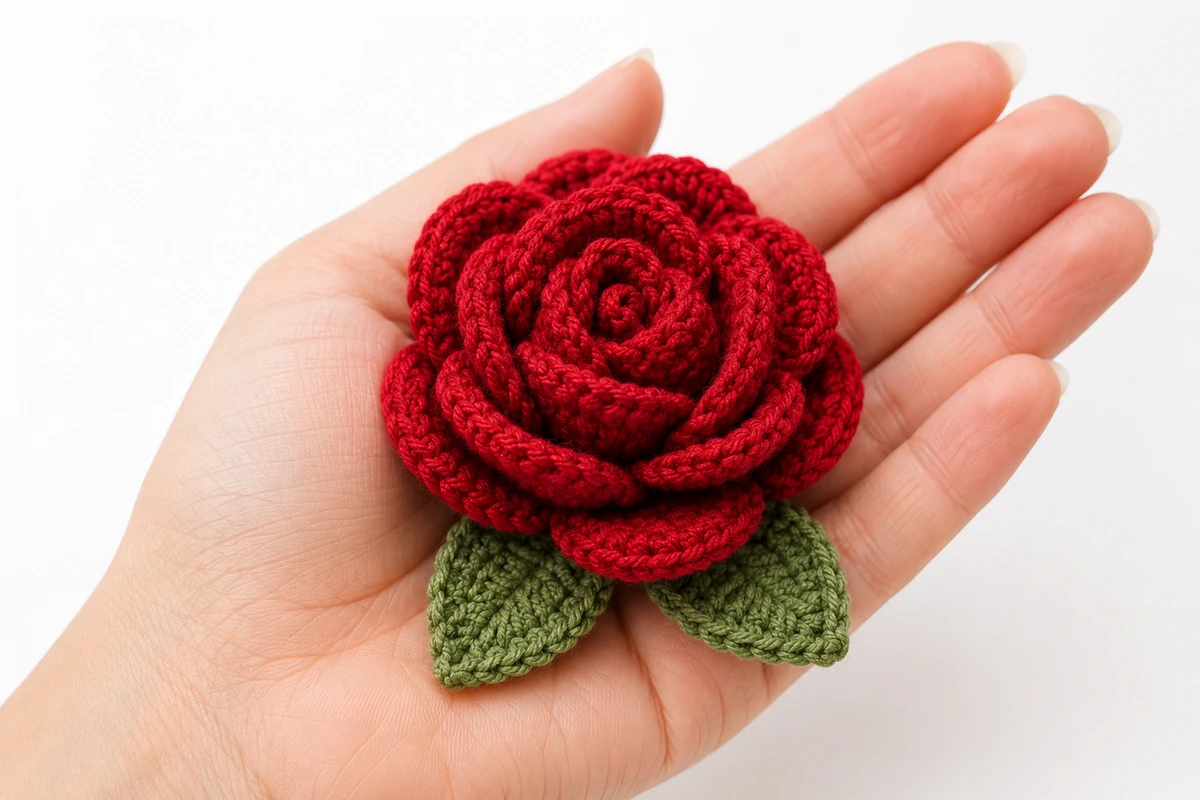
The finished amigurumi rose — layered, spiral, and absolutely stunning. This is one of those free patterns you will make over and over again.
5. Free Amigurumi Flower Pattern 2 — Crochet Sunflower 🌻
Among all amigurumi flowers free patterns, the sunflower is consistently one of the most cheerful and most requested. Furthermore, its bold yellow petals and rich brown center make it instantly recognizable and incredibly satisfying to make. Additionally, the two-layer petal design gives it a wonderfully full, three-dimensional appearance that photographs beautifully. Therefore, it makes an especially impressive gift despite being relatively quick to crochet.
Sunflower Pattern — Step by Step
🌻 Amigurumi Sunflower — Free Pattern
Materials
- MC: Golden yellow DK yarn
- CC1: Dark brown DK yarn (center)
- CC2: Green yarn (leaves)
- 3.5mm hook · Scissors · Needle
Yarn Needed
- ~35 yards yellow (petals)
- ~15 yards brown (center)
- ~10 yards green (leaves)
Finished Size
- Approx. 9cm diameter
- Time: 30–40 minutes
- Level: ⭐ Beginner
CENTER (brown): MR, ch1. R1: 6 sc into MR = 6. Pull ring closed. R2: inc×6 = 12. R3: (sc, inc)×6 = 18. R4: (sc×2, inc)×6 = 24. R5: sc×24 through back loops only (BLO). Sl st to join, FO leaving a long tail.
INNER PETALS (yellow): Join yellow yarn to any front loop from R5 of center. (Ch 3, 2 dc in same st, ch 3, sl st in same st, sl st in next st) repeat around = 12 petals. FO, weave in end.
OUTER PETALS (yellow): With a separate piece of yellow yarn, ch 15. Petal row: sc in 2nd ch, sc, hdc, dc×5, hdc, sc×2, sl st. Repeat ch 15 and petal row 11 more times = 12 long outer petals in a strip. Subsequently, join the strip into a ring and position it behind the center piece.
ASSEMBLY: Layer the inner-petal center on top of the outer petal ring. Using the brown tail, sew the center firmly onto the petal backing, stitching through several times to secure it. As a result, the inner petals frame the center beautifully while the outer petals fan outward in a full circle.
LEAVES (green): Ch 10. Sc in 2nd ch from hook, sc, hdc, dc×2, hdc, sc, sl st. FO. Make 2 leaves. Subsequently, sew each leaf to the back of the flower, angling them outward for a natural sunflower appearance.
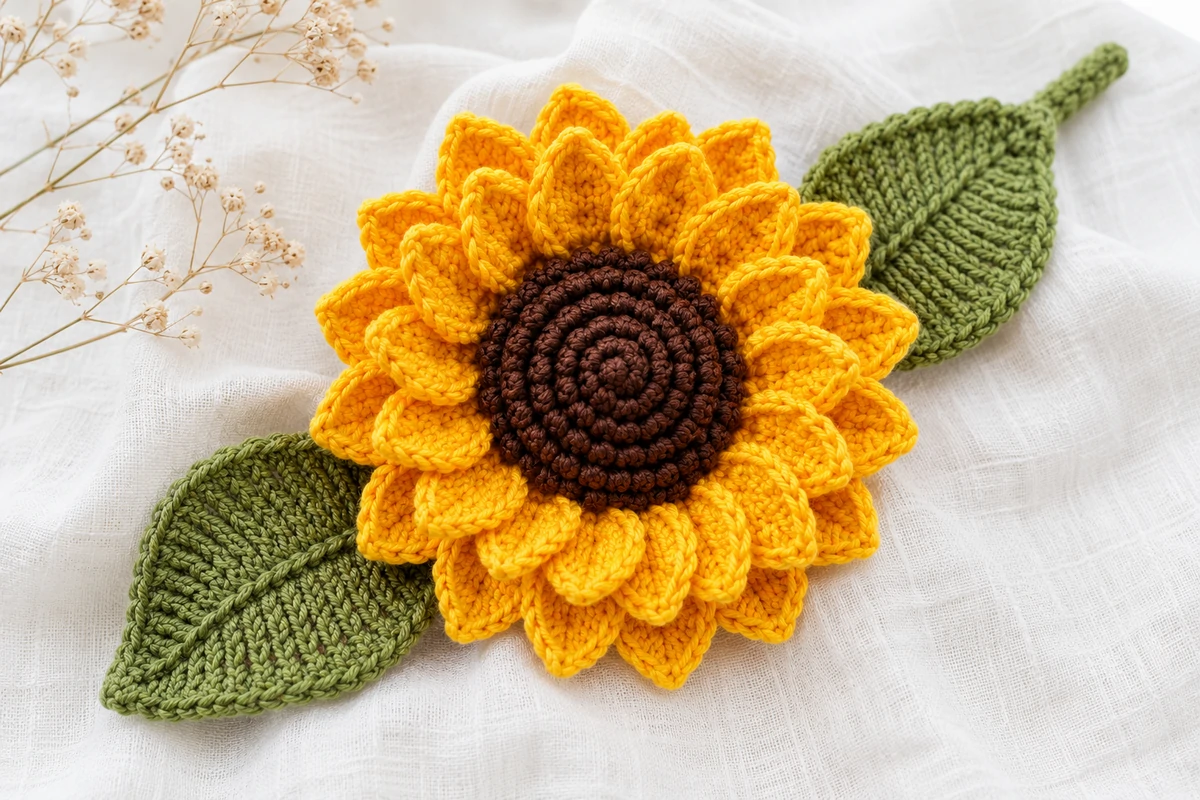
The amigurumi sunflower — golden, cheerful, and impossible to resist. One of the most popular free amigurumi flower patterns for very good reason!
6. Free Amigurumi Flower Pattern 3 — Crochet Daisy 🌼
The daisy is perhaps the simplest of all amigurumi flowers free patterns — and therefore the most beginner-friendly of the four designs in this guide. However, do not let its simplicity fool you. In fact, a carefully made crochet daisy is absolutely charming and remarkably versatile. Furthermore, daisies look beautiful grouped together in bunches, used as hair accessories, or attached to crochet bags and hats. Additionally, because this pattern works up in just 15–20 minutes, you can easily make a whole bunch of daisies in a single afternoon.
Daisy Pattern — Quick and Easy Instructions
🌼 Amigurumi Daisy — Free Pattern
Materials
- MC: White or cream DK yarn
- CC: Bright yellow DK yarn (center)
- 3.5mm hook · Scissors · Needle
Yarn Needed
- ~20 yards white (petals)
- ~8 yards yellow (center)
- Time: 15–20 minutes
Finished Size
- Approx. 7cm diameter
- Level: ⭐ Easiest
- Perfect for first timers!
CENTER (yellow): MR, 6 sc. R2: inc×6 = 12. Sl st to join, FO with long tail. Do not close magic ring too tightly — the center should lie flat and open so the petals can attach evenly around it.
PETALS (white): Join white yarn between any two stitches of the center. (Ch 7, sc in 2nd ch from hook, sc×5, sl st back into center next to starting point, sl st in next center stitch) repeat 12 times around = 12 petals. Consequently, you will have beautiful long, thin petals evenly spaced around the yellow center.
FINISHING: Sl st to join. FO. Subsequently, use the yellow tail to sew through the center back several times to tighten and flatten the flower. As a result, the petals spread outward evenly and the center sits flat and perfectly round. Weave in all ends neatly on the wrong side.
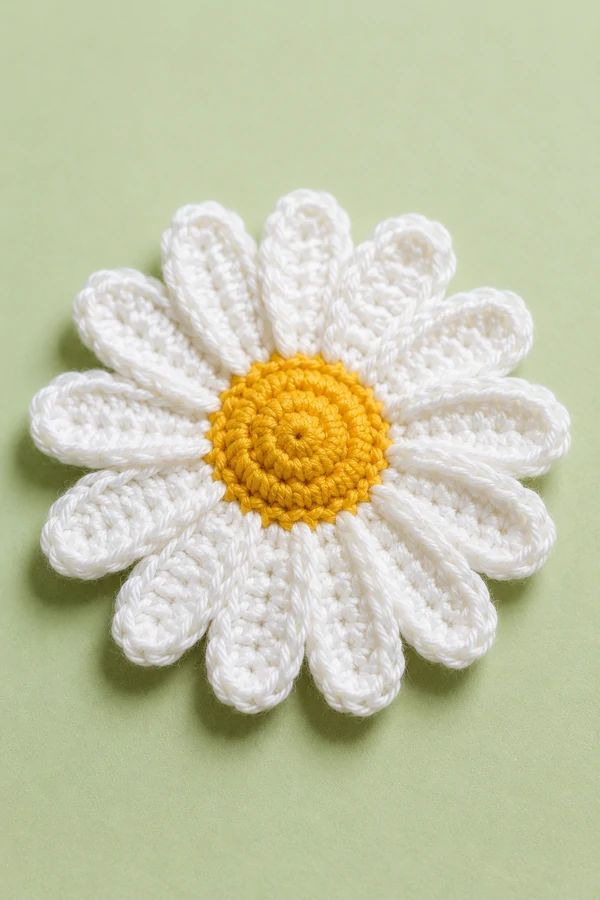
A single amigurumi daisy — 15 minutes from start to finish.
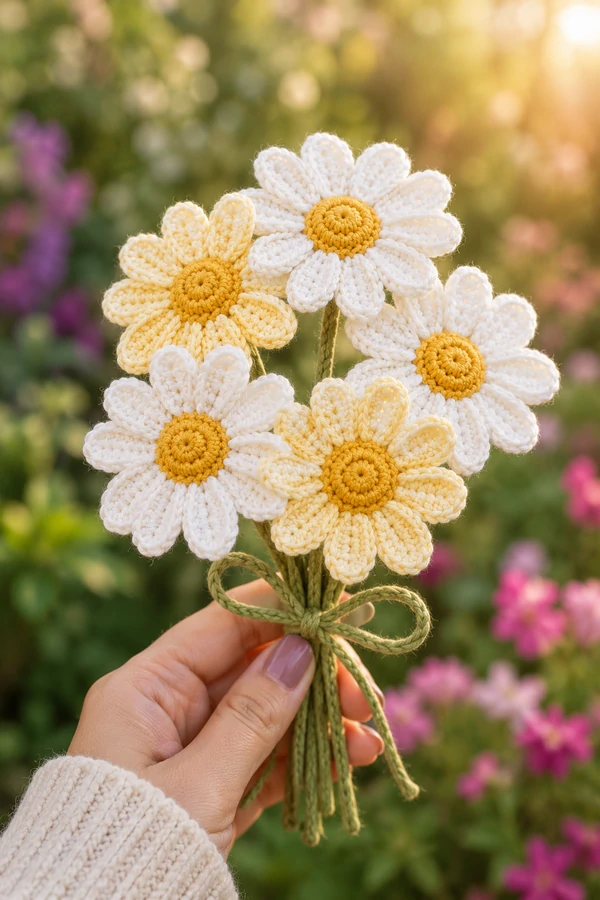
A bunch of daisies — make several and tie them into an instant bouquet!
7. Free Amigurumi Flower Pattern 4 — Crochet Tulip 🌷
The tulip is the most three-dimensional of these amigurumi flowers free patterns. Consequently, it is slightly more involved than the daisy — however, it is still very accessible for anyone who can work in the round. Furthermore, its cupped, sculptural shape makes it particularly elegant, and it looks stunning when displayed in a vase or given as a gift. Additionally, tulips look extraordinary in rich, saturated colors — for example, deep purple, vibrant coral, or bright magenta all produce spectacular results.
Tulip Pattern — Three-Dimensional Crochet Flower
🌷 Amigurumi Tulip — Free Pattern
Materials
- MC: Deep purple or pink DK yarn
- CC: Green DK yarn (stem + leaves)
- 3mm hook · Scissors · Needle
- Small amount of fiberfill stuffing
Yarn Needed
- ~35 yards MC (flower)
- ~20 yards green (stem and leaves)
- Time: 30–45 minutes
Finished Size
- Flower head: approx. 5cm tall
- With stem: 12–15cm total
- Level: ⭐⭐ Easy-Intermediate
FLOWER BASE (MC): MR, 6 sc. R2: inc×6 = 12. R3: (sc, inc)×6 = 18. R4-6: sc×18. R7: (sc×2, inc)×6 = 24. R8: sc×24. Sl st to join. At this point, the bottom cup of the tulip is fully formed and ready for petals.
PETALS: Working into the R8 stitches: (sl st, ch 1, sc, hdc, 3 dc, hdc, sc, ch 1, sl st) across the next 4 stitches = 1 petal. Repeat 5 more times = 6 petals total. As a result, the petals flare outward beautifully from the cup base.
STUFF: Before closing completely, add a small amount of fiberfill inside the tulip cup to give it a firm, rounded base shape. Consequently, the finished tulip will stand upright when placed in a vase or displayed on a shelf.
STEM (green): Ch 20 (or longer for a taller stem). Sl st in each ch back to start = a firm, doubled stem. FO, leaving a tail. Thread the tail through the base of the tulip and secure firmly from inside with several stitches.
LEAVES (green): Ch 12. R1: sc in 2nd ch from hook, sc×2, hdc×3, dc×3, hdc, sc = 11 sts. R2: ch 1, turn, sl st in each st back = leaf edge. FO. Make 2 leaves. Subsequently, sew each leaf to the stem at approximately the halfway point, angling them outward naturally.
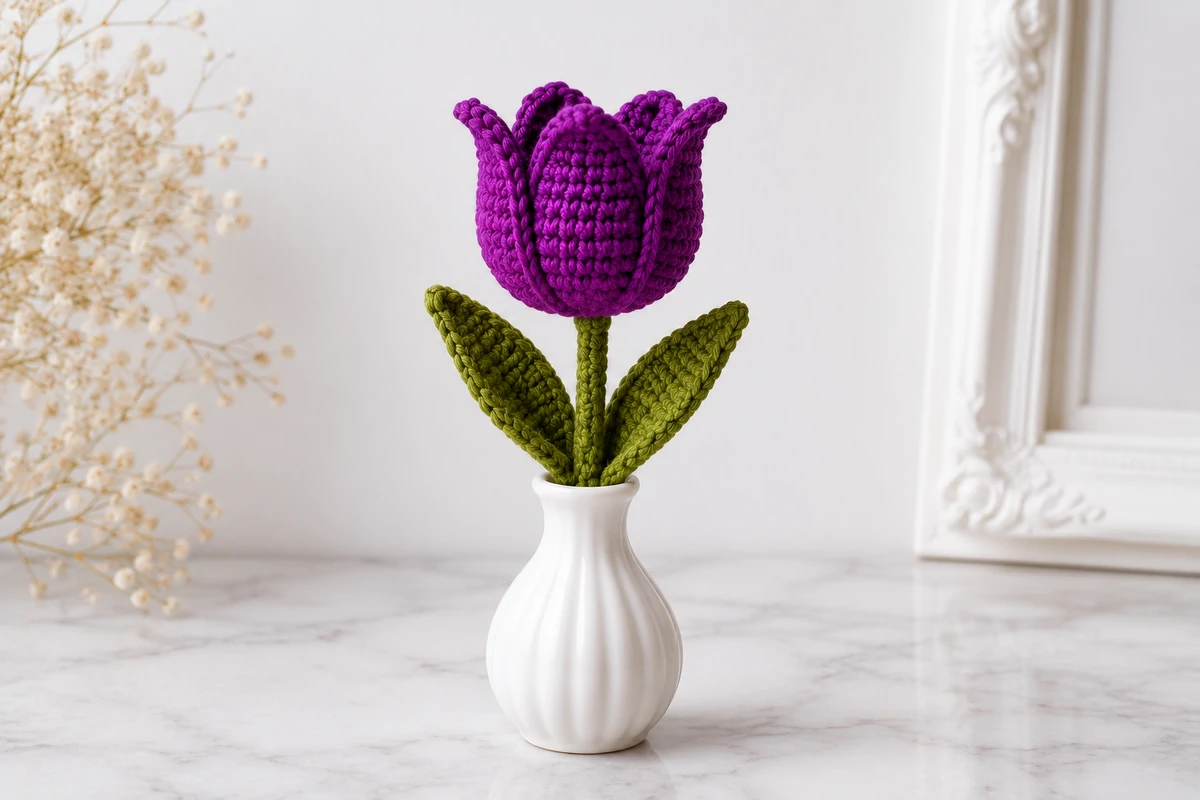
The amigurumi tulip standing tall — sculptural, elegant, and one of the most impressive of these free amigurumi flower patterns.
8. Color Guide for Amigurumi Flowers Free Patterns
One of the greatest joys of these amigurumi flowers free patterns is choosing your colors. Furthermore, the same pattern looks completely different depending on the yarn colors you select. Therefore, here are the most beautiful and popular combinations to inspire your next project:
Classic, Modern, and Pastel Color Options
| Flower | Classic Colors | Modern Twist | Pastel Version |
|---|---|---|---|
| 🌹 Rose | Deep Red + Dark Green | Burnt Orange + Rust | Blush Pink + Sage Green |
| 🌻 Sunflower | Golden Yellow + Dark Brown | Terracotta + Chocolate | Butter Yellow + Cream |
| 🌼 Daisy | White + Bright Yellow | Cream + Mustard | Lavender + Pale Yellow |
| 🌷 Tulip | Deep Purple + Forest Green | Coral + Teal | Soft Pink + Mint |
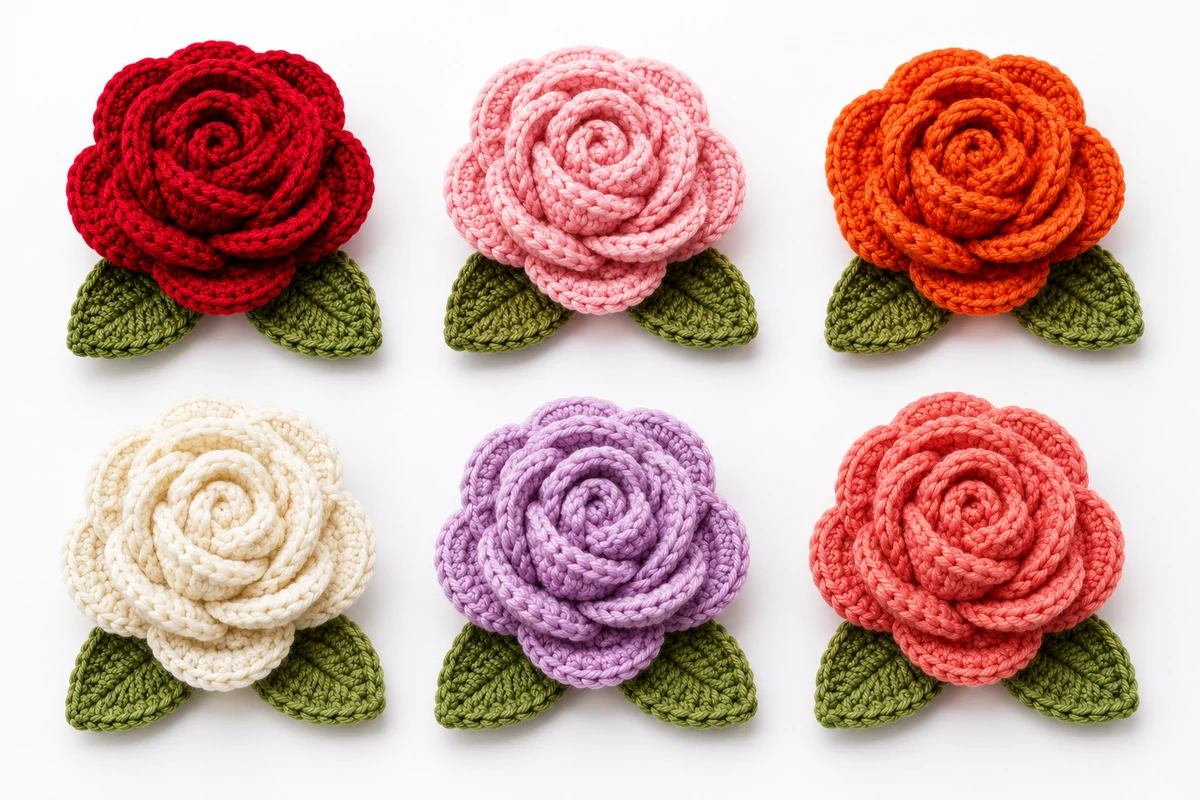
The same amigurumi flower free pattern — completely different moods depending on your color choice. Your yarn selection transforms everything!
9. How to Display and Gift Your Amigurumi Flowers
Once you have made your first batch of amigurumi flowers using these free patterns, the creative fun really begins. Furthermore, handmade crochet flowers are among the most versatile craft items you can make. Therefore, here are the best ideas for displaying and gifting them beautifully.
Beautiful Ways to Display Your Flowers at Home
Creative Home Display Options
Vase bouquet: Attach each flower to a green wire stem wrapped with green yarn and arrange them in a glass or ceramic vase. As a result, you will have an everlasting bouquet that never needs watering! Wreath: Hot-glue or sew your amigurumi flowers onto a foam or twig wreath form for a stunning wall decoration. Garland: String flowers together with a length of yarn for a colorful bunting garland — perfect for nurseries or party decorations. Additionally, framed shadow box arrangements of crochet flowers make exceptional and unique wall art that guests always notice and admire.
Gifting Your Amigurumi Flowers — Ideas for Every Occasion
Perfect Handmade Gifts Using These Free Patterns
Gift toppers: Attach a crochet flower to a wrapped present instead of a bow — it instantly becomes part of the gift itself. Hair accessories: Sew a hair clip or bobby pin to the back of a daisy or rose for a charming handmade hair accessory. Brooch pins: Attach a brooch pin back to create a wearable flower pin that looks wonderful on coats and jackets. Bag charms: Thread through a keyring and attach to a handbag or backpack. Furthermore, a mixed bouquet of all four amigurumi flower patterns makes an extraordinary handmade gift for Mother’s Day, birthdays, or anniversaries — especially because, unlike real flowers, these last absolutely forever.
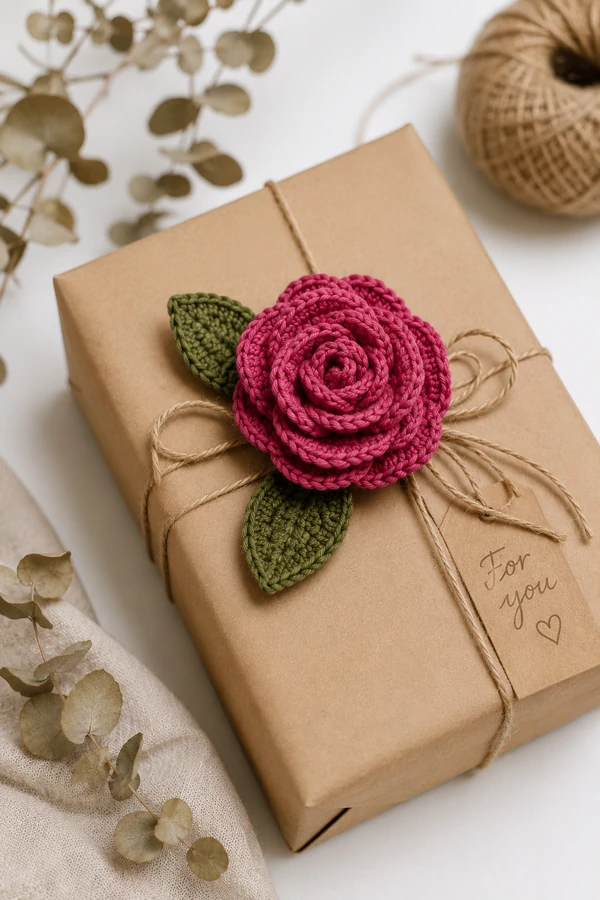
A crochet rose as a gift topper — instantly elevates any present into something truly special.
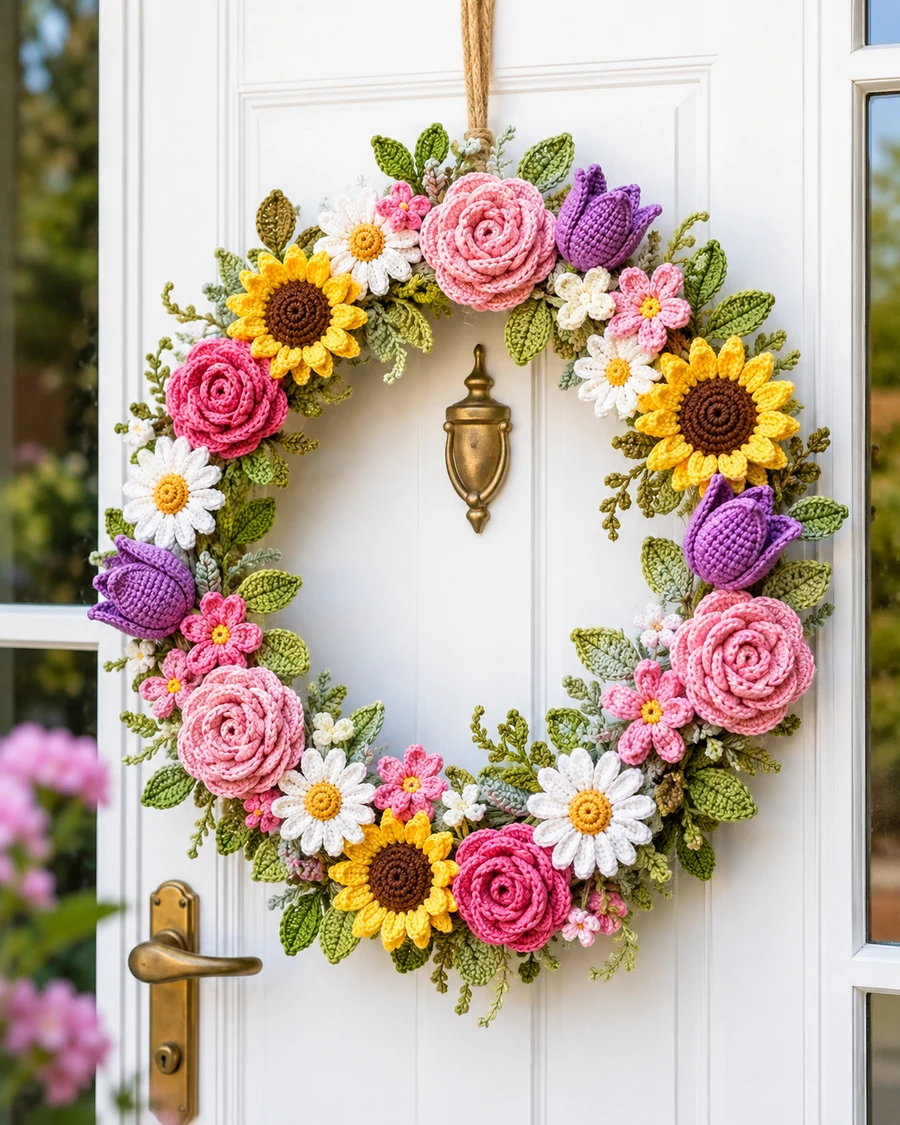
Handmade crochet flowers make the most thoughtful and personal gifts imaginable.
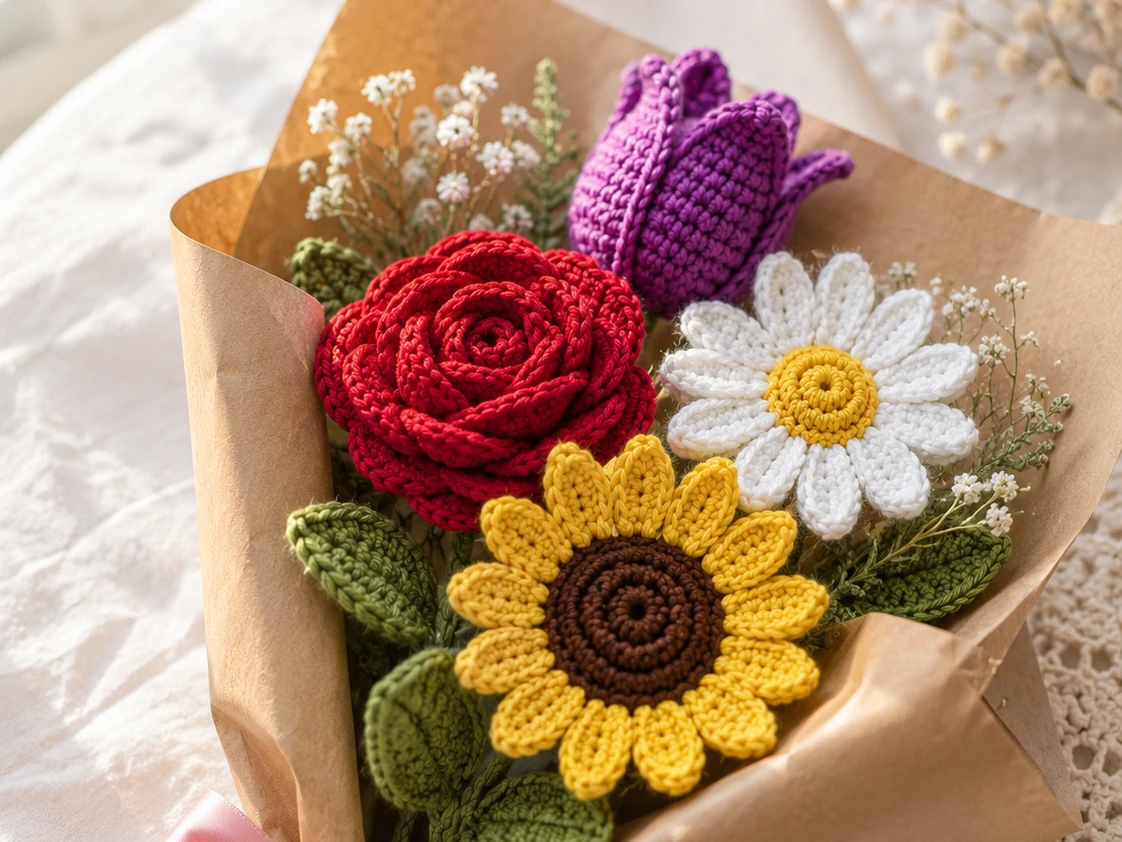
The complete amigurumi flower collection — rose, sunflower, daisy, and tulip — wrapped as the most beautiful handmade bouquet. Forever flowers made with love. 🌸
10. Frequently Asked Questions About Amigurumi Flowers Free Patterns
Are amigurumi flowers free patterns good for absolute beginners?
Yes, absolutely! In fact, the daisy and rose patterns in this guide are among the most beginner-friendly crochet projects available anywhere. Furthermore, they only require a chain stitch, single crochet, and a magic ring. However, if you have never crocheted before, we recommend practicing your basic stitches first. Consequently, your flowers will look much neater right from the very start. Additionally, our beginner crochet guide covers everything you need to know before starting these patterns.
How much yarn do I need for amigurumi flowers free patterns?
The great news is that these amigurumi flowers free patterns use very little yarn. Specifically, most flowers require only 20–50 yards of main color yarn and 10–20 yards of accent color. Therefore, they are a perfect way to use up leftover yarn scraps from other projects. Furthermore, a single 50g ball of DK yarn (approximately 130 yards) is enough to make 2–3 complete flowers with leaves included.
What is the difference between amigurumi flowers and regular crochet flowers?
The terms are often used interchangeably. However, technically “amigurumi” refers to the Japanese art of crocheting small stuffed figures. Consequently, amigurumi flowers tend to be three-dimensional and may include light stuffing — like our tulip pattern. In contrast, regular crochet flowers are typically flat appliqué pieces. Furthermore, amigurumi flowers often have more dimensional detailing such as textured centers and layered petals, which makes them look more realistic and tactile.
What is the magic ring and do I have to use it?
The magic ring is a technique for starting crochet in the round with no hole at the center — which is ideal for flower centers. However, if you find it difficult at first, you can alternatively chain 4 and join with a slip stitch to form a small ring instead. As a result, there may be a tiny hole at the center, but for flowers with a separate center piece sewn on top (like the sunflower), this is completely invisible. Furthermore, with just a few attempts, most crocheters master the magic ring quite quickly.
Can I sell items made from these amigurumi flowers free patterns?
Yes! All four patterns on this page are free to use for both personal and commercial purposes. Therefore, you are welcome to sell finished flowers, bouquets, wreaths, hair clips, and other items made from these patterns. Furthermore, for even more free commercial-use crochet designs, check out Ravelry and LoveCrafts, both of which have extensive collections of free amigurumi flower patterns.
How do I keep my crochet flowers looking neat and fresh?
To keep your finished amigurumi flowers looking their best, lightly spritz them with water and press them flat (for flat flowers like daisies) or into their natural shape (for tulips and roses). Furthermore, for yarn flowers on display, dusting occasionally with a soft brush keeps them looking fresh and vibrant. Additionally, storing them away from direct sunlight prevents the yarn colors from fading over time. In contrast to real flowers, your crochet versions will stay beautiful indefinitely with only minimal care.
Ready to Make Your Amigurumi Flower Garden? 🌸
Choose your first flower, grab your yarn, and start crocheting. Your forever bouquet is waiting!
Explore More Free Patterns →
1 thought on “Amigurumi Flowers Free Patterns”