
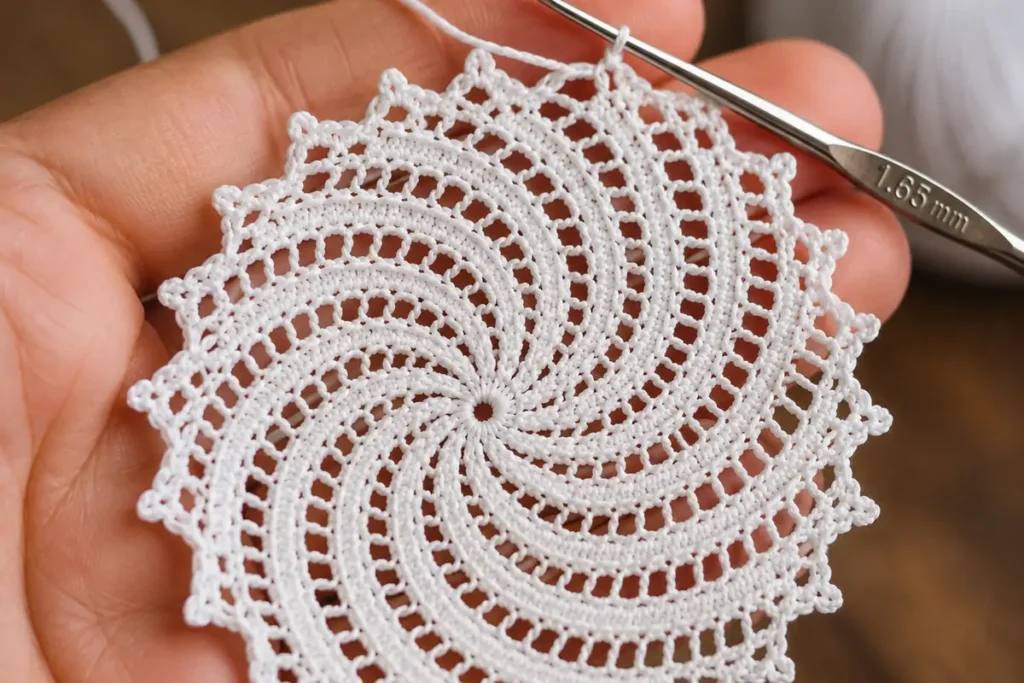
A corrected continuous-round crochet pattern with simple instructions, accurate stitch counts, and staggered increases for a smoother round shape.
The Archimedes spiral doily pattern is a simple way to explore continuous-round crochet with fine cotton thread. Instead of joining every round, you keep crocheting around the piece and use a stitch marker to track the beginning of each new round.
This guide has been updated to make the written pattern clearer and more consistent. The main body uses single crochet, and the increases are moved on alternating rounds so they do not stack in the same six places. That small change helps prevent the piece from developing strong hexagon-shaped corners.
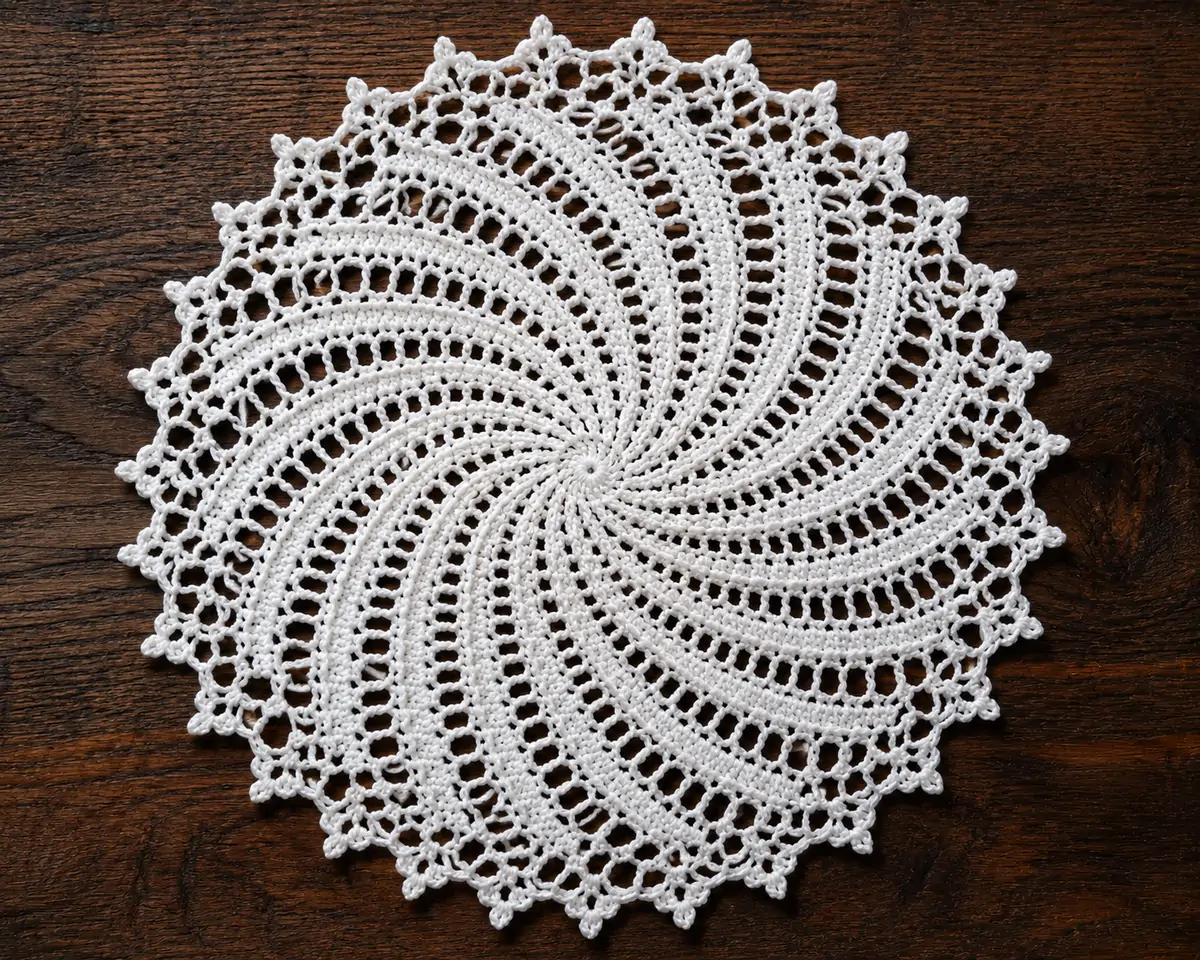
Fine cotton thread and careful blocking give crochet doilies their crisp, delicate finish. The exact appearance will vary with thread, hook size, and tension.
- Materials and hook size
- Skills to know before starting
- Corrected round-by-round pattern
- How to keep the circle flat
- Blocking and finishing
- Color and display ideas
- Frequently asked questions
Materials for the Archimedes Spiral Doily Pattern
You do not need many supplies for this project. For the Archimedes spiral doily pattern, size 10 cotton crochet thread is a practical choice because it gives the finished piece a fine texture while still being comfortable to work with.
If you are unsure about standard US crochet abbreviations, the Craft Yarn Council crochet abbreviation guide is a useful reference.
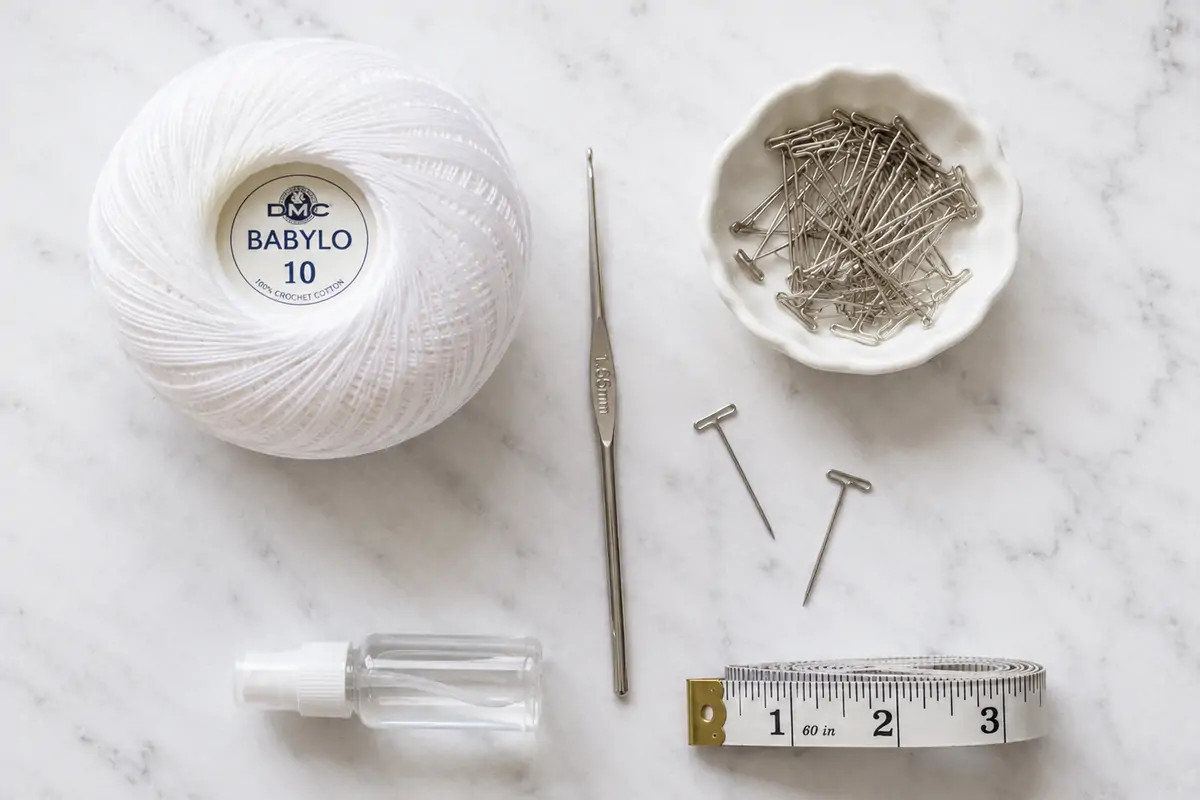
Keep a stitch marker close by. In a continuous-round pattern it is the easiest way to avoid losing the beginning of a round.
Skills to Know Before You Begin
Magic ring
The Archimedes spiral doily pattern starts with six single crochet stitches worked into a magic ring. Pull the center closed gently but firmly before moving on.
Continuous rounds
Do not slip stitch to join the main rounds. When you reach the marker, move it into the first stitch of the new round and keep working. The transition between rounds stays smooth and the crochet path naturally travels outward.
Staggered increases
A flat single-crochet circle usually grows by about six stitches per round. If those six increases sit directly above one another every time, visible corners can form. In the corrected pattern, the increase points are shifted on alternating rounds so they are spread more evenly around the circle.
Corrected Archimedes Spiral Doily Pattern
This corrected Archimedes spiral doily pattern creates a solid, continuous-round spiral-style doily. It is intentionally written so every abbreviation used in the pattern actually appears in the instructions.
Free Pattern — US Crochet Terms
Abbreviations
Make an MR. Work 6 sc into the ring. Pull the ring closed and place the marker in the first sc. 6 sts.
Inc in each stitch around. 12 sts.
(1 sc, inc) repeat 6 times. 18 sts.
(1 sc, inc, 1 sc) repeat 6 times. 24 sts.
(3 sc, inc) repeat 6 times. 30 sts.
(2 sc, inc, 2 sc) repeat 6 times. 36 sts.
(5 sc, inc) repeat 6 times. 42 sts.
(3 sc, inc, 3 sc) repeat 6 times. 48 sts.
(7 sc, inc) repeat 6 times. 54 sts.
(4 sc, inc, 4 sc) repeat 6 times. 60 sts.
(9 sc, inc) repeat 6 times. 66 sts.
(5 sc, inc, 5 sc) repeat 6 times. 72 sts.
(11 sc, inc) repeat 6 times. 78 sts.
(6 sc, inc, 6 sc) repeat 6 times. 84 sts.
(13 sc, inc) repeat 6 times. 90 sts.
(7 sc, inc, 7 sc) repeat 6 times. 96 sts.
(15 sc, inc) repeat 6 times. 102 sts.
(8 sc, inc, 8 sc) repeat 6 times. 108 sts.
(17 sc, inc) repeat 6 times. 114 sts.
(9 sc, inc, 9 sc) repeat 6 times. 120 sts.
Simple decorative edge
After Round 20, make 1 sl st in the next stitch to soften the end of the continuous spiral. Then work (sc in next st, ch 3, skip next 2 sts) around. Join to the first sc with a sl st and fasten off.
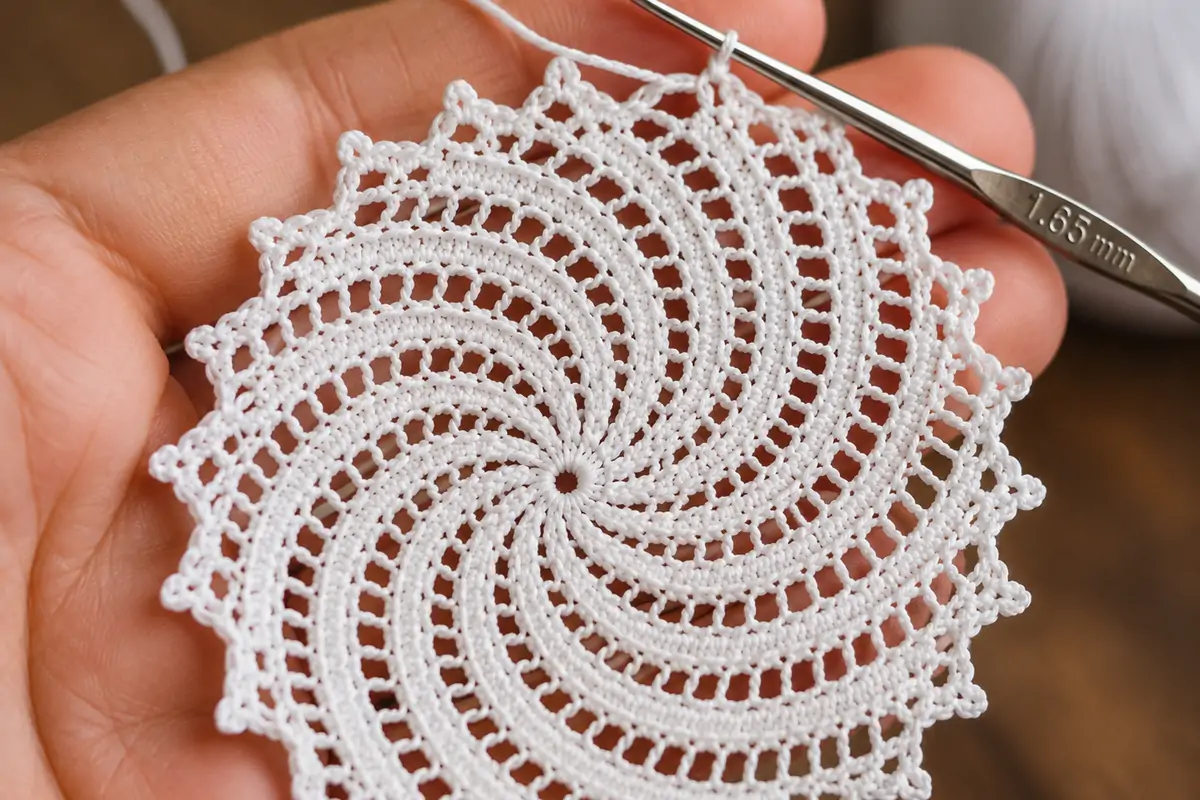
A close look at fine-thread crochet. Use the photo as texture and craft inspiration; the exact stitch appearance depends on the pattern, thread, hook, and tension.
How to Keep the Doily Round and Flat
When working the Archimedes spiral doily pattern, do not rely on blocking to fix a badly shaped circle. A well-balanced piece should already sit reasonably flat before it is blocked.
- Count every round. A missed increase changes the shape quickly.
- Move the increase points. This is the main correction that helps reduce six visible corners.
- Do not pull the thread too tightly. Very tight tension can make the center cup.
- Check the work on a table. Lay it flat every three or four rounds and correct problems early.
- Change hook size if needed. Crochet tension varies from person to person.
Blocking the Archimedes Spiral Doily Pattern
- Wet the cotton. Soak the finished piece in cool or lukewarm water for about 10 minutes. Gently press out the water without twisting the crochet.
- Shape it. Lay the doily flat on a blocking mat or folded towel. Smooth it into a circle with your hands.
- Pin evenly. Place rust-resistant pins around the outer edge at regular intervals. Stretch only enough to smooth the stitches.
- Let it dry. Leave the piece pinned until it is completely dry. Remove the pins and weave in any remaining tail securely.
Starch is optional. Use a light amount only if you want a firmer traditional doily finish.
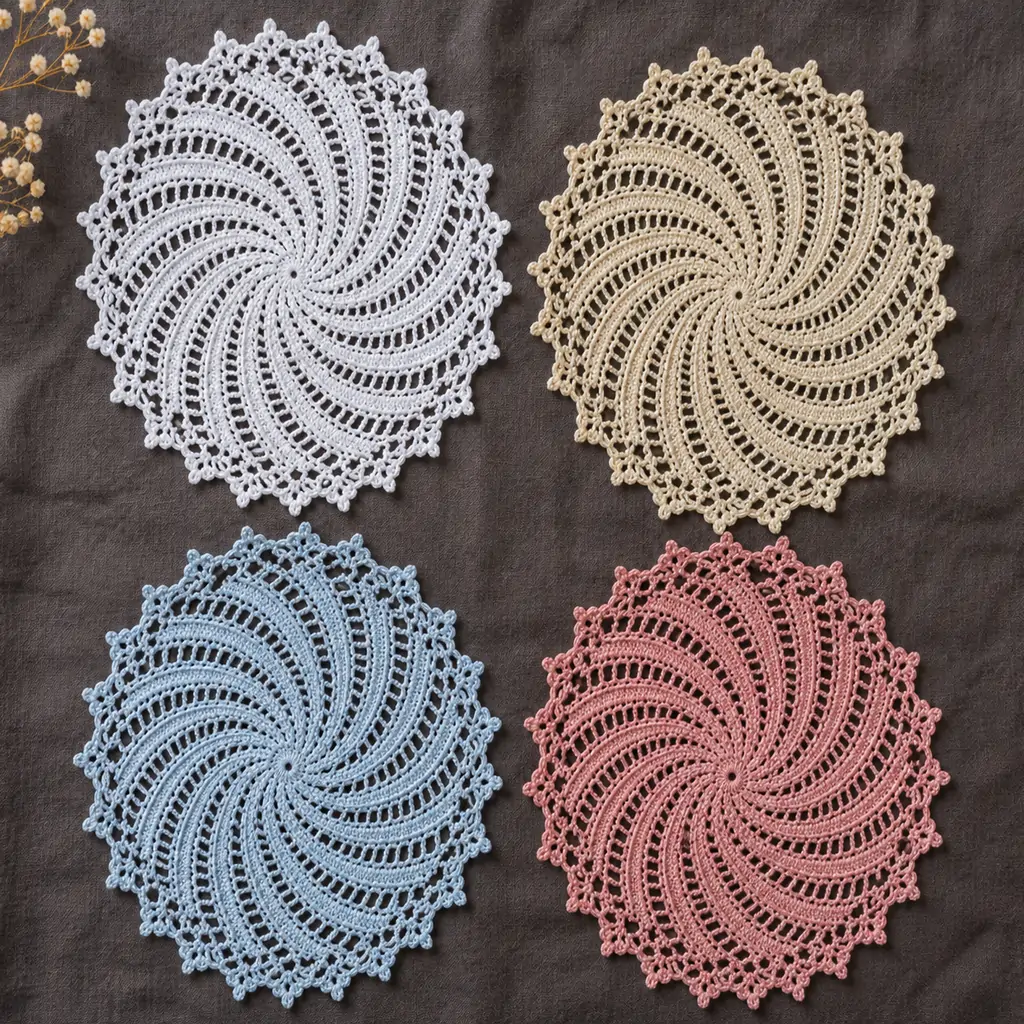
White, ecru, soft blue, dusty rose, sage, and lavender all work well for decorative thread crochet.
Color and Display Ideas
White and ecru are classic choices for an Archimedes spiral doily pattern, but the design can also look good in a muted solid color. For a modern home, try warm cream, sage green, pale blue, or dusty rose.
A finished doily can be used under a small vase, candle holder, jewelry dish, or decorative bowl. It can also be framed as simple fiber art. If you place something on top, make sure the doily is fully dry and the surface underneath will not be affected by moisture or starch.
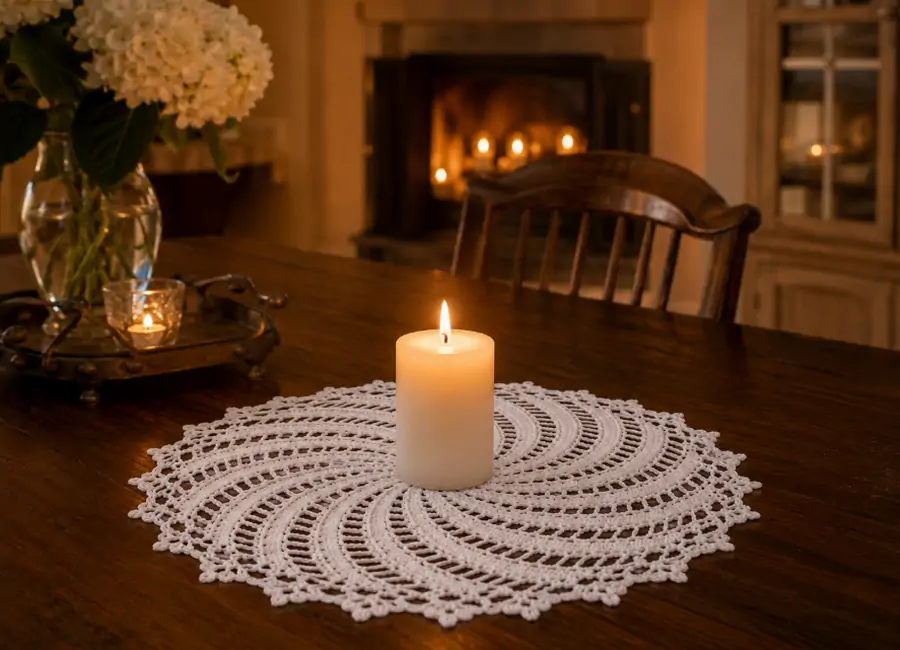
A small handmade doily can add texture to a table without taking over the rest of the decor.
Frequently Asked Questions
Browse more tutorials and free patterns in the CrochetEco pattern library.
Explore Crochet Tutorials









These instructions and the item in the picture do not seem to coincide. According to the above instructions, all I get is a nice Hexagon. The List of Abbreviations include a dc= double crochet, however, the is no dc mentioned in the instructions. I’m lost and confused!
Hi RoseAna, thank you for pointing this out. You were right.
The earlier instructions placed the increases in the same positions, which can make the piece develop six visible corners and look more like a hexagon. You were also right that dc was listed in the abbreviations but never used.
I’ve now corrected the pattern, staggered the increase placement for a rounder shape, fixed the stitch counts, and removed the unused abbreviations.
I’m sorry for the confusion, and I really appreciate you taking the time to let me know.