
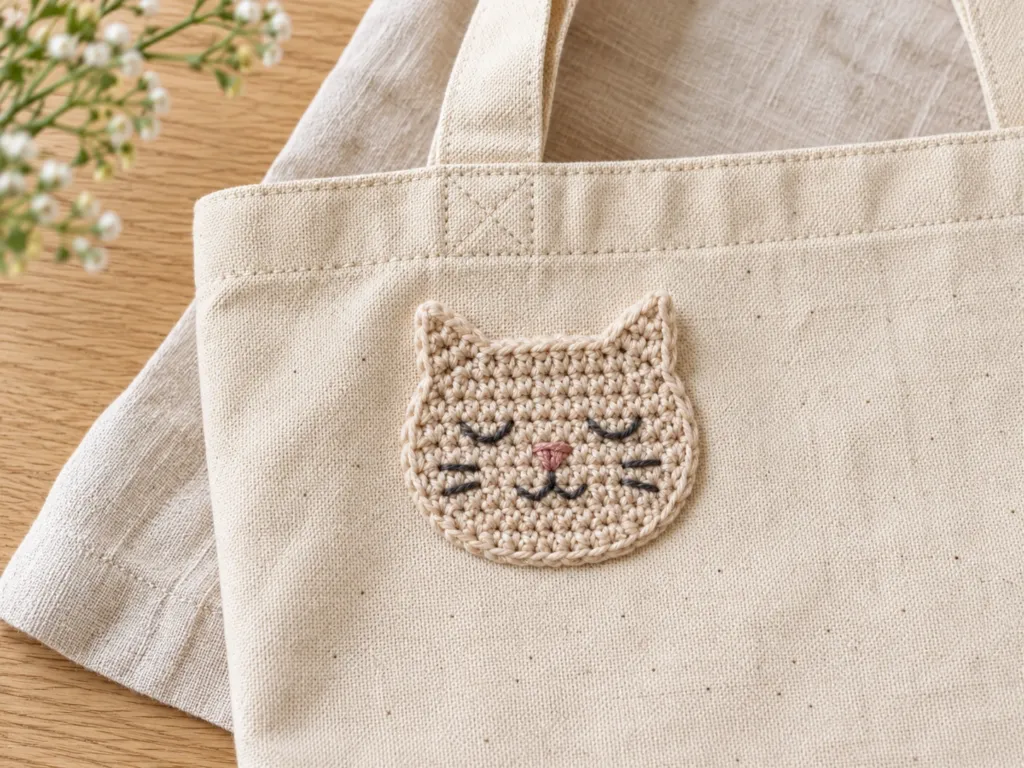
This free cat face crochet pattern makes a flat cat appliqué with pointed ears and a sleepy embroidered face. Crochet the head in simple rows, shape two ears, and add the eyes, nose, and whiskers with a needle. There is no stuffing or plastic hardware.
- Skill level
- Beginner with basic decreases
- Type
- Flat cat face appliqué
- Hook
- 4 mm (US G-6)
- Suggested yarn
- DK/light (3), smooth cotton
- Size guide
- About 3½ × 3 in (9 × 7.5 cm)*
- Construction
- 12 head rows + 3 ear rows per ear
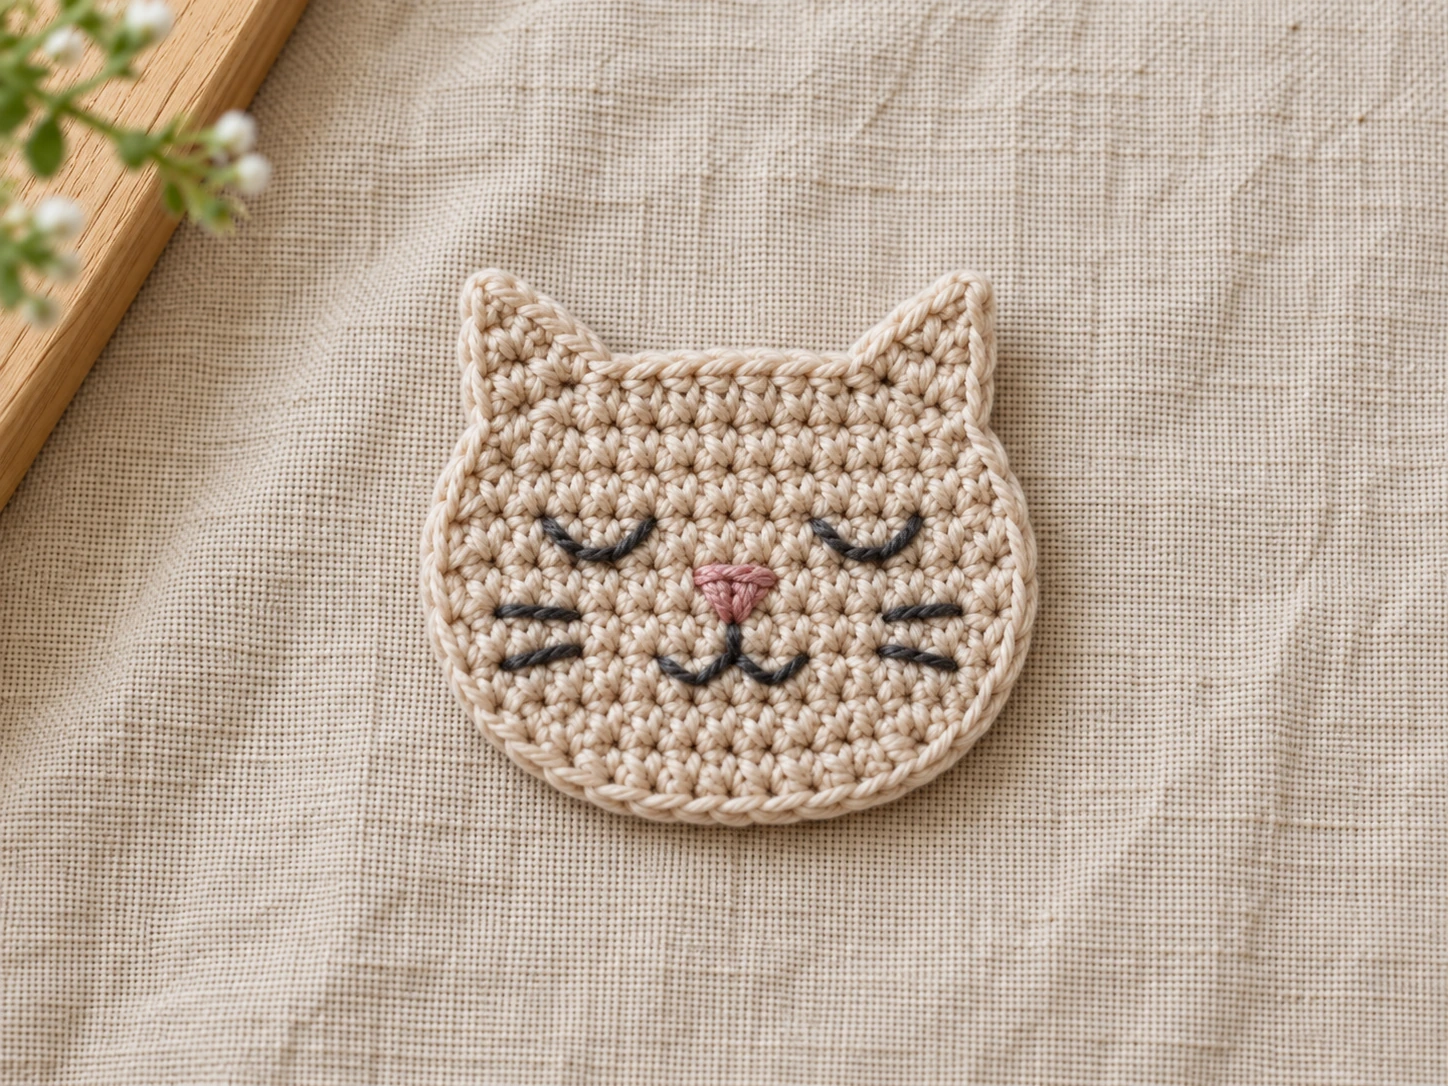
*Size is an estimate based on the gauge below, not a measurement from a tested sample.
Finished size and gauge
At an illustrative gauge of 18 single crochet stitches and 20 rows per 4 in (10 cm), the widest part spans about 3½ in (9 cm). The head and ears measure roughly 3 in (7.5 cm) high. Your tension and yarn can change both measurements.
Gauge is not essential for a decorative appliqué. It matters if you need several matching faces. Measure after Row 4, when the head reaches its widest 16 stitches.
Yarn and materials
- A small amount of smooth DK/light (3) cotton yarn in warm oatmeal or light beige
- 4 mm (US G-6) crochet hook, or a hook that gives a neat fabric
- Small amounts of charcoal embroidery floss or smooth yarn for eyes, mouth, and whiskers
- A little dusty pink embroidery floss or yarn for the nose
- Yarn needle, scissors, and two removable stitch markers
- A tote, pouch, or other fabric item to decorate, if desired
Choose a solid, light yarn color if you are learning decreases. It makes the top V of each stitch easier to see.
For children’s items: Stitch the facial features rather than attaching buttons or safety eyes. Secure all yarn ends. Do not use a loose or detachable appliqué where a baby could pull it off.
Stitches and pattern notes
The cat is worked flat, back and forth in rows. It does not use a magic ring. A turning chain does not count as a stitch.
Open the US stitch abbreviations
- ch: chain
- sc: single crochet
- st/sts: stitch/stitches
- sc2tog: single crochet two stitches together (one decrease)
- sc3tog: single crochet three stitches together (one decrease)
- FO: fasten off
Increase: Work two single crochets into the same stitch. That turns one old stitch into two new stitches.
Sc2tog: Insert your hook into the next stitch and pull up a loop. Do the same in the following stitch. Yarn over and pull through all three loops.
Sc3tog: Pull up one loop from each of the next three stitches. Yarn over and pull through all four loops on the hook. Three stitches become one.
Free cat face crochet pattern: 5 steps
Use the oatmeal yarn for the entire head and both ears. Place markers in the first and last stitch of each head row. Check the number in parentheses after each instruction.
Step 1. Crochet the head and rounded cheeks
Foundation: Ch 11.
Row 1: Sc in the second chain from the hook and in each remaining chain. Ch 1, turn. (10 sc)
Row 2: 2 sc in first st, sc in next 8 sts, 2 sc in last st. Ch 1, turn. (12 sc)
Row 3: 2 sc in first st, sc in next 10 sts, 2 sc in last st. Ch 1, turn. (14 sc)
Row 4: 2 sc in first st, sc in next 12 sts, 2 sc in last st. Ch 1, turn. (16 sc)
Rows 5–10: Sc in every stitch across. Ch 1 and turn after each row. (16 sc per row)
Row 11: Sc2tog over first 2 sts, sc in next 12 sts, sc2tog over last 2 sts. Ch 1, turn. (14 sc)
Row 12: Sc2tog over first 2 sts, sc in next 10 sts, sc2tog over last 2 sts. (12 sc)
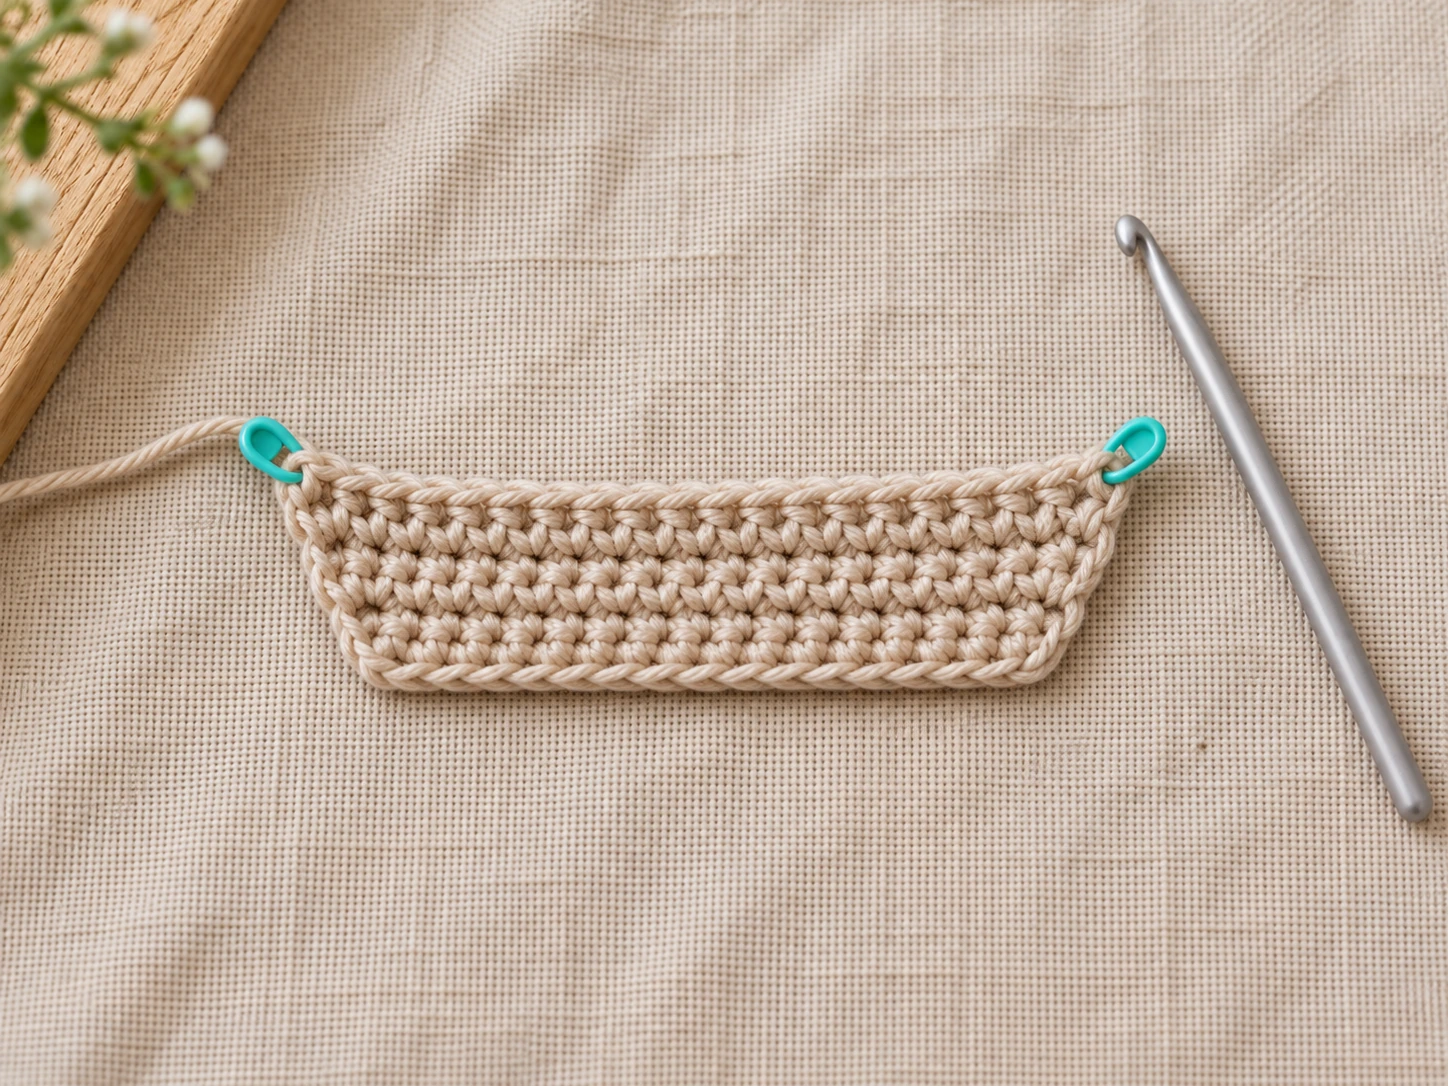
First fit check: Count 16 stitches after Row 4. After Row 12, count 12 top-edge stitches. These 12 stitches hold both ears, with two unused stitches between them.
Step 2. Make the first triangular ear
After Row 12, turn your work. Ch 1. You will use only the first five stitches along the top edge.
Ear 1, Row 1: Sc in each of the first 5 head stitches. Ch 1, turn. (5 sc)
Ear 1, Row 2: Sc2tog, sc in next st, sc2tog. Ch 1, turn. (3 sc)
Ear 1, Row 3: Sc3tog across all 3 stitches. FO, leaving a tail to weave in. (1 sc)
Step 3. Make the matching ear
Return to the 12-stitch top edge of the head. Count its stitches from the same end used to begin Ear 1. Leave stitches 6 and 7 unused.
Ear 2, Row 1: Join the yarn in top-edge stitch 8, ch 1, and sc in stitches 8 through 12. Ch 1, turn. (5 sc)
Ear 2, Row 2: Sc2tog, sc in next st, sc2tog. Ch 1, turn. (3 sc)
Ear 2, Row 3: Sc3tog across the 3 stitches. FO. (1 sc)
Embroider the cat’s face
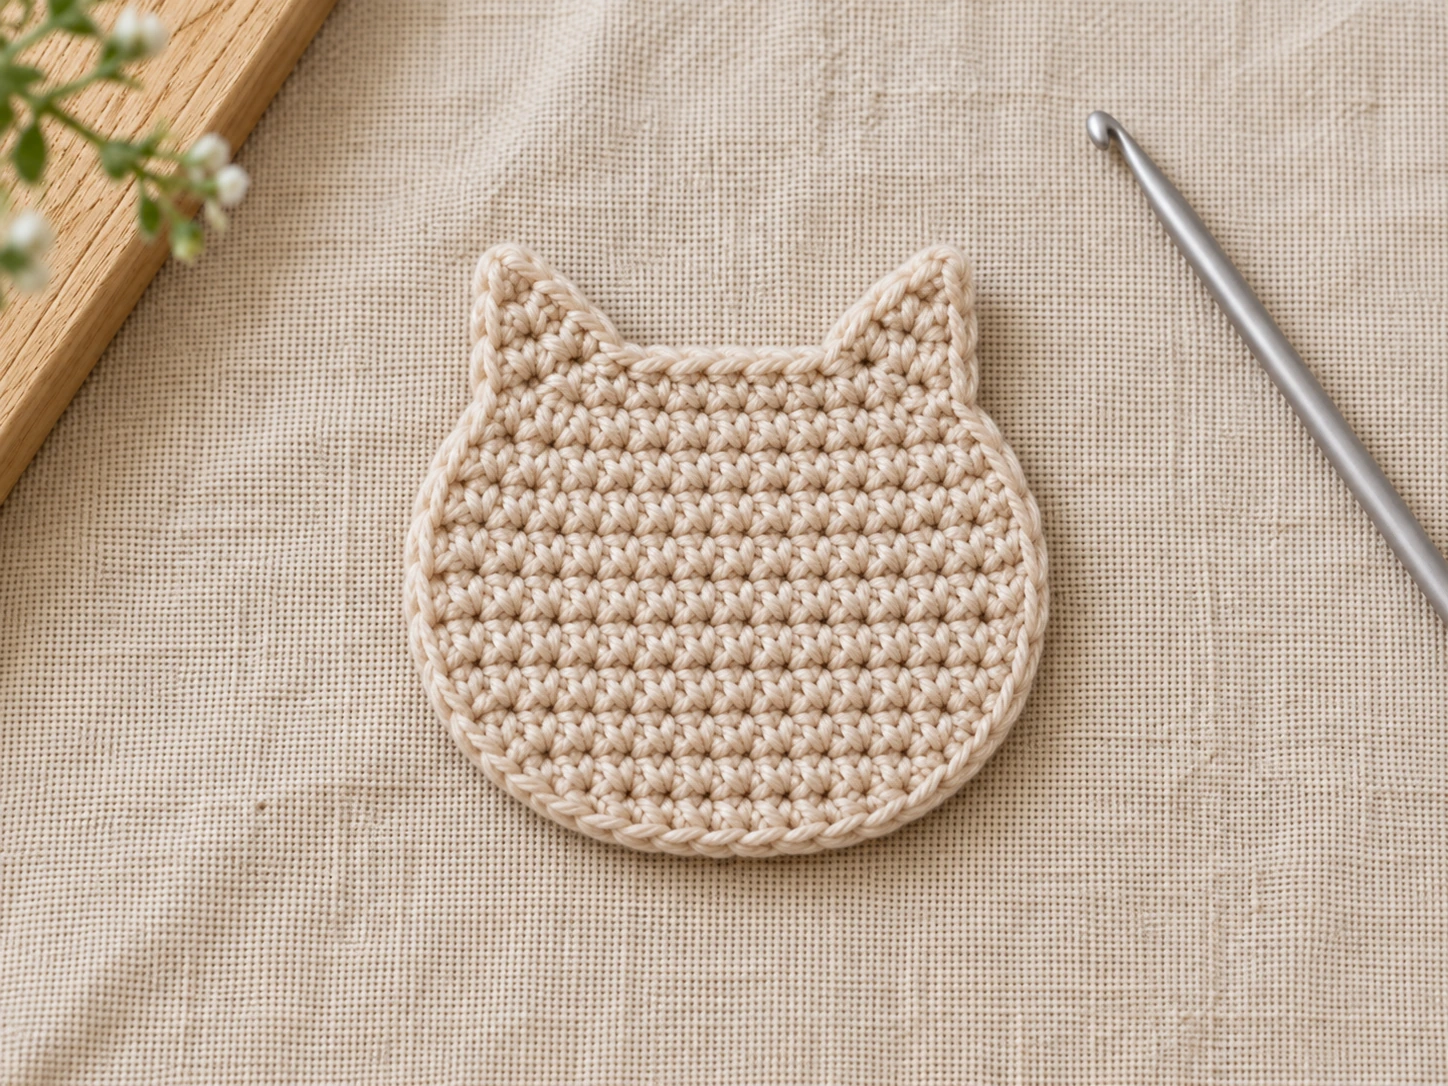
Lay the cat flat with the ears at the top. Use the widest middle rows to center the features. Pin the face details first if you want to check their spacing.
Step 4. Stitch the eyes, nose, and whiskers
Eyes: With charcoal thread, make two short, gentle closed-eye lines around head Rows 8–9. Place one eye on each side of the center. Each eye can use two small diagonal straight stitches.
Nose: With dusty pink thread, embroider a tiny inverted triangle around head Row 6, centered between the eyes. Use a few short stitches to fill it.
Mouth: With charcoal thread, make one short vertical stitch below the nose. Add two tiny diagonal stitches that angle outward from its lower end.
Whiskers: Add two fine straight stitches extending toward each outer cheek, near Rows 5–6. Keep all four whiskers within the crocheted fabric.
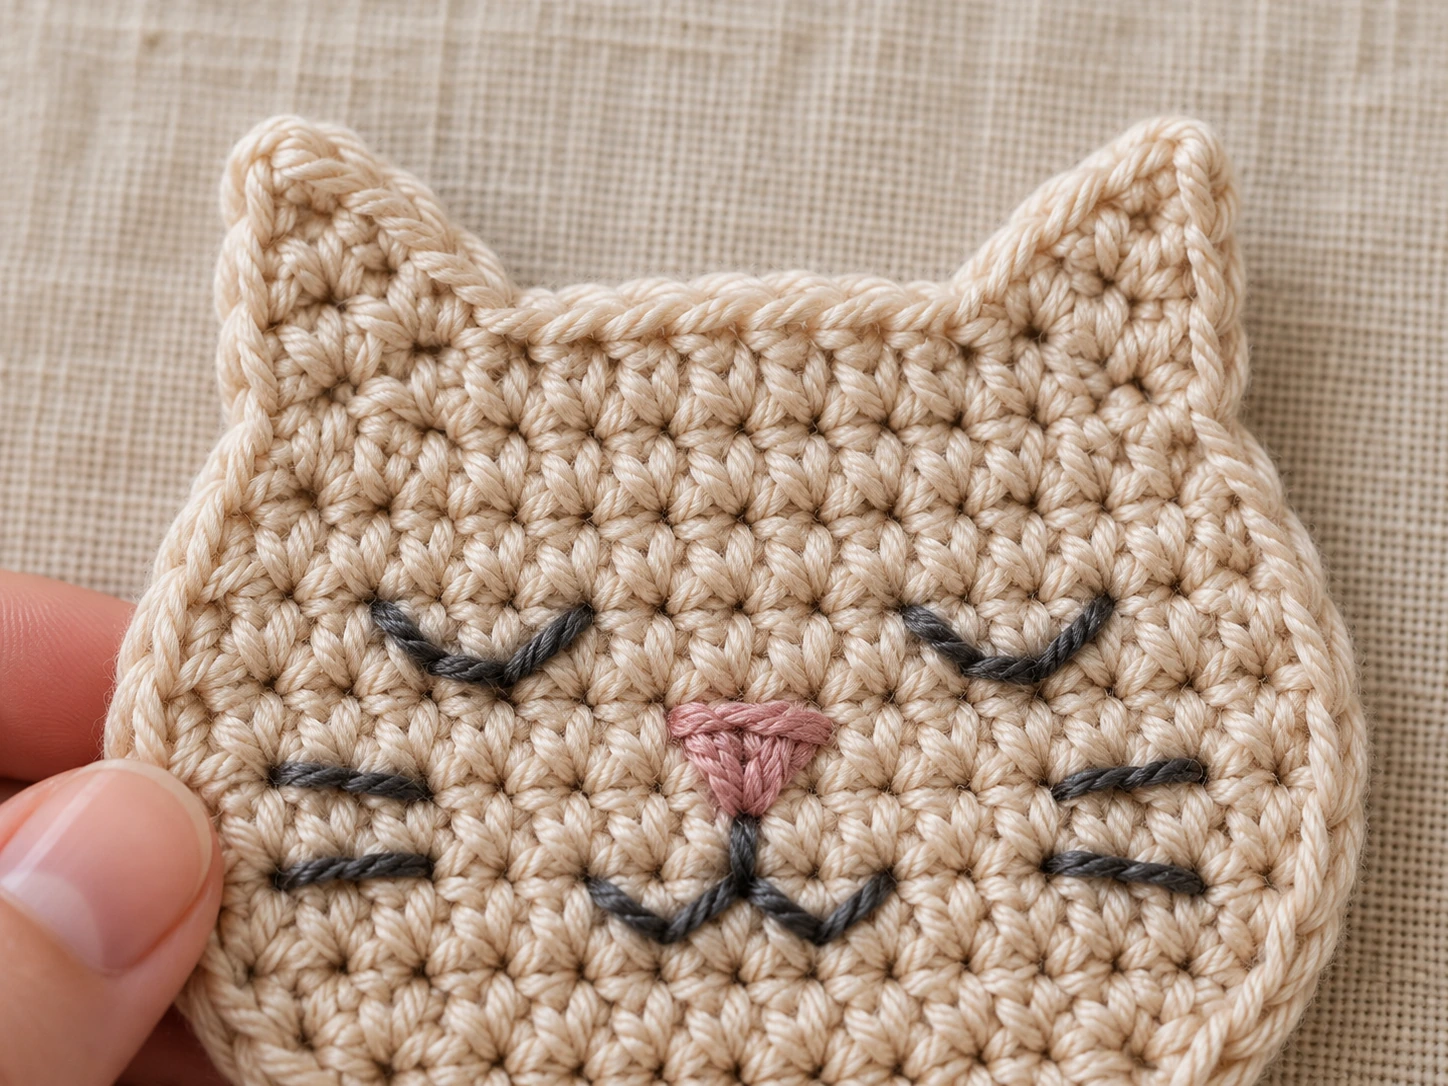
All facial features are sewn with yarn or thread. There are no glued pieces to fall off.
Finish and attach the cat appliqué
Step 5. Weave in ends and sew it down
Weave each tail through several stitches on the wrong side, reverse direction, and trim. Gently shape the head and ears. If your fiber allows blocking, lay the piece flat to dry.
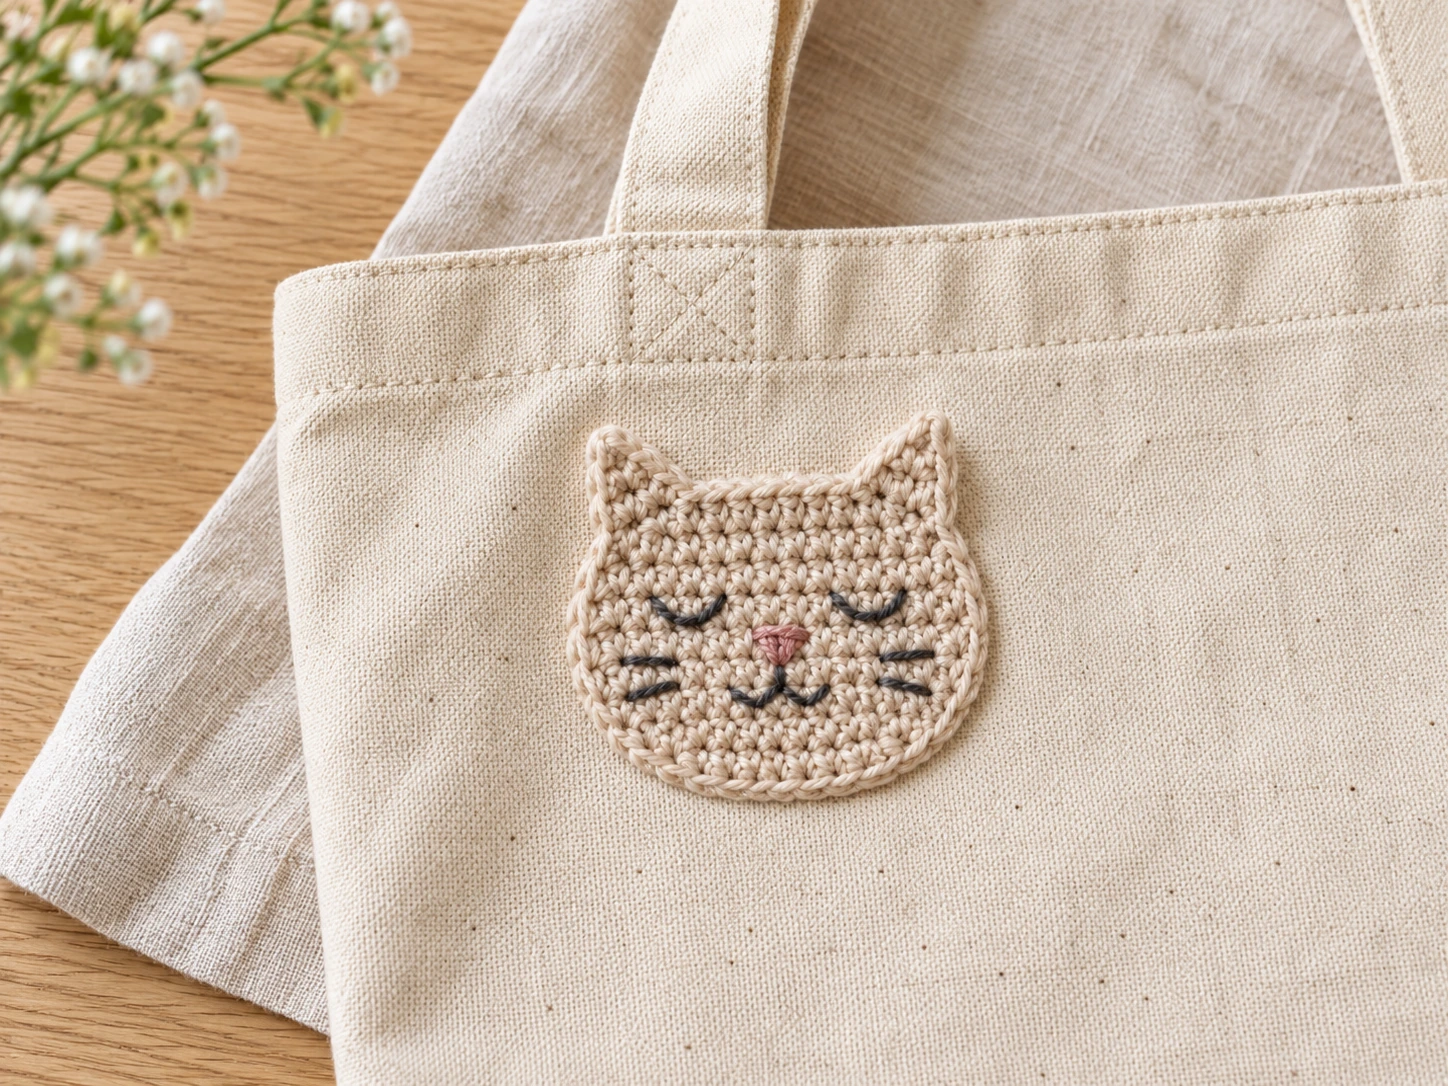
To attach it, pin the cat face to a tote or pouch. Using matching yarn and a yarn needle, sew around the head and both outer ear edges with small secure stitches. Do not stitch across the open space between the ears.
Check that both ears sit flat. Remove pins and tug gently around the edge to find loose sections.
Why your cat face may look uneven
| Problem | Try this |
|---|---|
| One cheek is wider | Recount Rows 2–4. Both ends need one increase in each row. |
| The top is too narrow | Check Rows 11–12. Each row has exactly two decreases. |
| One ear looks smaller | Check that both ears follow 5, 3, then 1 stitch. |
| No space between the ears | Leave top-edge stitches 6 and 7 unworked. |
| Features look crooked | Remove a few embroidery stitches and recenter them before fastening. |
| Edges curl | Loosen your tension slightly and block gently if suitable for the yarn. |
Cat face crochet pattern questions
Can I use worsted-weight yarn?
You can. Try a 4.5–5 mm hook as a starting point. The cat will likely be larger than the DK version. Check that the fabric is firm enough to hold its shape.
Does this cat face need a magic ring?
No. The head starts with 11 chains and is worked in rows. You add the ears along the top edge.
Can I make a black cat face for Halloween?
Use black yarn for the head, pale embroidery floss for the eyes and whiskers, and pink for the nose. The stitch counts stay the same.
Can I put the appliqué on children’s clothes?
For older children, sew the edges and embroidery securely. Avoid loose pieces or detachable decorations. Keep it off items intended for infants without close supervision.
Save the pattern and try another cat project
Save this free cat face crochet pattern so the row counts are easy to find later. For help with chains and single crochet, visit our crochet beginner guide.
Check our hook size chart if you switch yarn weights. To crochet a full three-dimensional cat next, try the free black cat amigurumi pattern.


Reader discussion
Reader Comments
Tried this pattern? Share what worked, ask a question, or help another crocheter.
Your turn
Comments are moderated to keep the discussion useful and family-friendly. Please do not post personal information.