
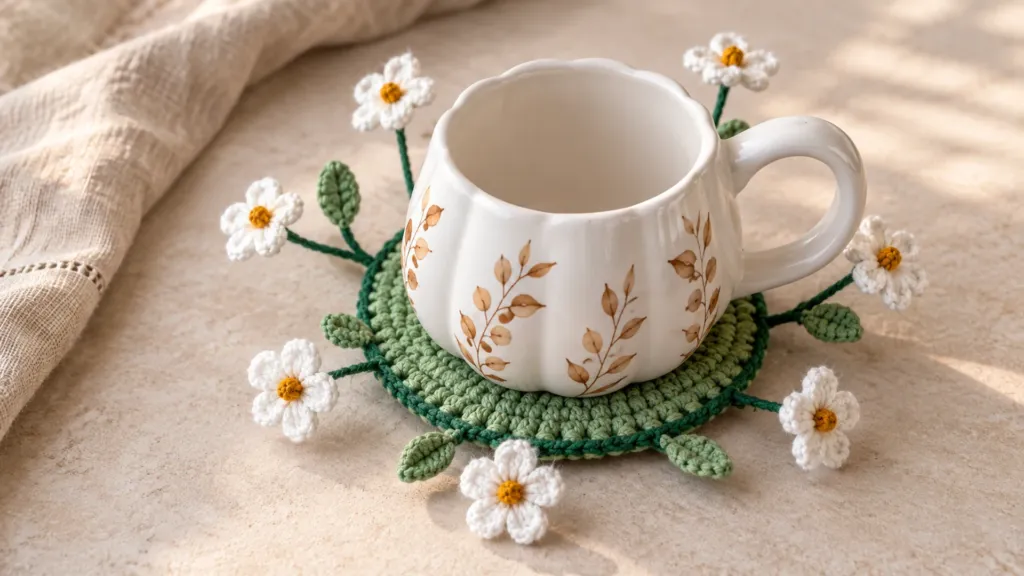
This free crochet daisy flower coaster pattern makes a sage-green round coaster with eight small white daisies on slender stems. You will crochet two flat circles, five-petal flowers, and tiny leaves. The stems are carefully secured inside the edge, leaving a flat center for your mug.
- Skill level
- Confident beginner; careful assembly
- Project
- Decorative floral mug coaster
- Hook
- 3.5 mm (US E-4)
- Yarn
- DK/light (3) cotton
- Base
- Two 8-round circles; 64 hdc each
- Flowers
- 8 daisies, 5 petals each
- Leaves
- 4 small crocheted leaves
- Estimated pad diameter
- About 4–5 in (10–13 cm); measure yours
What makes this daisy coaster different?
The flowers grow out from the outside edge, not from beneath the mug. In this crochet daisy flower coaster pattern, eight white blooms surround a sage-green pad. Four small leaves finish the garden look. The dark-green edging hides the join between the two circles.
Make the base before cutting any wire. Your empty mug should sit entirely on the flat middle of the pad, clear of the flowers and stems. If the finished coaster rocks, use it as a decorative display instead of a functional coaster.
Materials, size, and stitches
- Smooth DK/light (3) cotton yarn in sage green for both circles
- Small amounts of dark green, white, and golden yellow cotton yarn
- 3.5 mm crochet hook (US E-4), or a size suited to your cotton
- Yarn needle, stitch markers, scissors, measuring tape
- Eight pieces of smooth 20–22 gauge craft/floral wire (four about 5 in / 13 cm; four about 3.5 in / 9 cm)
- Round-nose pliers, wire cutters, green floral tape
- Matching sewing thread or dark-green yarn for securing the wire loops
Gauge and fit: The pad diameter is only an estimate. For a reliable size, crochet the first circle and measure across its center. A 3.5 mm hook and DK cotton are starting choices; they have not been physically tested with this pattern. Both circles must be the same diameter.
DK/light yarn belongs to category 3 in the Craft Yarn Council yarn weight guide. Use it to compare yarn labels if your yarn weight is unclear; you can keep this pattern open while checking the guide.
US crochet abbreviations
- MR: magic ring
- ch: chain
- sc: single crochet
- hdc: half double crochet
- dc: double crochet
- sl st: slip stitch
- inc: two stitches in one stitch
- st(s): stitch(es)
- FO: fasten off
Use continuous rounds for the green circles. A marker shows the first stitch of each round. Turning chains are not needed.
Crochet daisy flower coaster pattern: Make the base
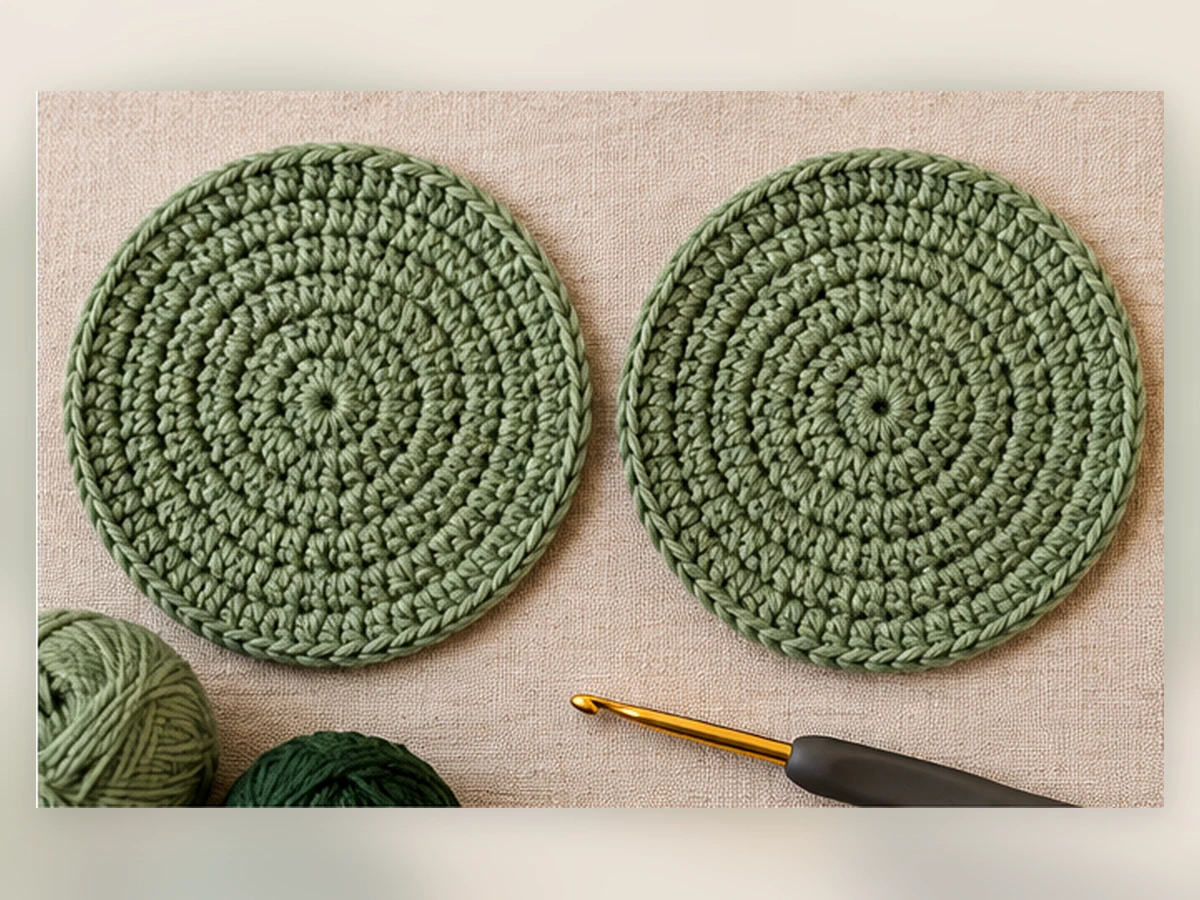
With sage green, make the first disk. Work half double crochet stitches in a continuous spiral. Do not slip stitch to join each round. Move your marker into the first stitch of each new round.
Round 1: MR, work 8 hdc into the ring. Pull the tail to close. (8 hdc)
Round 2: Work 2 hdc in each stitch around. (16 hdc)
Round 3: *1 hdc in next stitch, 2 hdc in next stitch.* Repeat from * to * 8 times. (24 hdc)
Round 4: *1 hdc in next 2 stitches, 2 hdc in next stitch.* Repeat 8 times. (32 hdc)
Round 5: *1 hdc in next 3 stitches, 2 hdc in next stitch.* Repeat 8 times. (40 hdc)
Round 6: *1 hdc in next 4 stitches, 2 hdc in next stitch.* Repeat 8 times. (48 hdc)
Round 7: *1 hdc in next 5 stitches, 2 hdc in next stitch.* Repeat 8 times. (56 hdc)
Round 8: *1 hdc in next 6 stitches, 2 hdc in next stitch.* Repeat 8 times. (64 hdc)
Finish with a slip stitch into the first stitch of the last round. Fasten off, leaving enough yarn to secure the end. Make a second identical disk, also ending with 64 hdc. This second circle will hide the stem anchors underneath.
Step 2: Make eight white crochet daisies
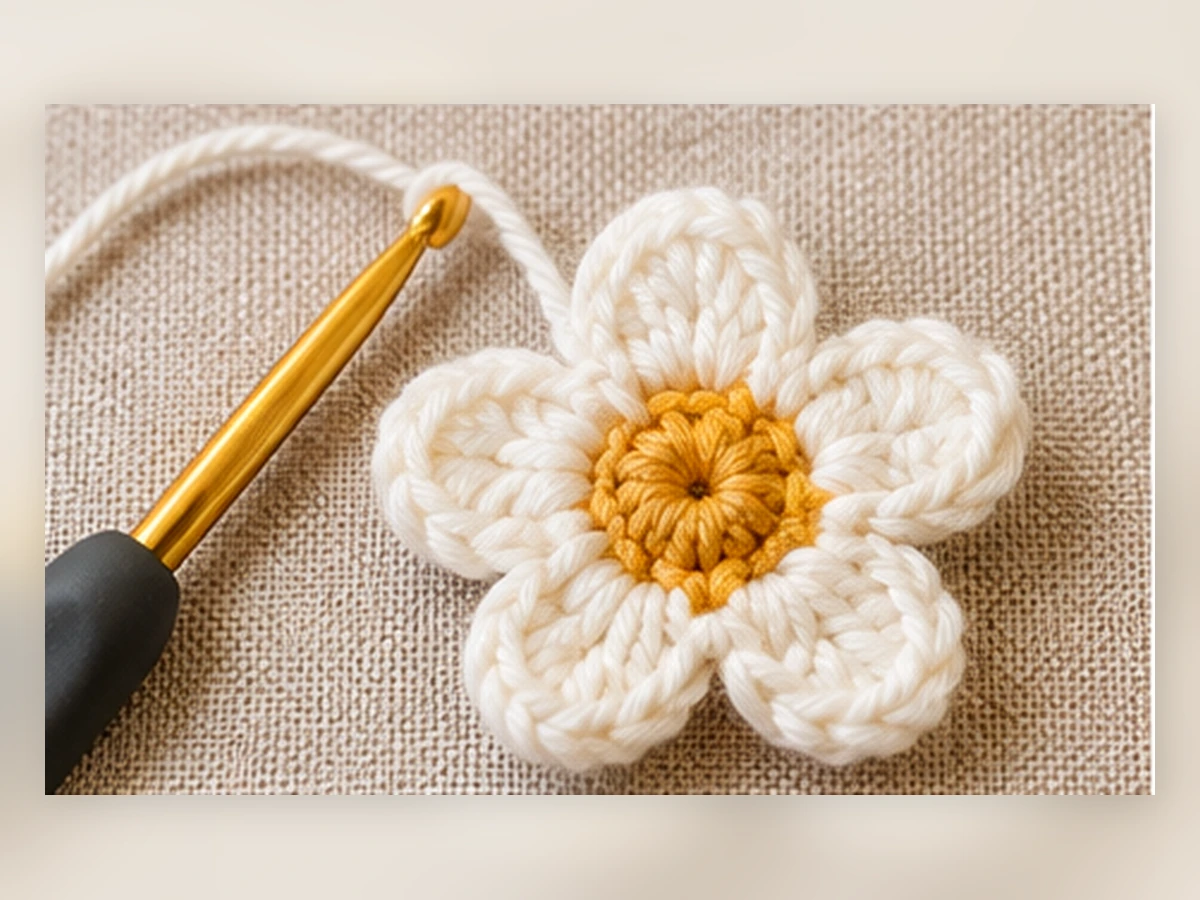
Every flower has a small golden center and five white petals. Make one sample flower before crocheting all eight. Keep the yellow starting tail secure.
Yellow center: Make a magic ring with yellow cotton. Work 5 sc into the ring. Pull closed and join with a slip stitch into the first sc. (5 sc) Fasten off, leaving a long yellow tail to attach the finished flower to its stem.
White petal 1: Join white yarn with a slip stitch into the first yellow sc. In that same yellow stitch, ch 2, work 3 dc, ch 2, and sl st again into the same stitch. (1 petal; 3 dc)
White petals 2–5: Work (sl st, ch 2, 3 dc, ch 2, sl st) into each of the four unused yellow sc, completing the whole sequence in one yellow stitch before moving to the next. (5 petals total; 15 dc)
Fasten off white and weave its ends into the back without pulling the petal tips inward. Repeat to make eight flowers.
Step 3: Crochet four tiny green leaves
With dark green, ch 6. You will work along one side of the chain, turn around its end, and come back along the unused loops.
First side: In the second chain from the hook, work 1 sc. Work 1 hdc in the next chain, 1 dc in the next, 1 hdc in the next, and 1 sc in the last chain. (5 stitches)
Other side: Ch 1 to turn around the end. Work into the unused loops on the opposite side of the SAME foundation chain: sc in the last chain just used, hdc in the next, dc in the next, hdc in the next, sc in the last free loop. Sl st into the first sc to close. (10 stitches across both sides)
Fasten off with an 8 in (20 cm) tail for sewing. Make four leaves.
If a leaf twists, wet-block it lightly if the yarn label permits. Keep the leaves small so they do not slip under the mug.
Step 4: Build eight protected flower stems
For this crochet daisy flower coaster pattern, keep the four long stems alternating with four short ones. This gives each flower room without crowding the center.
Thin, supported stems give the reference design its upright flowers. Crochet chains alone will droop, so this version uses fully covered, flexible craft wire as a core.
1. Cut four longer and four shorter wire pieces. Use pliers to curl both ends of every piece into tight, completely closed loops. No pointed end should remain.
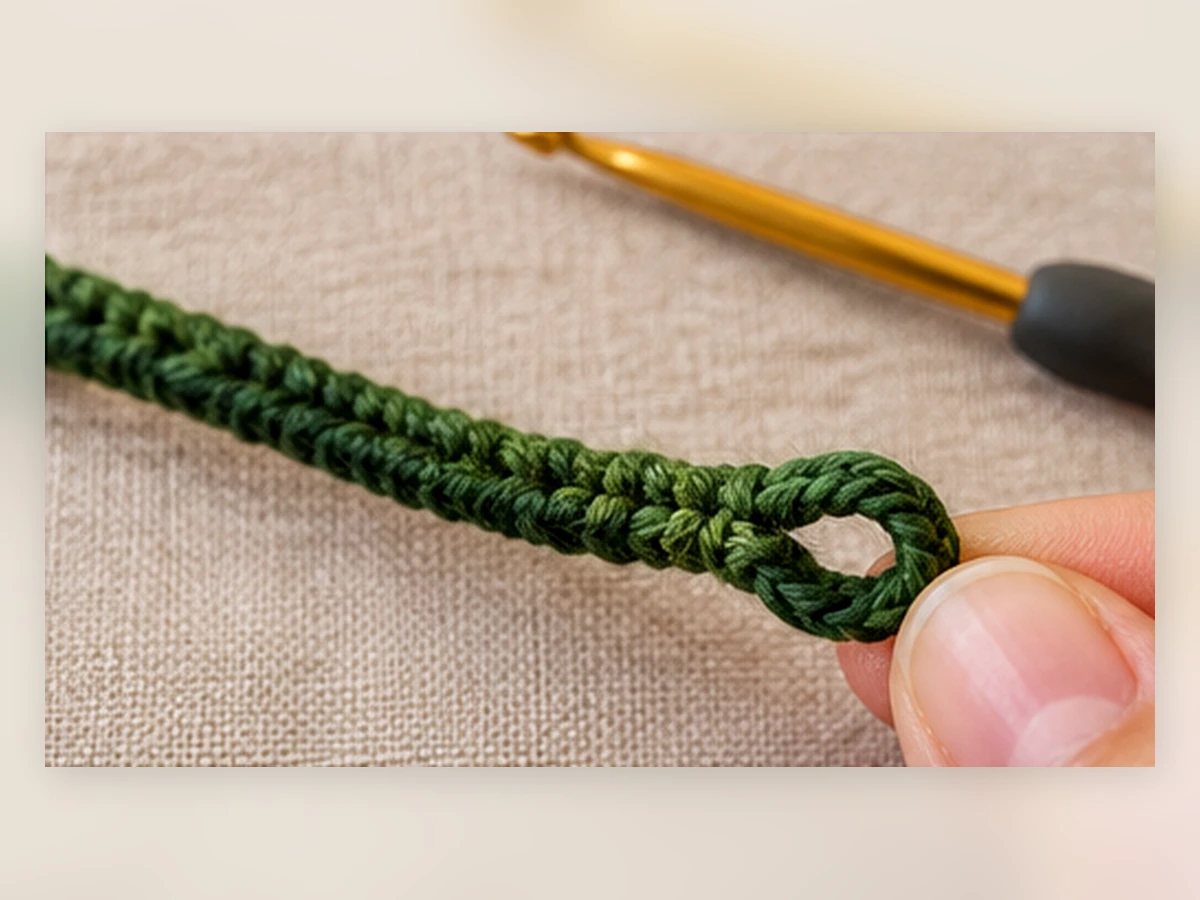
2. Cover the wire and both loops with green floral tape. Wrap a thin layer of dark-green cotton yarn over the taped stem. Secure both yarn ends under the wrapping.
3. With the long yellow tail from the daisy, sew through the yarn-covered loop at the top and the back of the five-stitch yellow center several times. Tie and hide the tail at the back. Do not stitch through the petals.
4. Sew one small crocheted leaf about halfway along each of four stems. Pass the sewing tail under the green yarn wrapping a few times, then secure it. Leave four stems leaf-free.
Step 5: Sew on the stems and close the coaster
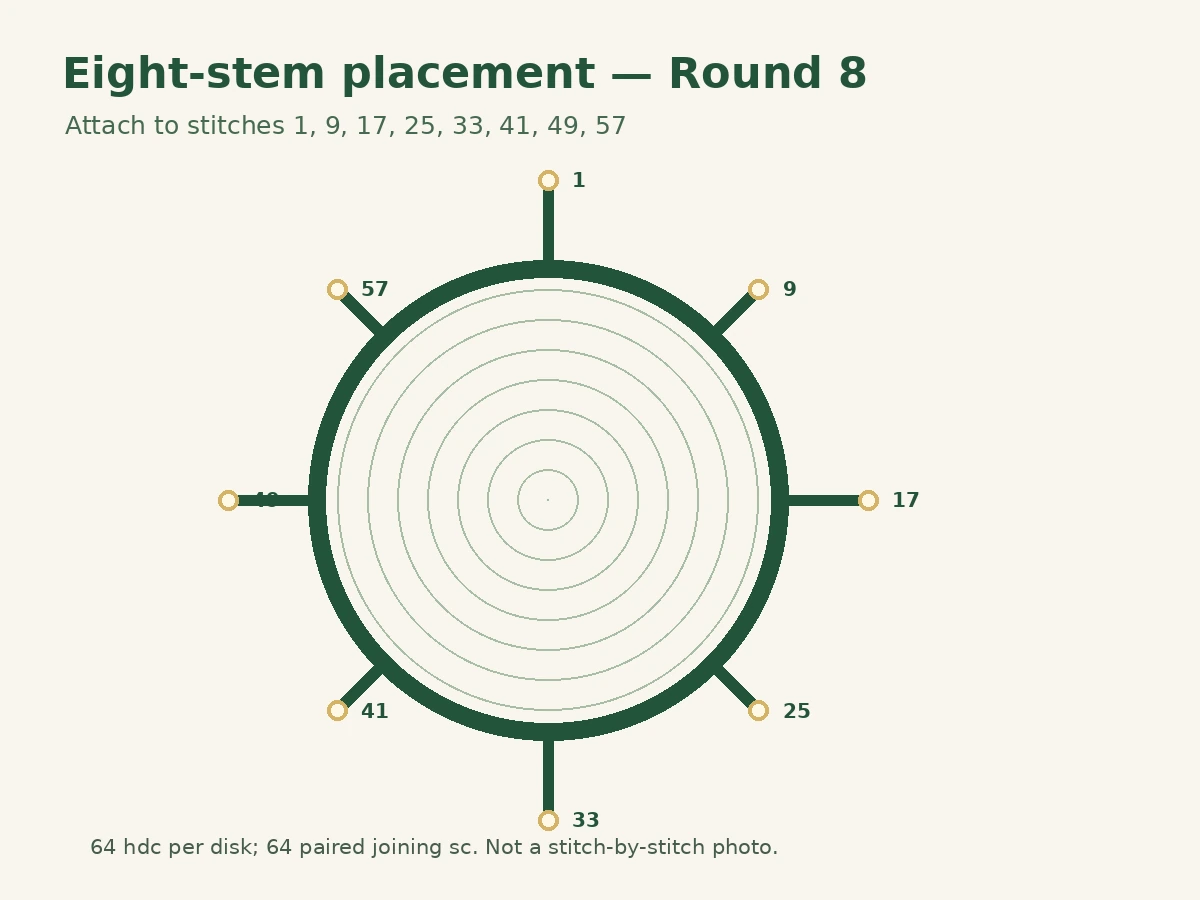
Place the top green disk right side up. Mark eight evenly spaced points around Round 8. Count from the first marked stitch: 1, 9, 17, 25, 33, 41, 49, 57. There are exactly eight edge stitches between neighboring markers.
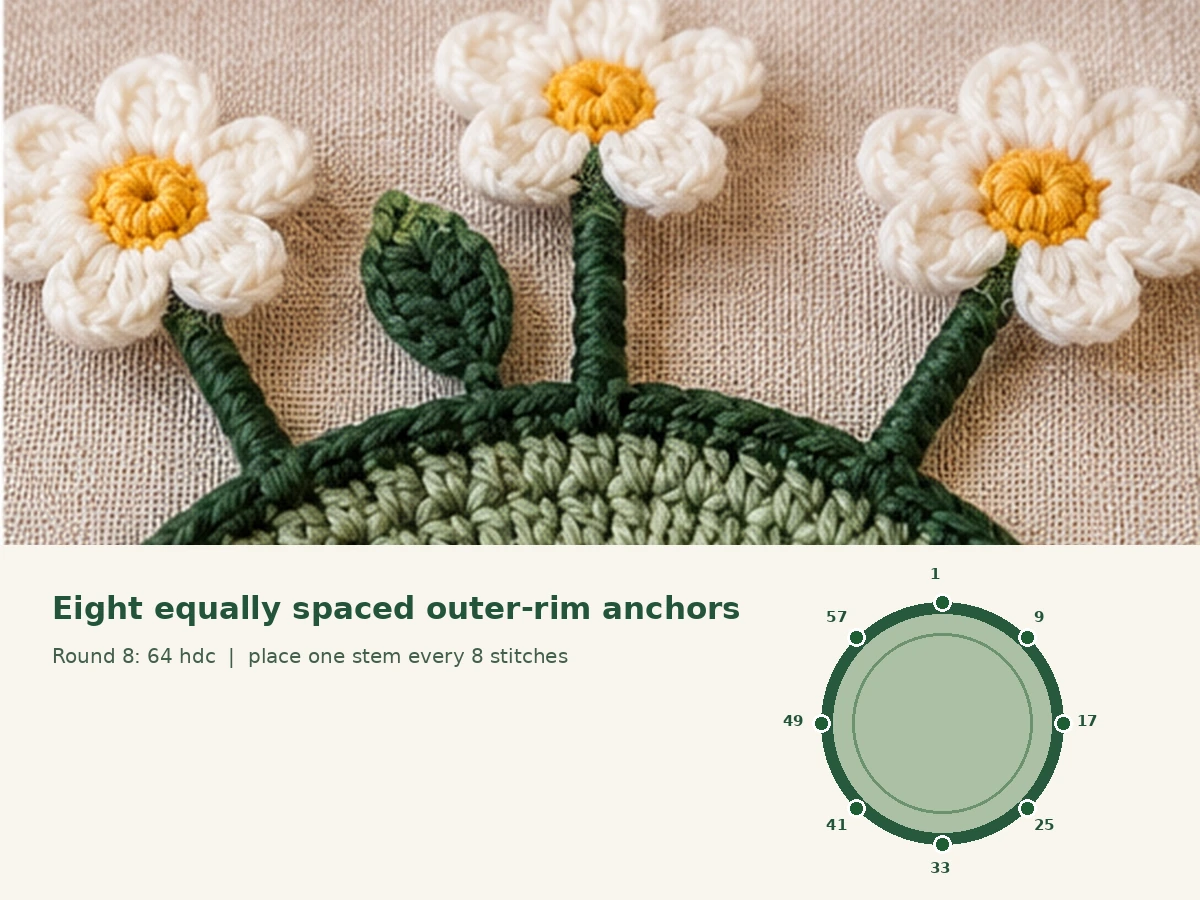
1. At each marked point, place the lower closed loop of a wrapped stem just inside the disk’s outside edge. Make sure the wire does not extend under the central mug area.
2. Using a needle and dark-green yarn, sew through the covered wire loop and the outside stitches of the top disk at least four times. Knot the sewing yarn securely on its underside. Repeat at all eight positions.
3. Alternate long and short stems around the disk. Fan the stems outward, away from the middle. Do not position any flower where the mug will sit.
4. Place the backing disk underneath, with wrong sides touching. Align both 64-stitch outer rounds and trap all eight covered lower loops between them.
5. With dark-green yarn, insert the hook through both layers at the aligned first edge stitches. Work 1 sc through each paired stitch all the way around. Join to the first sc with a slip stitch. (64 joining sc) Fasten off and hide the tail.
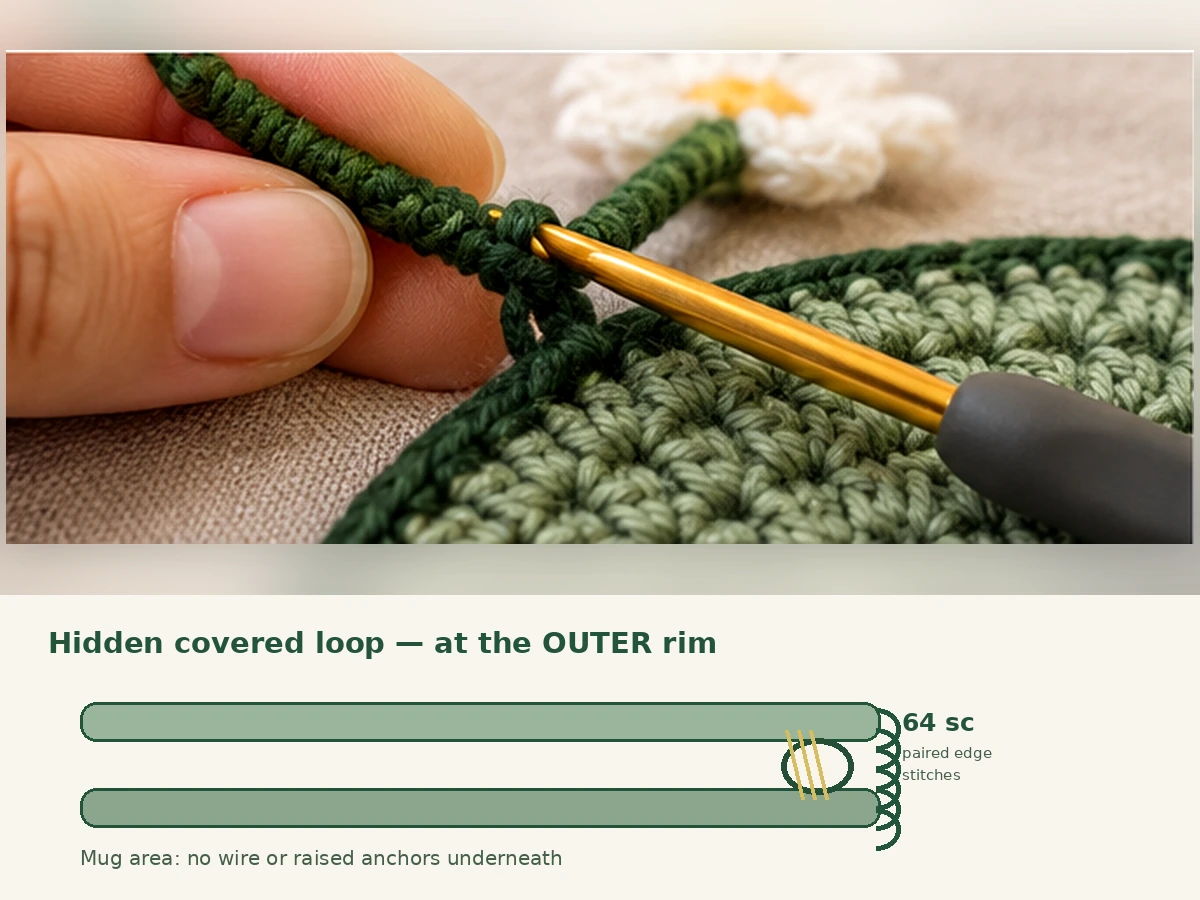
Turn the coaster over and gently inspect the seam. No wire loop or pointed metal should be visible or felt. Adjust the flower angles by bending the covered stems gently. Do not repeatedly bend the same spot until the wire weakens.
Step 6: Check the fit before using it
Set the coaster on a firm, level, dry surface. Place an empty, room-temperature mug in the center. It should sit on the flat sage fabric only and stay level when the coaster is moved slightly.
Lift the mug and check every stem attachment. If the base rocks, a stem pushes underneath, or a sharp part is exposed, the project is display-only until corrected. Do not rely on flowers or wires to support a drink.
Common crochet daisy coaster problems
| Problem | What to check |
|---|---|
| The green circle curls | Recount increases. Each round adds exactly 8 hdc. Check your yarn and tension. |
| One disk is larger | Make sure both have 8 rounds and 64 hdc. Use the same yarn and hook. |
| A daisy has four petals | The yellow center must contain 5 sc. Use each stitch once for one white petal. |
| The flowers droop | Check the wire gauge and wrapping. Keep stems short or make a decorative flat-stem version. |
| The mug is unstable | Move all anchors to the outer edge. Do not use it as a coaster if the center still rocks. |
| The join looks bulky | Keep wire base loops small, near the outside edge, and away from the mug’s resting area. |
Frequently asked questions
Can I make this daisy coaster without wire?
Yes. Replace each stem with a chain of your chosen length, then slip stitch back along the chain and attach it at the edge. The flowers will lie flat rather than standing upright. This wire-free option is easier to clean and is better for purely crocheted décor.
How many flowers go around the coaster?
This version has eight five-petal daisies. Place one stem every eight stitches along a 64-stitch outside round.
Can I use a different cotton yarn?
Yes. Make both circles with the same yarn and hook. Measure the first disk and check that your mug fits inside its flat center. The size may change.
Can I use it with a hot mug?
Use caution. The yarn is cotton, but the project contains covered metal and raised embellishments. Never microwave it or use it beneath hot cookware. Verify a stable, undamaged base with an empty mug before any ordinary use.
Save this flower coaster for later
Bookmark this free crochet daisy flower coaster pattern, especially the round-by-round base counts and eight-stem placement map. If you are new to these stitches, start with our magic circle tutorial. You can also use our crochet hook size chart or beginner crochet guide.
Pattern note: The photo represents the intended decorative look. The written stitch counts are independently calculated, but no physical prototype has yet confirmed the exact flower posture, dimensions, or mug performance. Test a sample before treating the design as fully verified.





Reader discussion
Reader Comments
Tried this pattern? Share what worked, ask a question, or help another crocheter.
Your turn
Comments are moderated to keep the discussion useful and family-friendly. Please do not post personal information.