A flower granny square is an easy way to add a small floral detail to a classic crochet square. This beginner version keeps the construction simple: first make a basic granny square, then crochet a five-petal flower and sew it neatly in the center. You can use the finished square for blankets, bags, cushions, wall hangings, or small gifts.
Flower Granny Square at a Glance
- Skill level: Beginner
- US crochet terms: chain, slip stitch, double crochet
- Suggested yarn: worsted weight (size 4)
- Suggested hook: 5 mm (H-8), or the size recommended on your yarn label
- Finished size: measure your completed four-round square; no fixed size is guaranteed without a measured gauge.
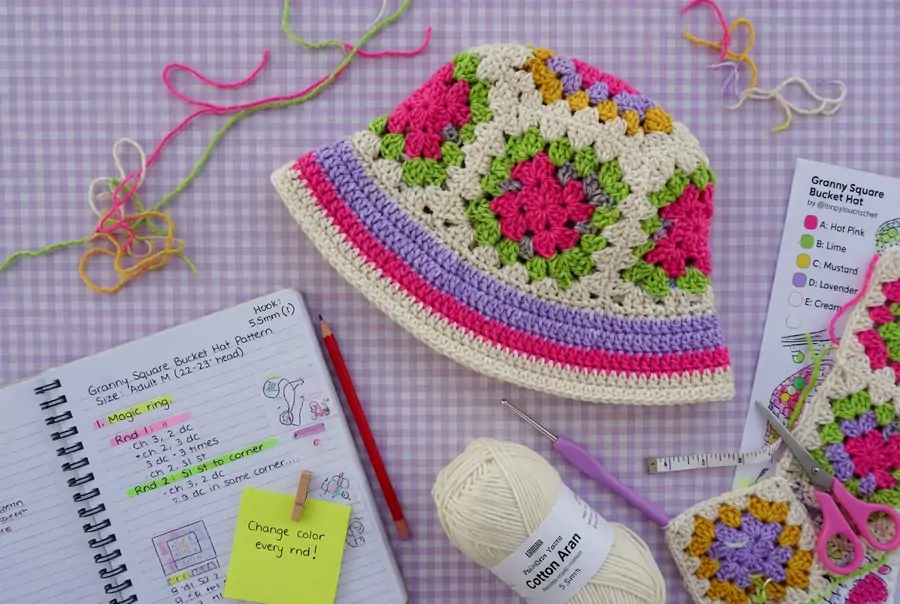
Materials
- Worsted weight yarn in one background color
- A small amount of yarn in a contrasting flower color
- 5 mm crochet hook
- Yarn needle
- Scissors
Abbreviations
- ch = chain
- sl st = slip stitch
- dc = double crochet
- st = stitch
- sp = space
The beginning ch 3 counts as the first double crochet in every square round. Join each round with a slip stitch to the top of that ch 3. Do not count the joining slip stitch as an extra stitch.
Part 1: Crochet the Granny Square
Round 1
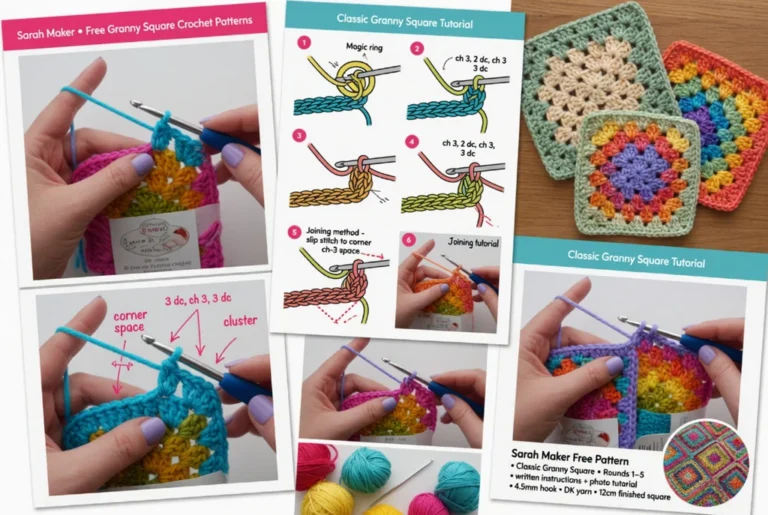
Chain 4 and join with a slip stitch to form a ring. Chain 3, then work 2 double crochets into the ring. Chain 2. Work 3 double crochets into the ring, chain 2. Repeat the 3-double-crochet group two more times, with a chain-2 space after each group. Join with a slip stitch to the top of the beginning chain 3.
You should now have four groups of 3 double crochets and four corner spaces.
Round 2
Slip stitch across to the first corner space. Chain 3, work 2 double crochets, chain 2, then 3 double crochets in the same corner space. Chain 1.
In each of the next three corner spaces, work 3 double crochets, chain 2, 3 double crochets, then chain 1. Join with a slip stitch.
Round 3
Slip stitch into the next 2 stitches and the first corner space. Ch 3, 2 dc, ch 2, 3 dc in that corner; ch 1, 3 dc in the next side ch-1 space, ch 1. In each of the next three corners work (3 dc, ch 2, 3 dc), then ch 1, 3 dc in the next side ch-1 space, ch 1. Join to the top of the beginning ch 3. Count 12 groups of 3 dc and four ch-2 corners.
Round 4
Slip stitch into the next 2 stitches and the first corner space. Ch 3, 2 dc, ch 2, 3 dc in that corner. Ch 1 and work 3 dc in each of the next two side ch-1 spaces, with ch 1 after each group. Repeat around the other three sides, placing (3 dc, ch 2, 3 dc) in every corner and 3 dc in each side space, with ch 1 between groups. Join to the beginning ch 3 and fasten off. Count 16 groups of 3 dc and four ch-2 corners.
Part 2: Make the Five-Petal Flower
Use your contrasting flower color. Make a magic ring. If you do not like magic rings, chain 4 and join to make a small ring.
For each petal, work: chain 2, 2 double crochets into the ring, chain 2, then slip stitch into the ring.
Repeat that petal sequence five times. Pull the center ring closed, fasten off, and leave a long tail for sewing.
Part 3: Attach the Flower
Place the flower in the center of the granny square. Thread the long tail through a yarn needle. Sew around the center of the flower with small stitches, catching only enough of the granny square to hold the flower flat. Avoid pulling too tightly because that can make the square pucker.
Weave the yarn ends into the back of the square and trim the extra yarn.
How to Make the Square Look Neater
- Choose a light or medium color for your first square so the stitches are easy to see.
- Keep corner chain spaces relaxed. Tight corners can make the square curl.
- Use the same yarn weight for the square and the flower.
- Block the finished square if the edges are slightly uneven.
- When making several squares for a blanket, measure the first finished square and use the same hook and tension for the rest.
Easy Color Ideas
Try a cream square with a pink flower for a soft look, a green square with a yellow flower for a spring theme, or use leftover yarn to make every flower a different color. For a blanket, keeping the final round the same color on every square can make mixed flower colors feel more coordinated.
What Can You Make With Flower Granny Squares?
- A small baby blanket
- A tote bag
- A cushion cover
- A table runner
- A cardigan panel
- A wall hanging
Before making a large project, crochet one test square and wash or block it the way you plan to care for the finished item. This helps you check the final size and fabric feel.
Common Problems
Why is my granny square curling?
Curling usually comes from tight tension or corner spaces that are too small. Relax your stitches and make sure each corner has enough chain space.
Why does my square look uneven?
Count the groups on each side. Each side should grow evenly as you add rounds. Missing a side space is a common beginner mistake.
Why is the flower pulling the center inward?
The flower may be sewn on too tightly. Use small, loose sewing stitches around the center and let the petals sit naturally on top of the square.
Frequently Asked Questions
Can I make the granny square larger?
Yes. Continue adding rounds. In each new round, place a corner group in every corner and one 3-double-crochet group in every chain-1 side space.
Can I use cotton yarn?
Yes. Cotton works well for bags, home decor, and warm-weather projects. Acrylic and wool blends can also work. Match the hook to the yarn label and the fabric you want.
Do I have to sew the flower on separately?
No, there are more advanced flower-in-the-center granny square methods that build the flower directly into the square. The separate flower used here is easier for a first project because the square construction stays familiar and easy to count.
Next Step
Once you are comfortable with this version, try changing the flower color, adding another granny round, or joining several squares together. The important part is keeping the same stitch structure and square size throughout your project.
Comments
Leave a Comment