
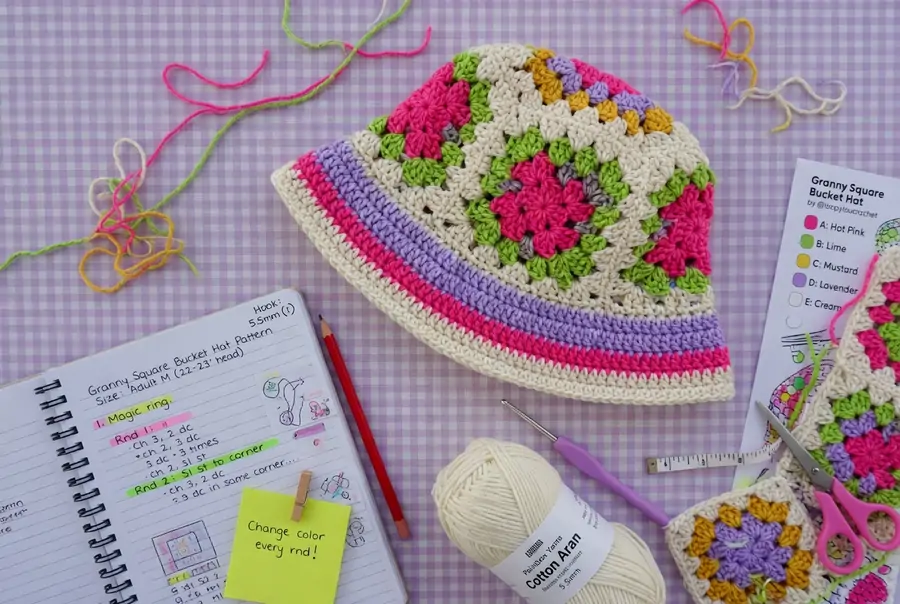
Everything you need to make a trendy, handmade bucket hat from granny squares — written like a friend sitting right next to you with yarn and coffee.
So you want to crochet a granny square bucket hat? Smart choice. These hats are everywhere right now — from Urban Outfitters to Anthropologie, and even Vogue has written about them
. The best part? You can make one yourself for the cost of a skein of yarn, and it’ll look just as good (if not better) than the $78 ones in stores.
This guide breaks down two popular methods: the classic granny square patchwork style (sewing squares together) and the granny stitch worked in the round (no sewing required). Both are beginner-friendly, and I’ll walk you through every single step.
Why Granny Square Bucket Hats Are So Popular
Granny squares have been around forever, but pairing them with a bucket hat shape? That’s pure 2020s magic. Here’s why crocheters love this project:
- Scrap-buster friendly: Use up leftover yarn from other projects. Each square can be a different color .
- Customizable: Change colors every round, stick to one color, or go wild with a rainbow. It’s your hat .
- Surprisingly quick: Many patterns work up in under 3 hours .
- Fits everyone: With simple adjustments, you can make these for babies, kids, or adults .
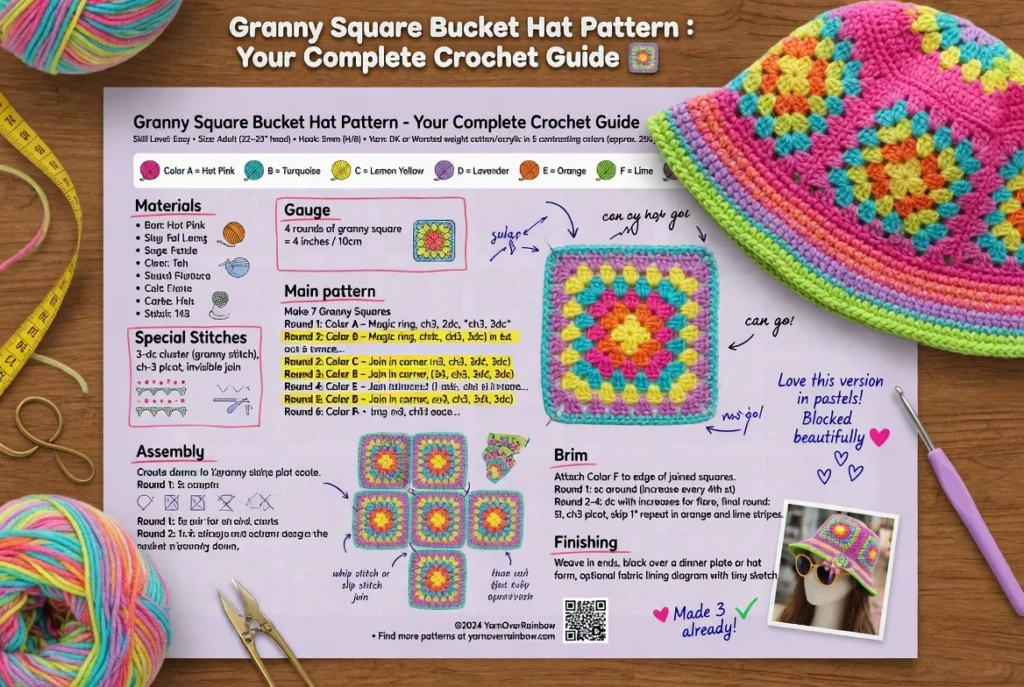
What You’ll Need
Table
| Supply | Details |
|---|---|
| Yarn | Worsted-weight cotton (size 4). Cotton breathes and holds shape. About 80–100g total . |
| Hook | 5.5mm (US I-9) for granny stitch in the round , or 4.0mm (US G-6) for patchwork style . |
| Yarn needle | For weaving in ends and sewing squares together. |
| Scissors | Essential. |
| Stitch markers | Optional but helpful for keeping track of rounds. |
Pro tip: Cotton yarn is non-negotiable for summer hats. Acrylic gets hot, stretches out, and loses its shape in the sun. Cotton stays crisp and cool
Step-by-Step Granny Square Bucket Hat
This is the classic look you see in stores — actual granny squares sewn together, with a brim crocheted around the bottom. The Yarnspirations pattern (also available as a free download) uses this method.
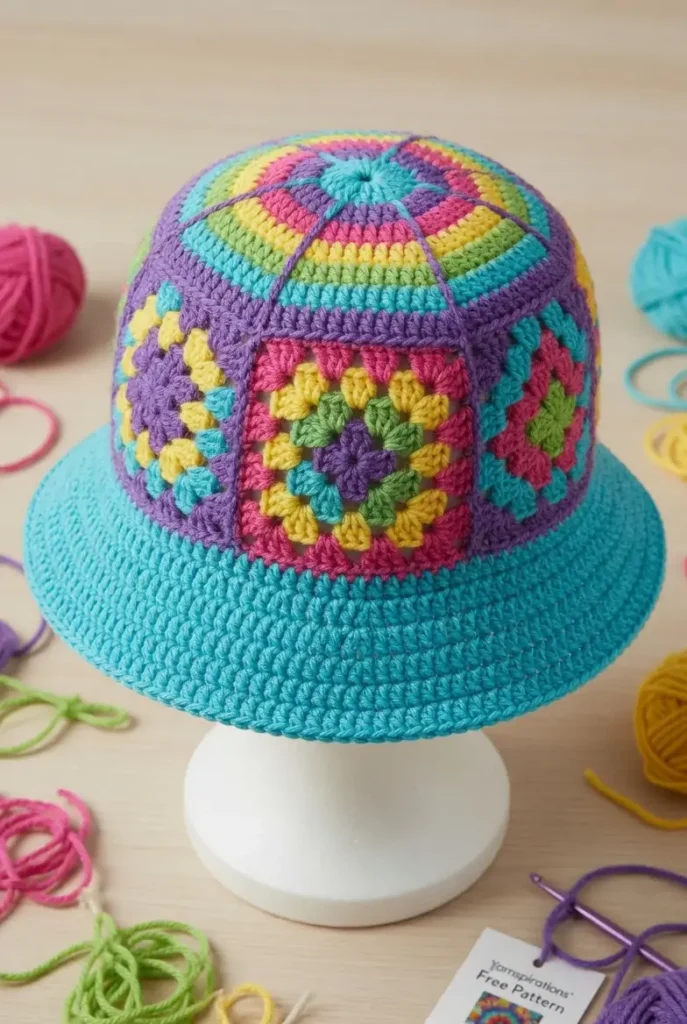
Step 1: Make the Granny Squares
You’ll need 5 or 6 granny squares, depending on head size. Each square should measure about 4–5 inches.
Classic Granny Square Pattern:
Round 1: Chain 4, slip stitch to form a ring. Chain 3 (counts as dc), 2 dc in ring, ch 2, 3 dc in ring — repeat 2 more times. Ch 2, slip stitch to top of ch-3. (4 clusters, 4 ch-2 corners)
Round 2: Slip stitch into the next 2 stitches and into the corner space. Ch 3, 2 dc in same corner, ch 2, 3 dc in same corner (first corner made). Ch 1, [3 dc, ch 2, 3 dc] in next corner — repeat around. Ch 1, slip stitch to top of ch-3.
Round 3+: Continue working [3 dc, ch 2, 3 dc] in each corner and 3 dc in each side space, with ch-1 between groups. Add rounds until your square is the right size.
Make all squares the same size. Use one color or change colors every round for a rainbow effect.
Step 2: Sew Squares Together
Arrange your squares in a circle — this forms the “band” of the hat. Sew them together using whip stitch or mattress stitch. Make sure the total circumference matches the head size you’re aiming for:
- Baby/Toddler: ~17 inches around
- Adult: ~21–22 inches around
Step 3: Shape the Crown
Once your squares are sewn into a circle, crochet around the top edge. You’ll work decrease rounds to close the top:
- Join yarn at any seam.
- Work single crochet or double crochet around, decreasing evenly (skipping every 5th or 6th stitch) until the opening closes.
- Pull tight, fasten off.
Step 4: Crochet the Brim
Join yarn at the bottom edge of your square circle.
Round 1: Work single crochet evenly around.
Round 2: Work [2 single crochets in next stitch, 1 single crochet in next 3 stitches] around.
Round 3+: Continue working even rounds of single crochet, or alternate increase rounds with even rounds until the brim is as wide as you like.
Fasten off. Weave in all ends.
Customization Ideas
- Two-toned hat: Switch colors every round for a striped granny effect .
- Fur trim: Add a faux fur brim for winter vibes .
- Flower accents: Sew a crochet flower to the side for extra cuteness.
- Reversible: Make two hats and sew them together for a reversible design.
Troubleshooting Common Problems
Table:
| Problem | Solution |
|---|---|
| Hat is too tight | Go up a hook size or add an extra cluster in the increase rounds . |
| Hat is too loose | Go down a hook size or skip an increase round. |
| Brim curls up | Your tension is too tight. Loosen up or use a larger hook for the brim. |
| Squares don’t line up | Count stitches carefully. All squares must be the exact same size before sewing. |
| Top has a hole | Pull the magic ring tail tighter, or work an extra decrease round. |
Final Thoughts
There’s something special about wearing a hat you made yourself. When someone asks, “Where did you get that?” and you say, “I made it,” the look on their face is priceless. Granny square bucket hats are trendy, practical, and surprisingly easy. Whether you go with the seamless granny stitch or the patchwork style, you’re going to end up with a hat that’s uniquely yours.
So grab your hook, dig into that yarn stash, and start stitching. Summer (and compliments) await! 🧶☀️





Reader discussion
Reader Comments
Tried this pattern? Share what worked, ask a question, or help another crocheter.
Your turn
Comments are moderated to keep the discussion useful and family-friendly. Please do not post personal information.