
Free pattern · Beginner · 3 sizes
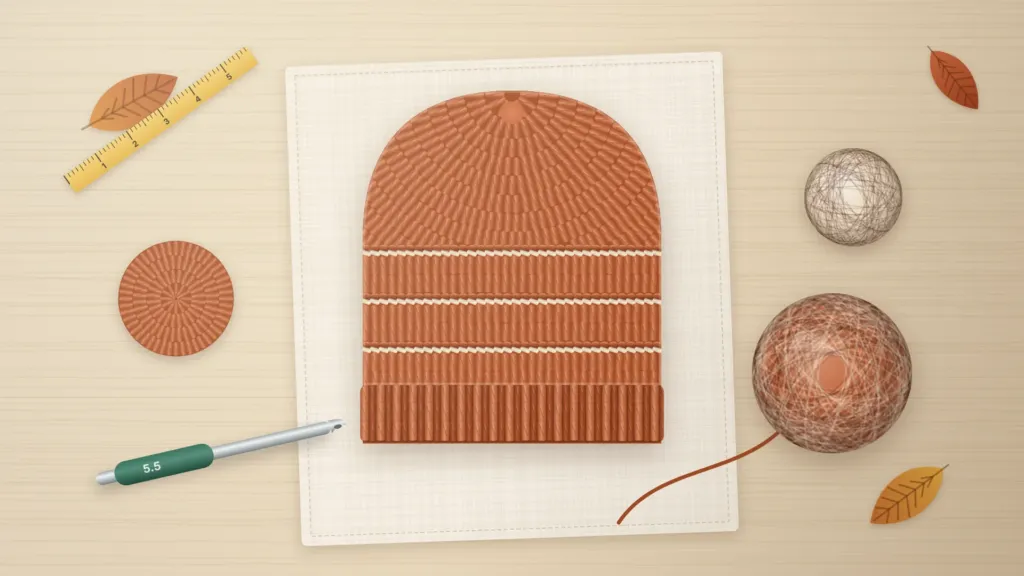
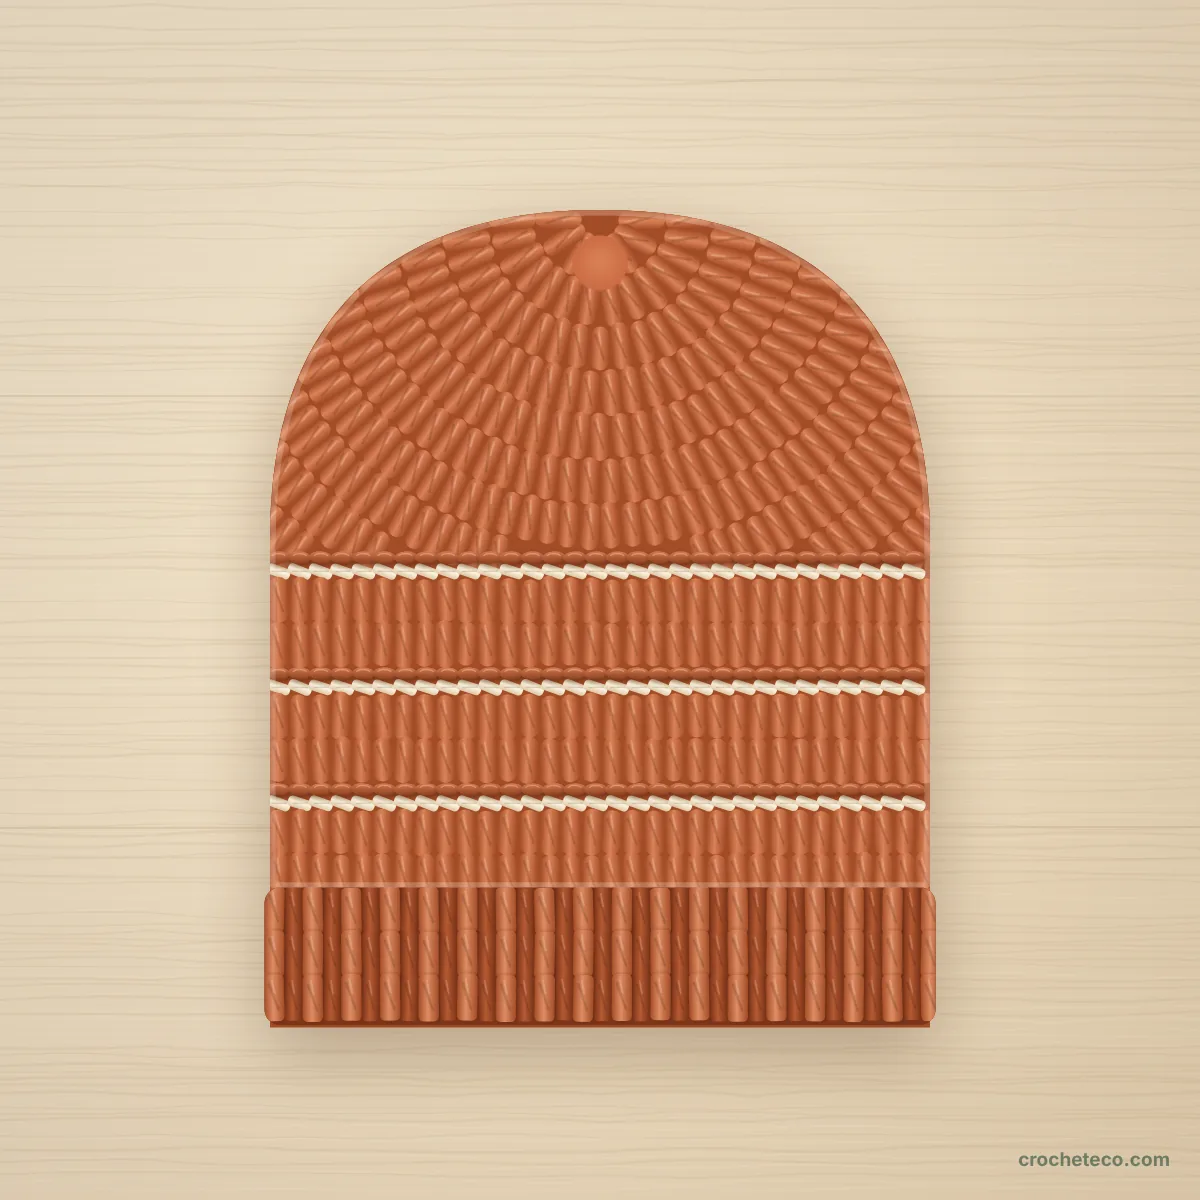
Here is how to crochet a beanie as a beginner, with a free pattern in child and adult sizes. You only need double crochet and single crochet. Every third round makes a raised line around the hat. These lines look good, and they also count your rounds for you.
You start with a flat circle for the top and measure it, so you know the hat will fit. Then you work straight down to the ears and finish with a stretchy brim. If you stop for a week, the lines still show you where you were.
- Fits the first timeYou measure the top circle before you go on.
- Hard to lose countThe raised lines mark every third round.
- Tick as you goCheck off each round in the pattern below.
- Skill level
- Beginner
- Hook
- 5.5 mm (I-9)
- Yarn
- Worsted (4), about 150 to 200 yd
- Sizes
- Child, Adult M, Adult L
- Stitches
- dc, sc, sl st, FPdc, BPdc
- Finished size (M)
- 20 in around, 9 in tall
On this page
Why This Beanie Is Easy to Get Right
Most first hats go wrong in one of two ways. The top is the wrong size, or you lose count on the long plain sides. This pattern helps with both.
- CrownA flat circle. You measure it after 5 or 6 rounds. If it is wrong, you change the hook and lose about 20 minutes, not a whole hat.
- Ridge roundSingle crochet in the back loop only. It leaves a raised line on the outside.
- Two plain roundsAlways two dc rounds between ridges. Count the ridges and you know your round.
- Ribbed brimPost stitches make a stretchy band. Each one has its own step and photo.
If you can make double crochet, the new parts are the magic ring, back loop stitches, and post stitches. Each one is explained when you need it.
Pick Your Size First
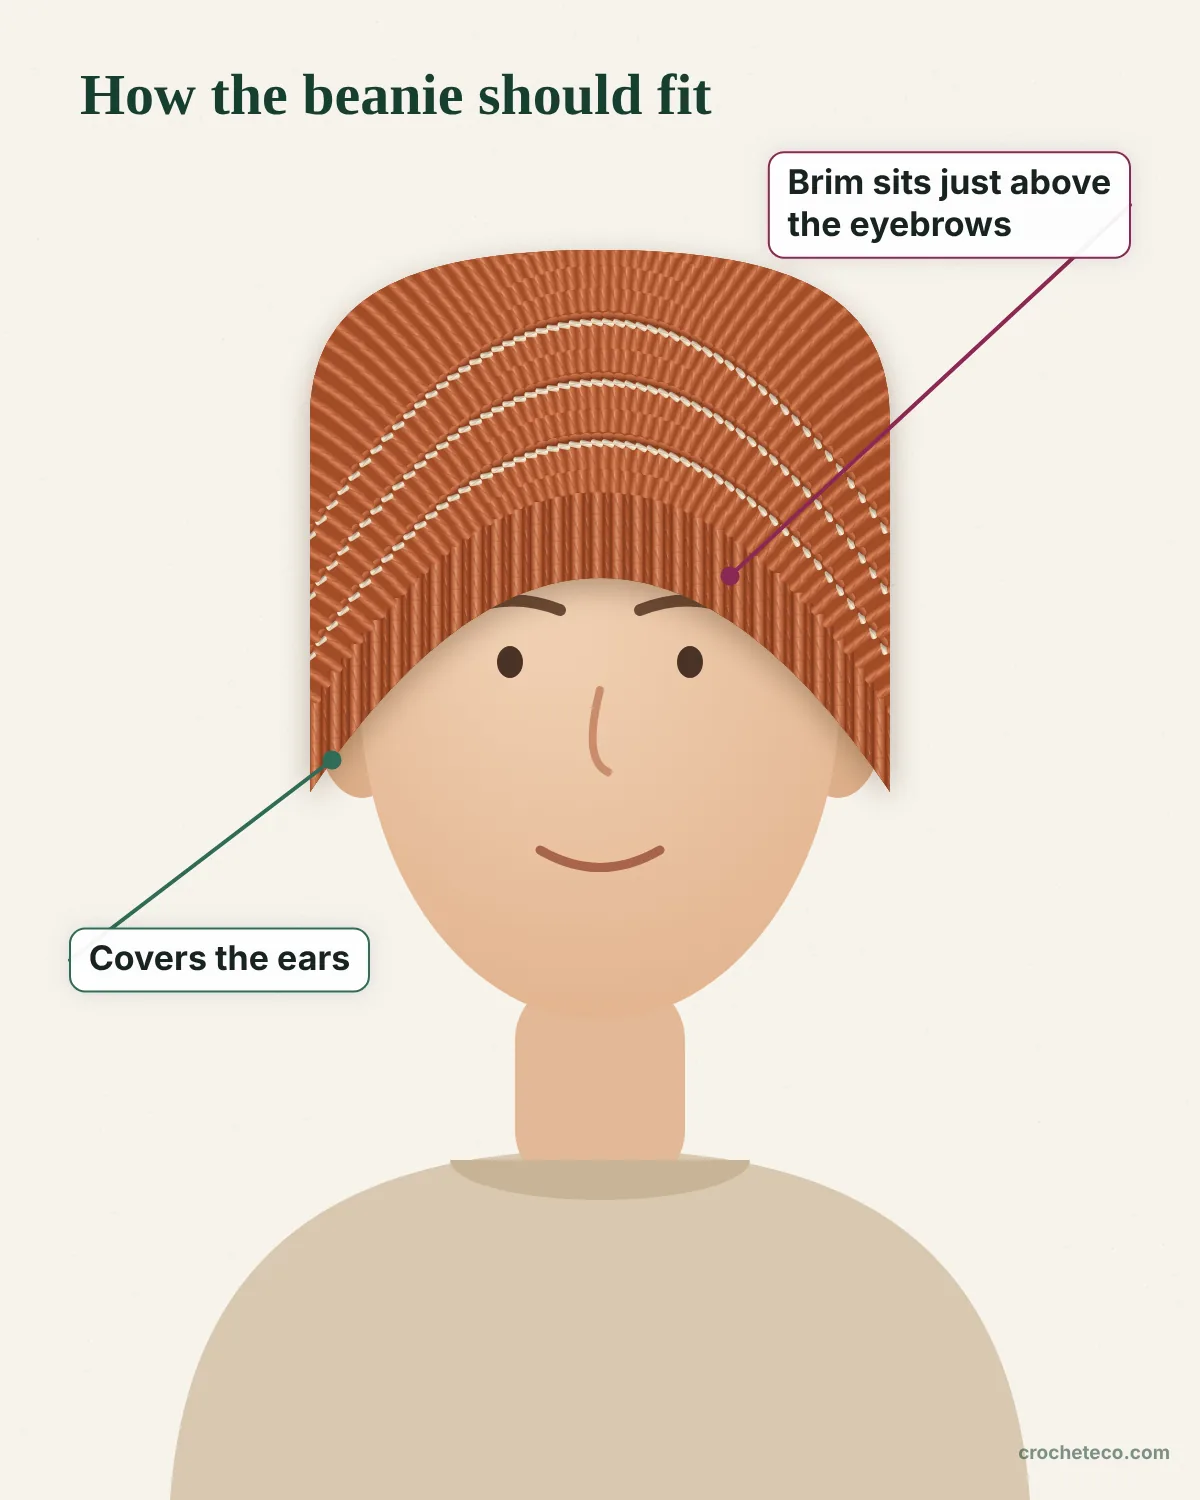
Measure the head before you start. Wrap a soft tape measure around the widest part, across the forehead and just above the ears. Keep it snug but not tight.
A beanie should be about 1 to 3 in (2.5 to 7.5 cm) smaller than the head. This is called negative ease. The hat stretches a little, so it stays on and does not slide up.
| Size | Fits head | Finished hat |
|---|---|---|
| Child | 19 to 21 in (48 to 53 cm) | 18 in around, 7.5 in tall (46 x 19 cm) |
| Adult M | 21 to 23 in (53 to 58 cm) | 20 in around, 9 in tall (51 x 23 cm) |
| Adult L | 23 to 24 in (58 to 61 cm) | 22 in around, 9.5 in tall (56 x 24 cm) |
The head sizes are based on the Craft Yarn Council head circumference chart. Between two sizes? Make the smaller one for a close fit, or the larger one for a looser hat.
What You Need
- Worsted weight (4) yarn, about 150 to 200 yd (140 to 185 m). Wool, acrylic, or a blend.
- Optional second color for the ridge rounds, about 20 to 30 yd (18 to 27 m).
- 5.5 mm (I-9) crochet hook
- 1 stitch marker (a small clip that marks a stitch)
- Yarn needle (a large needle with a big eye)
- Soft tape measure and scissors
Tip: Choose a smooth yarn in a medium or light color for your first hat. On dark or fuzzy yarn, the back loops are hard to see.
Abbreviations and Gauge
This pattern uses US crochet terms.
| Short form | Meaning |
|---|---|
| ch | chain |
| dc | double crochet |
| sc | single crochet |
| sl st | slip stitch |
| st(s) | stitch(es) |
| BLO | back loop only |
| FPdc | front post double crochet |
| BPdc | back post double crochet |
Gauge: 12 dc and 7 rounds of dc make a 4 in (10 cm) square. Gauge is how many stitches fit in a set size. It controls the size of your hat. You do not need a test square, because the circle check after the crown does the same job.
How to Crochet a Beanie, Round by Round
Show my size
Before You Start
- Work in joined rounds, from the top down. Do not turn your work.
- The ch 2 or ch 1 at the start of a round does not count as a stitch.
- Join each round with a sl st into the first stitch, not into the chain.
- Keep the marker in the first stitch of each round. Move it up every round.
- The number on the right is your stitch count at the end of the round.
Make the Crown
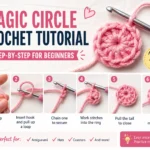
The crown is the flat circle at the top of the hat. It works the same way as our guide to crocheting a flat circle. It starts with a magic ring, an adjustable loop you pull closed at the end. If that is new to you, try our magic ring tutorial first.
No starting chain is needed. If the magic ring is too hard, ch 4 and join with a sl st to make a small ring. Work Round 1 into that ring.
Tap a round to tick it off. Round 5 is different for each size, so pick your size above to hide the others.
Stop and Measure
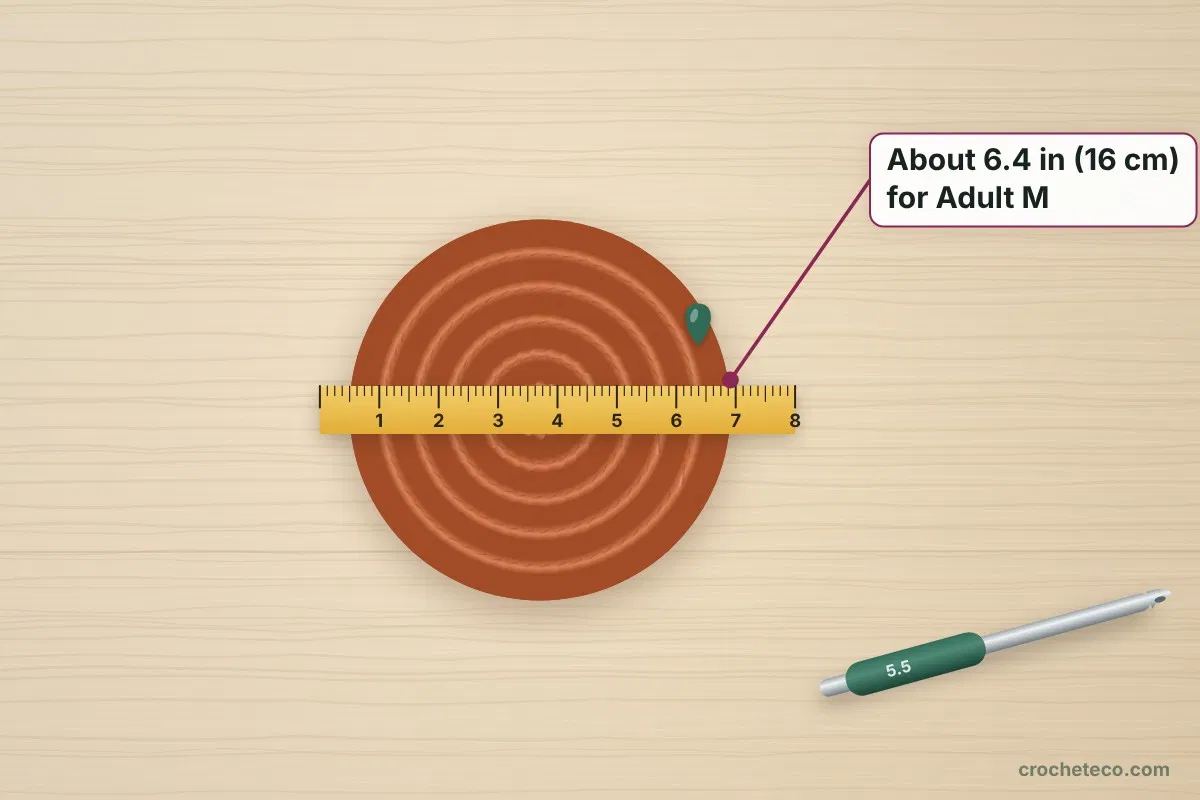
Lay the circle flat on a table. Measure straight across the middle.
| Size | Stitches | Circle should be |
|---|---|---|
| Child | 54 | About 5.75 in (14.5 cm) |
| Adult M | 60 | About 6.4 in (16 cm) |
| Adult L | 66 | About 7 in (18 cm) |
Too small or too big? More than 0.5 in (1 cm) too small: undo the circle and start again with a 6 mm (J-10) hook. More than 0.5 in (1 cm) too big: start again with a 5 mm (H-8) hook. Starting over now saves you from a hat that does not fit.
Work the Ridge Lines
From now on, you do not add any stitches. The sides grow straight down. You repeat the same three rounds: one ridge round and two plain rounds.
Every stitch has two loops on top. The back loop is the one farther from you. Work only into the back loop. The front loop stays on the outside and makes a raised line.
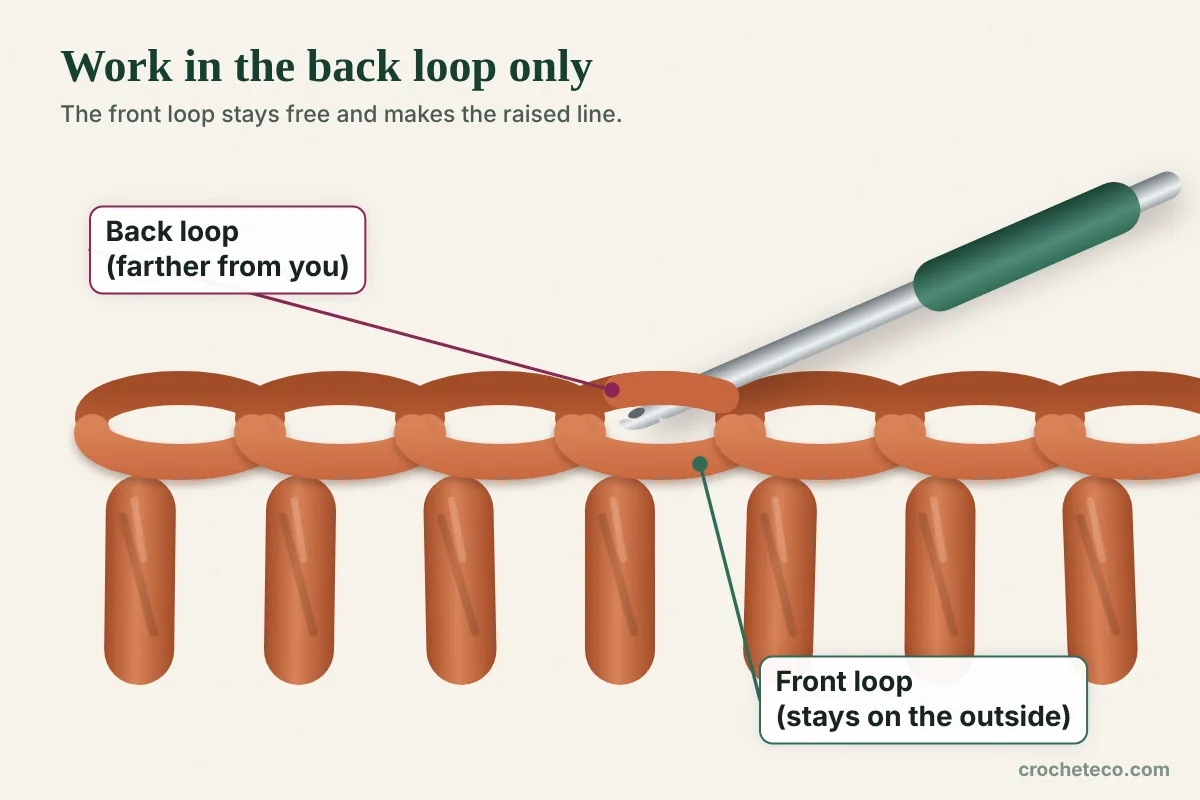
Repeat these three rounds:
Lost count? Look at the outside of the hat and count the ridges. Then count the dc rounds under the last ridge. You need two dc rounds before the next ridge.
Optional: Add a Second Color
Work each ridge round in a second color for a thin stripe right under each raised line. Change color while you join, like this:
- At the end of the round before a ridge, put your hook into the first st to join.
- Drop the main color. Yarn over with the second color and pull it through.
- Work the ridge round in the second color.
- When you join the ridge round, switch back to the main color the same way.
Carry the color you are not using up the inside of the hat. You do not need to cut it every time. For more help, see our guide on how to crochet with multiple colors.
Make the Ribbed Brim
The brim is the stretchy band at the bottom of the hat. It uses post stitches. A post stitch goes around the body of the stitch below, not into its top loops. A front post stitch next to a back post stitch makes stretchy ribs that fit close to the head.
- FPdc: Yarn over. Push the hook in from the front, behind the next post, and out to the front again. Yarn over, pull up a loop, and finish like a normal dc.
- BPdc: Yarn over. Push the hook in from the back, in front of the next post, and out to the back again. Yarn over, pull up a loop, and finish like a normal dc.
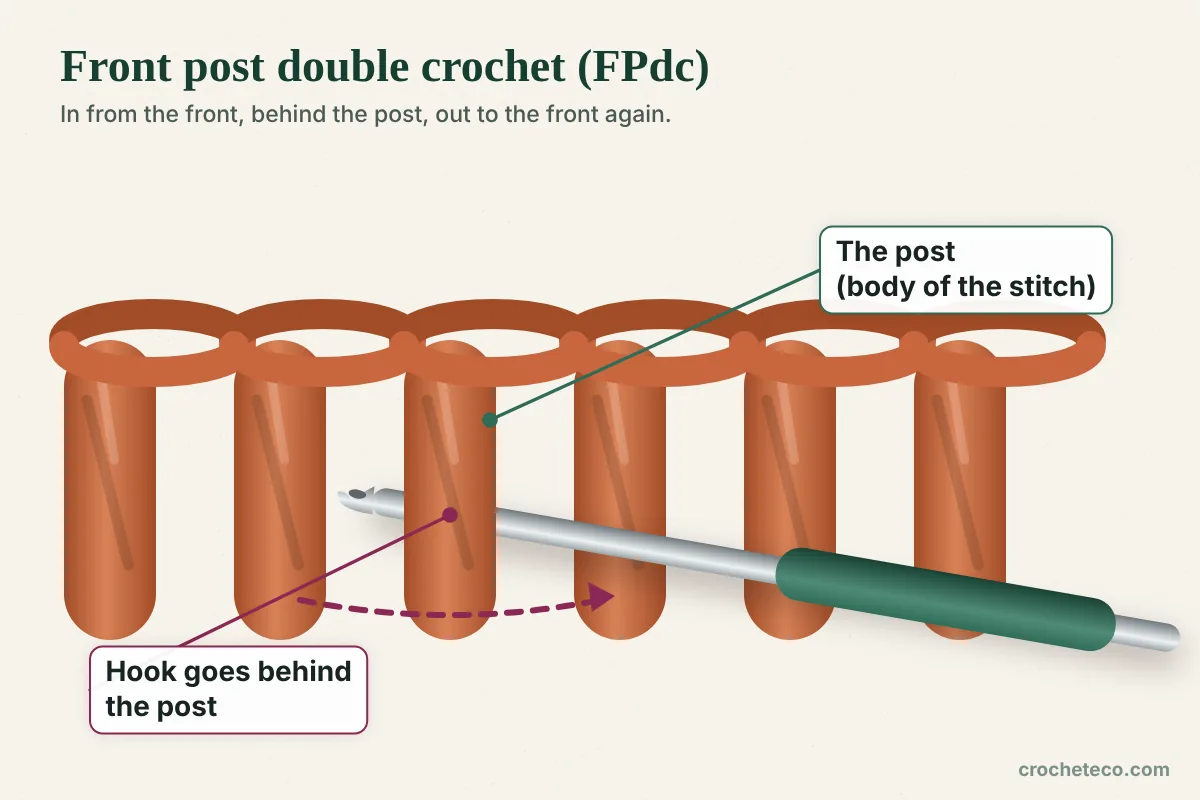
All three sizes have an even stitch count, so the ribs line up. Your hat now has 14 rounds (child), 17 rounds (adult M), or 18 rounds (adult L).
Finish the Hat
- Cut the yarn and leave a 6 in (15 cm) tail.
- Pull the tail through the loop on your hook.
- Thread the tail on the yarn needle.
- Weave it into the inside of the hat for at least 2 in (5 cm).
- Do the same with the magic ring tail and any second color ends.
If Something Looks Wrong
Tap the problem you see to open the fix.
The ridges are on the inside of the hat
You worked into the front loop, or you turned your work. Keep the outside of the hat facing you, and go into the loop farther from you.
The crown is wavy or forms a cone
A wavy circle has too many stitches. A cone has too few. Count each crown round. If the counts are right and it is still wavy, your stitches are loose, so try a smaller hook.
The join line slants to one side
A small slant is normal in joined rounds. A big slant or a gap means you worked a stitch into the ch 2 or joined into it. Always join into the marked stitch.
The hat is too short or too long
Fix it before the brim. Add or remove plain dc rounds after the last ridge. One dc round is about 0.6 in (1.5 cm).
Questions About Crocheting a Beanie
How long does it take to crochet a beanie?
Plan for about 2 to 4 hours if you are new. Double crochet is a tall stitch, so the hat grows fast.
Can I make it without the ridges?
Yes. Leave out the ridge rounds. Add 1 extra dc round for the child size, or 1 to 2 for adult M and L. You get a plain double crochet beanie of almost the same size.
Can I make it slouchy?
Yes. A slouchy beanie is longer and falls loose at the back. Add 3 to 4 plain dc rounds after the last ridge, before the brim. This adds about 2 in (5 cm).
Can I add a pom-pom?
Yes. Sew it to the center of the crown and tie the ends tightly on the inside. Skip it for a baby or a small child, because it can come off.
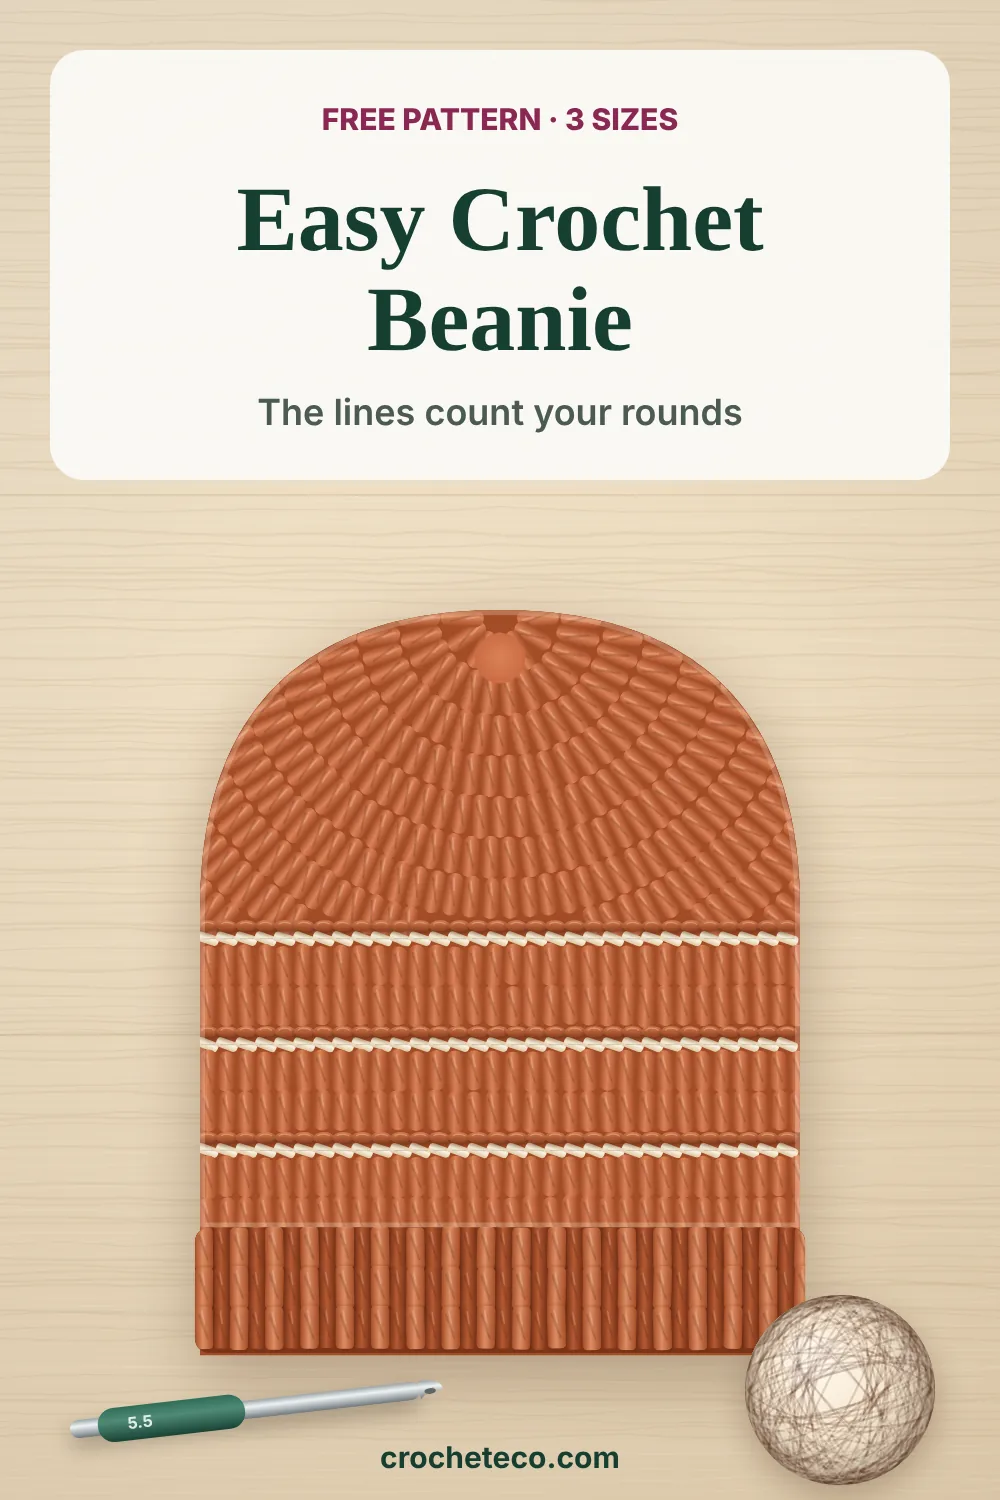
Save this pattern for laterPin it to your crochet board, so you can find the sizes and round counts when you start your hat.
Save to PinterestWant a different hat shape?Try a brimmed hat next, in 5 sizes.
Free crochet bucket hat pattern


Reader discussion
Reader Comments
Tried this pattern? Share what worked, ask a question, or help another crocheter.
Your turn
Comments are moderated to keep the discussion useful and family-friendly. Please do not post personal information.