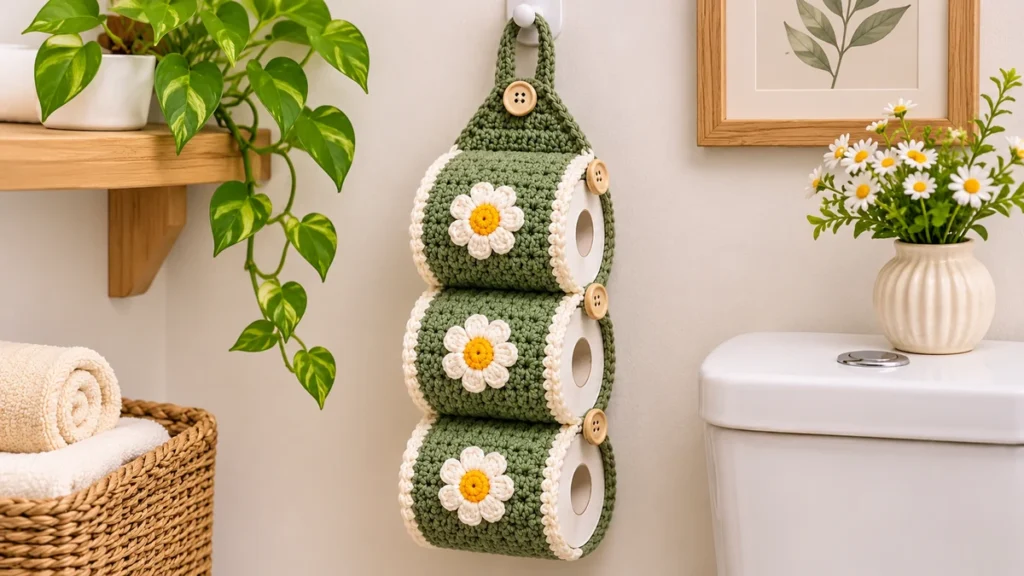
This free crochet toilet paper holder pattern makes a sage-green bathroom organizer for three spare toilet rolls. Each pocket has a cream scalloped edge and a white daisy with a yellow center. A long green back panel and a sturdy hanging loop keep the three pockets in one neat vertical row.
You’ll crochet the back panel, make three matching pocket strips, turn them into tubes, and attach the pieces. There is also a free CrochetEco PDF with extra illustrations to keep beside your yarn while working.
- Skill level
- Confident beginner
- Terminology
- US crochet stitches
- Yarn
- Worsted cotton in green, cream, white, yellow
- Hook
- 4.5 mm (US 7), adjust for gauge
- Back panel
- 19 sc across, 70 straight rows
- Each pocket
- 54 sc across and 20 rows
- Flowers
- 3 white daisies with 8 petals each
- Finished height
- About 20½ in (52 cm), estimated
Materials and gauge
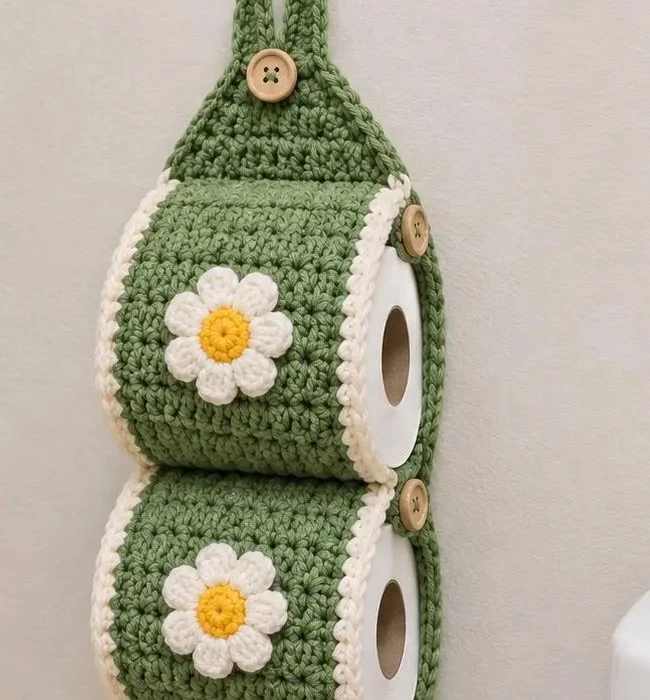
Choose a smooth, firm medium-weight cotton yarn. The companion pattern gives these estimated amounts: 180 g sage green, 60 g cream, 30 g white, and 15 g yellow. Your actual yarn use can vary.
- 4.5 mm crochet hook, or a suitable size for your yarn
- Yarn needle and scissors
- Measuring tape and four stitch markers
- Four small wooden decorative buttons, about 20 mm
- Three standard toilet paper rolls for measuring
- A secure wall hook for the completed organizer
Check your gauge
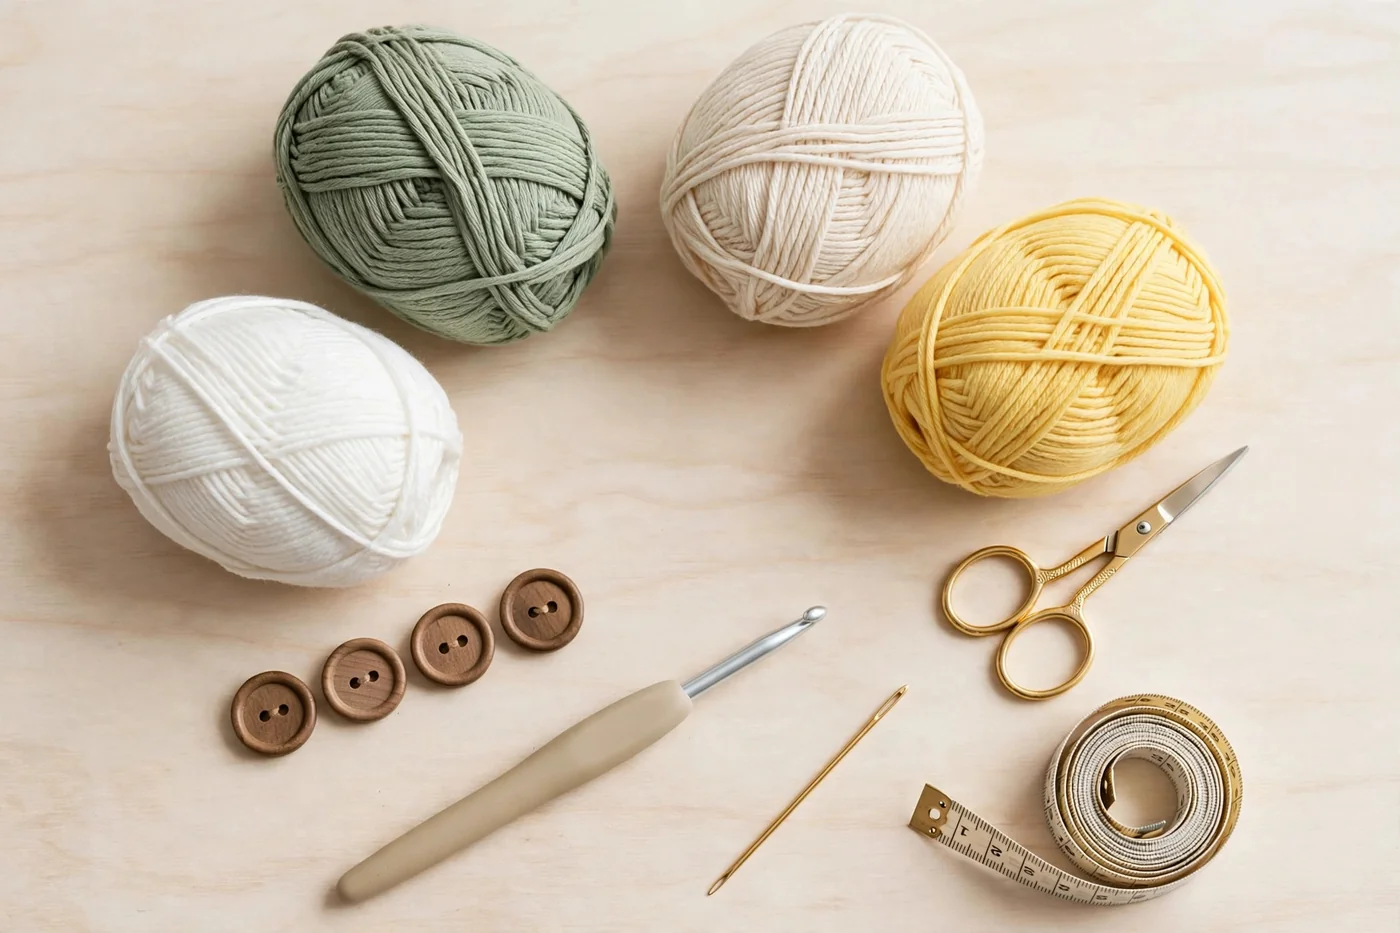
The suggested gauge is 16 single crochet stitches and 18 rows over 4 inches (10 cm). Make a larger practice swatch to measure this accurately.
Practice swatch: Ch 22. Work one sc into the second chain from the hook and each chain across. You should have 21 sc.
Continue in rows, chaining one and turning after each row. Work enough rows to make a square slightly larger than 4 inches.
Measure the center without stretching the fabric. Use a larger hook if your stitches are too small, or a smaller hook if they are too large.
Open US crochet abbreviations
- ch: Chain
- sc: Single crochet
- hdc: Half double crochet
- dc: Double crochet
- sl st: Slip stitch
- sc2tog: Single crochet two together
- MR: Magic ring
- st: Stitch
To work sc2tog, draw up a loop through each of the next two stitches. Yarn over and pull through all three loops. Two stitches become one.
Crochet toilet paper holder pattern: Make the back panel
The back panel supports the three pockets. Start at the bottom using sage-green yarn. Make 70 straight rows, then shape the top into a triangle for the hanging loop.
Foundation: Ch 20.
Row 1: Sc in the second chain from the hook and in every chain across. Ch 1 and turn. (19 sc)
Rows 2–70: Sc in every stitch across. Ch 1 and turn after each row. (19 sc per row)
Shape the upper triangle
Decrease once at both ends of each row. Work sc in every stitch between the decreases. The stitch count drops by two each row.
| Row | Instructions | Count |
|---|---|---|
| 71 | Sc2tog, 15 sc, sc2tog | 17 |
| 72 | Sc2tog, 13 sc, sc2tog | 15 |
| 73 | Sc2tog, 11 sc, sc2tog | 13 |
| 74 | Sc2tog, 9 sc, sc2tog | 11 |
| 75 | Sc2tog, 7 sc, sc2tog | 9 |
| 76 | Sc2tog, 5 sc, sc2tog | 7 |
| 77 | Sc2tog, 3 sc, sc2tog | 5 |
| 78–84 | Sc across each row | 5 per row |
Chain one and turn between rows. After Row 84, you will have a narrow five-stitch section at the top.
Crochet the hanging loop
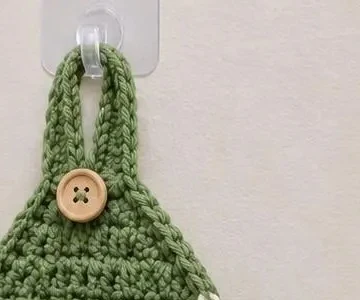
From the final row, ch 12. Join back to the opposite end of Row 84 with a slip stitch to form a loop.
Work 16 hdc around the chain loop. Join with a slip stitch and fasten off. Weave the tail securely into the triangle.
Make the three pocket strips
For this crochet toilet paper holder pattern, each pocket begins as a flat green rectangle. You will later sew the short ends together, forming a tube with both circular openings free.
Foundation: Ch 55 with sage-green yarn.
Row 1: Sc in the second chain from the hook and every remaining chain. Ch 1 and turn. (54 sc)
Rows 2–20: Sc in every stitch across. Ch 1 and turn between rows. (54 sc per row)
At the suggested gauge, your rectangle should measure about 13½ inches (34 cm) long and 4½ inches (11 cm) high. Check one strip around your toilet roll before making the other two.
Add cream scalloped edges to the pockets
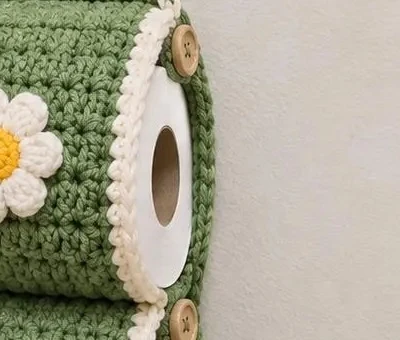
Each green pocket has two cream scalloped edges. These edges frame the round openings after the rectangle is sewn into a tube.
Prepare the edge stitches
Join cream yarn at one corner of the long edge. Work one sc into each of the 54 stitches across. Fasten off.
Repeat along the opposite long edge, working into the available foundation-chain loops. You should have 54 base stitches on each edge.
Work the cream scallops
The edge contains nine shells. Divide the 54 base stitches into nine groups of six stitches.
One scallop repeat: Slip stitch into the first stitch. Skip the next two stitches. Work 5 dc into the fourth stitch. Skip the final two stitches of the group.
Repeat this six-stitch sequence 9 times in all. Fasten off and secure the end.
Count: 9 scallops and 9 slip-stitch anchors. The repeat uses all 54 base stitch positions.
Download the free CrochetEco pattern book
Would you like to follow the instructions with a printable guide beside your yarn? Our free 23-page CrochetEco PDF includes additional photos and diagrams for this same three-roll Daisy Holder.
The book covers the sage-green pockets, cream scallops, white daisies, and hanging back panel. You can keep reading the free tutorial below or open the book whenever you need another visual reference.
Download the free crochet PDFThe PDF is a companion to this article. For the cream scallops, follow the corrected 54-stitch repeat directly above. Open the PDF in a new tab .
Make three white crochet daisy appliqués
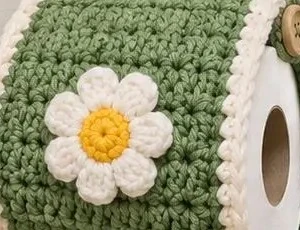
The daisies give this organizer its flower-garden look. Each flower has a yellow circular center and eight white petals.
Yellow center
Round 1: Using yellow yarn, make a magic ring. Work 8 sc into the ring. Pull tight and join with a slip stitch. (8 sc)
Round 2: Ch 1. Work 2 sc into each stitch. Join and fasten off yellow. (16 sc)
White petals
Join white yarn in the first yellow stitch. For the first petal, ch 3, work 2 dc into that same yellow stitch, ch 3, then slip stitch into the next yellow stitch.
Slip stitch into the next unused yellow stitch to start the following petal. Repeat the same sequence around the center, using two yellow stitch positions per petal.
Continue until you have eight petals. Fasten off, leaving a long white tail. (8 petals, 16 dc in total)
Assemble the three-roll crochet toilet paper holder
Step 1. Turn each strip into a tube
Lay one rectangle flat, with the cream scalloped edges at the top and bottom. Bring the two short green ends together.
Sew those short ends stitch by stitch to form a tube. The cream-edged openings must remain free at both sides. Repeat with the other two rectangles.
Step 2. Position the pockets
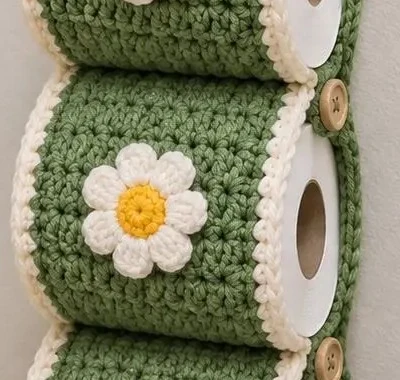
Lay the long back panel on a table, right side facing up. Position the three pocket tubes vertically.
Keep their back seams centered on the green panel. Leave roughly ¾ inch (2 cm) between neighboring pockets, adjusting the spacing to fit your finished fabric.
Step 3. Sew the pockets to the back
1. Pin the upper tube to the back panel. Its openings should point left and right.
2. Sew the back seam of the pocket securely to the panel without stitching the tube closed.
3. Add short securing stitches near the upper and lower edges of the pocket.
4. Repeat with the middle and lower pockets. Keep all three centers aligned.
5. Sew one completed daisy to the curved front of each pocket.
Add the wooden buttons and finish
Sew one wooden button onto the upper triangle below the hanging loop. Add one decorative button beside the right opening of each pocket.
You should have four wooden buttons altogether. They are decorative only. Do not depend on them to carry the weight of the organizer.
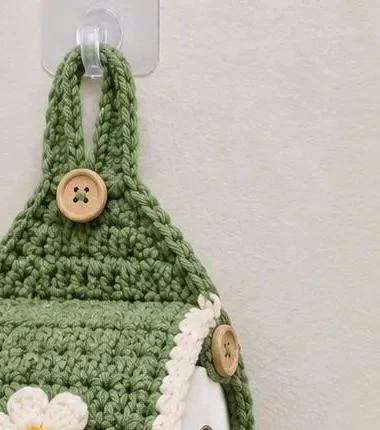
Weave every loose yarn tail through several stitches on the wrong side. Change direction and trim the end.
Before hanging, inspect the seams and loop. Test the empty organizer first. Then add the three toilet rolls and check that the pockets stay level.
Troubleshooting and frequently asked questions
| Problem | What to check |
|---|---|
| Pocket is too tight | Measure your roll and make the pocket strip longer. |
| Scallops do not fit | Count 54 base stitches and use nine six-stitch repeats. |
| Top triangle is uneven | Check the counts: 19, 17, 15, 13, 11, 9, 7, 5. |
| The organizer tilts | Center all three back seams and inspect the hanging loop. |
| Daisy petals curl | Check the white stitches and avoid pulling the flower center too tightly. |
Will this pattern fit jumbo rolls?
It is designed around standard toilet paper rolls. Jumbo rolls may need a longer strip and a larger tube. Always check the size of a real roll first.
Can I make only two pockets?
Yes. Make two tubes instead of three. Shorten the back panel to suit your finished pockets, then add the same triangular top. Check the new measurements before sewing.
Can I use acrylic yarn?
You can, but a firm cotton yarn is preferable for this hanging design. Softer yarn may stretch, especially when the organizer is loaded.
Where can I download the PDF?
The free CrochetEco toilet paper holder PDF is available above, after the scalloped-edge instructions. It provides additional illustrations for the same project.
Save this crochet toilet paper holder pattern
You can bookmark this tutorial or keep the free PDF beside your yarn. For other CrochetEco flower projects, see the flower granny square pattern and our daisy flower coaster pattern .
For yarn sizes and terminology, see the Craft Yarn Council yarn weight guide .
Pattern note: Measurements are estimates based on the companion guide and suggested gauge. The construction and stitch counts have been reviewed, but a finished sample and hanging-load test are still needed to confirm the final fit and strength.
Comments
Leave a Comment