
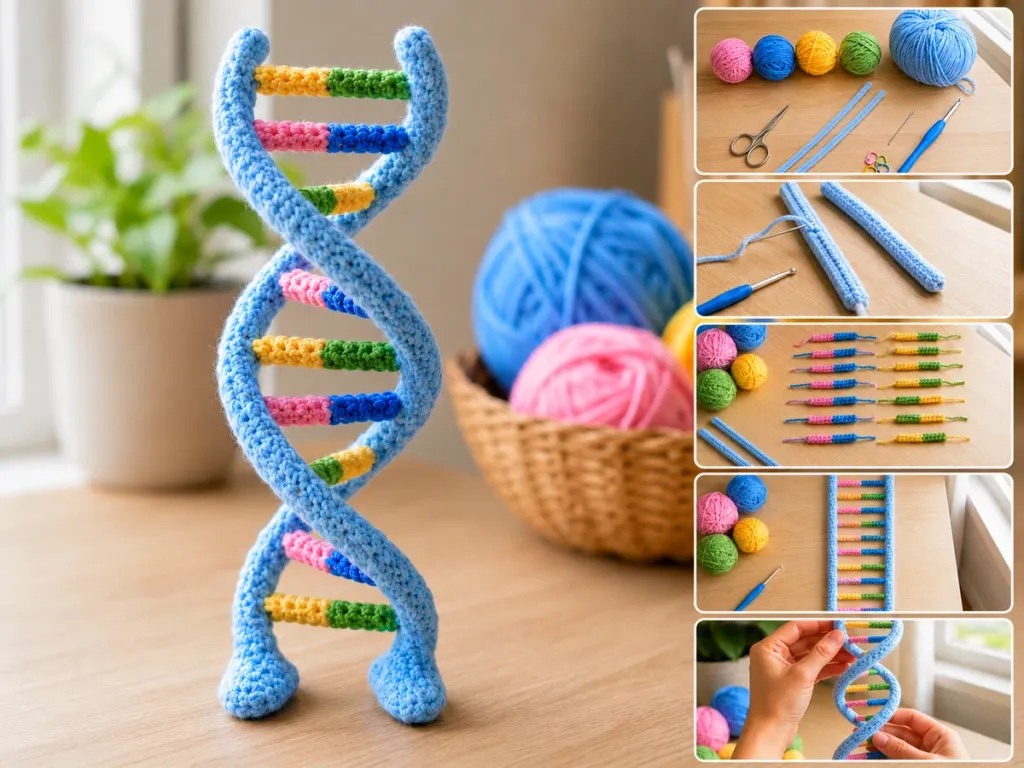
Make two simple crochet backbones, add the colored base pairs, then shape the finished ladder into a small 3D DNA model.
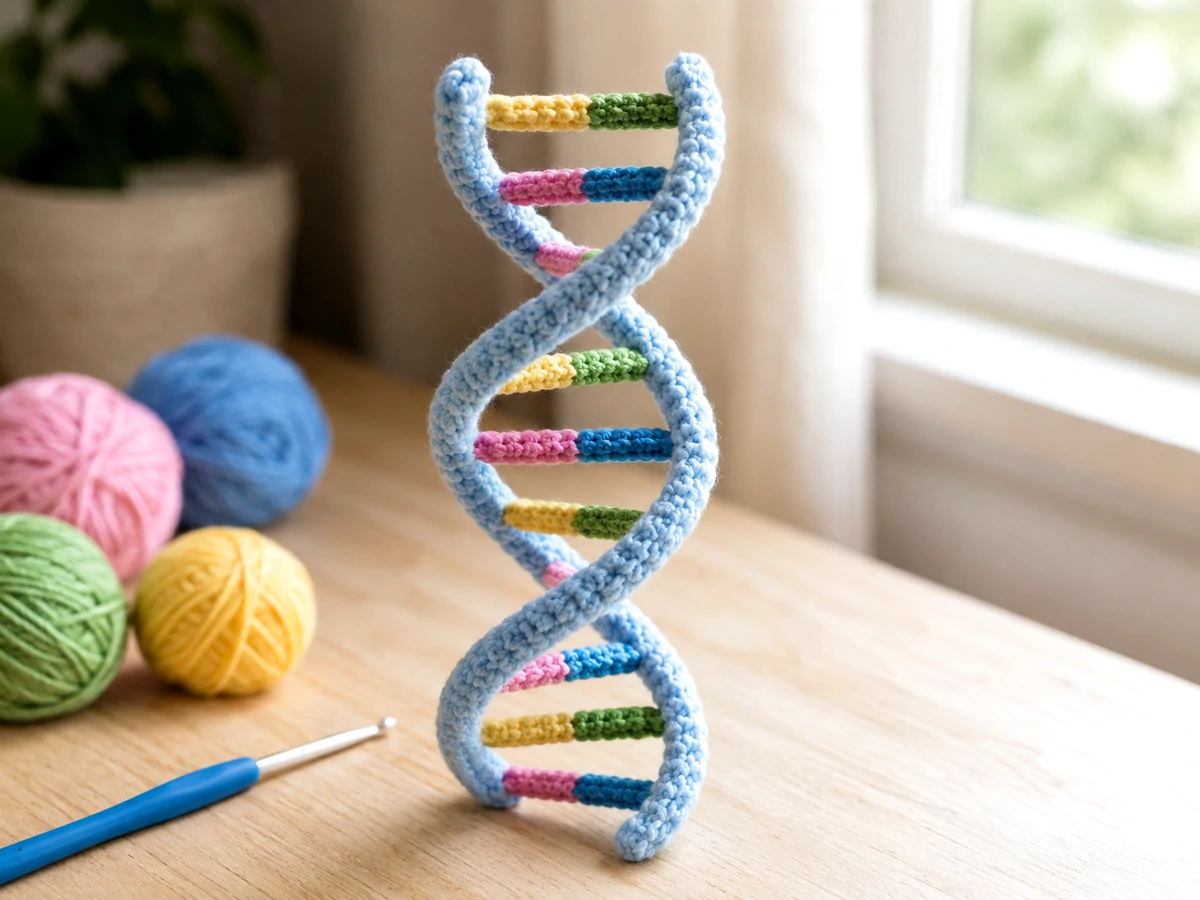
This crochet DNA double helix pattern free guide shows you how to make a simple 3D DNA model with yarn. You will crochet two long backbones, make 20 small base-pair rungs, join everything while it is flat, and then shape it into a double helix.
The crochet itself is not hard. You mainly need chains and single crochet. The part that needs a little patience is attaching the colored rungs at even spaces.
I also wanted the finished model to make sense as DNA, not just look like a colorful spiral. The base pairs follow A–T and G–C, and the final model is shaped like the common right-handed B-DNA helix.
What’s in this guide
Crochet DNA Double Helix Pattern Free: A Quick DNA Check
Real DNA is much more detailed than anything we can show with a few pieces of yarn, but there are a few important parts we can keep correct.
A pairs with T. Adenine pairs with thymine.
G pairs with C. Guanine pairs with cytosine.
The backbones stay on the outside. The paired bases sit toward the center of the double helix.
Common B-DNA is right-handed. We will use that direction when shaping the finished crochet ladder.
The biology textbook OpenStax Biology 2e explains that DNA has two strands, that A pairs with T and G pairs with C, and that the common double helix is right-handed.
For a more detailed reference, the NCBI Bookshelf guide to DNA conformations describes B-DNA as a right-handed double helix with about 10.5 base pairs in one complete turn.
Keep in mind: this crochet DNA double helix pattern free project is a simple teaching model. It is not molecular scale, and it does not show every sugar, phosphate, bond, groove, or atom in real DNA.
2. What You Need
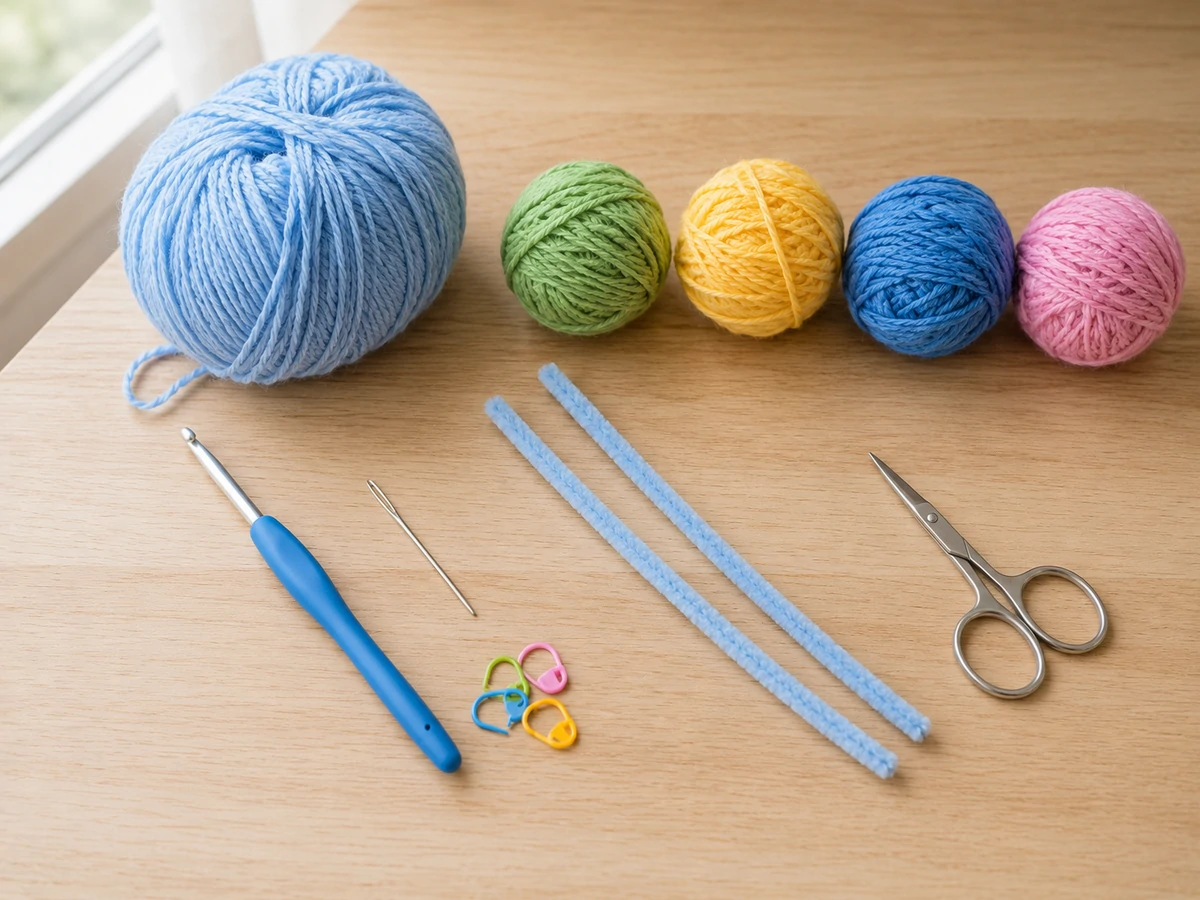
Safety: the supported version contains wire inside the chenille stems. Make this as a display or teaching model, not as a baby toy, chew toy, or pet toy.
3. Pick Colors for A, T, G, and C
DNA bases do not have one official craft color system. Pick four colors that are easy to tell apart.
For this crochet DNA double helix pattern free project, I use:
You can change any of those colors. Just remember the pairs: A–T and G–C.
4. Crochet Terms and Notes
US crochet terms
ch = chain · sc = single crochet · sl st = slip stitch · st / sts = stitch / stitches · FO = fasten off
Gauge is not important. The important part is making both backbone strips the same size.
If you are new to crochet, practice your chain and single crochet first with our beginner crochet guide .
5. Crochet DNA Double Helix Pattern Free – Make the Two Backbones
The two long strips become the outside of the DNA model. Make both with the same yarn.
DNA Backbone — Make 2
Try not to pull the starting chain too tight.
Ch 41.
Sc in the second ch from the hook. Sc in every chain across. (40 sc)
FO. Make the second backbone exactly the same way.
Lay the strips next to each other. Both should have 40 single crochet stitches and should be close to the same length.
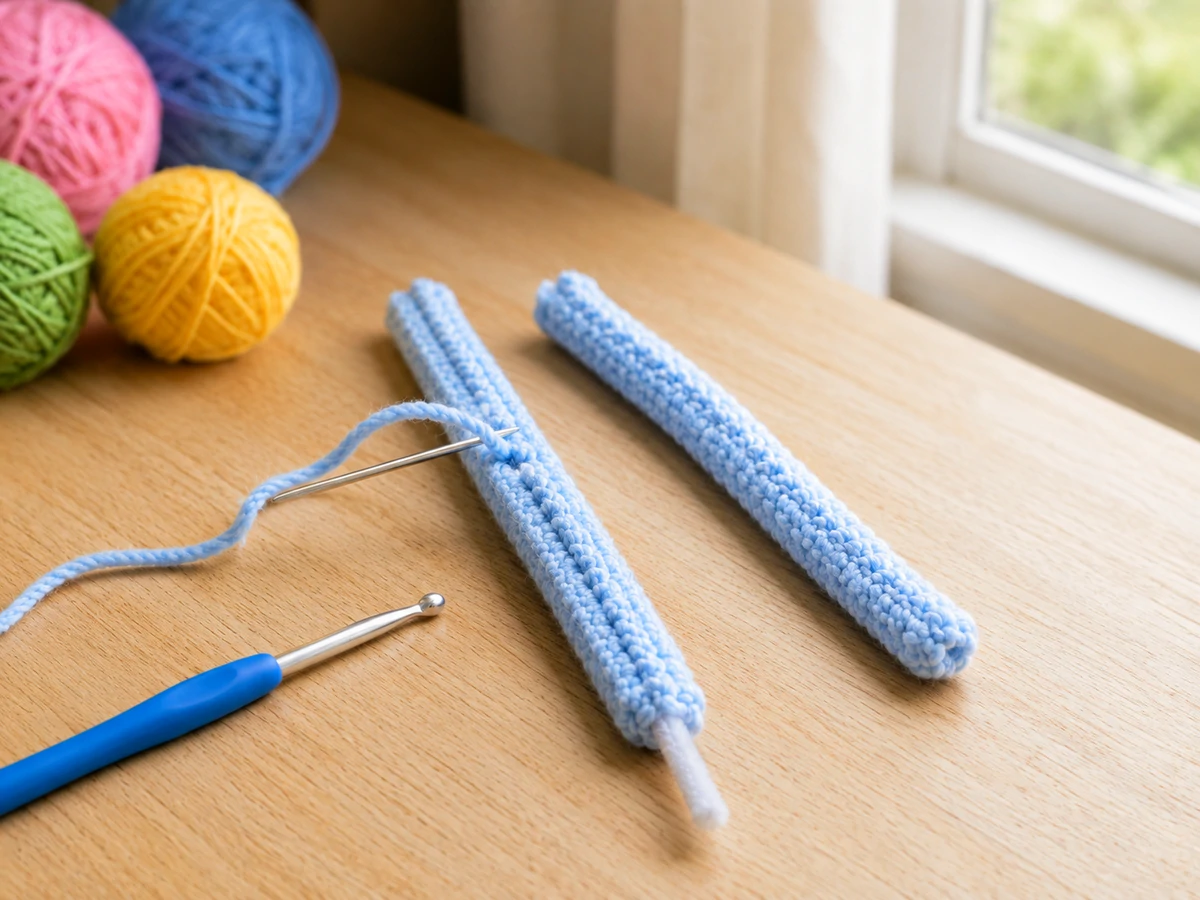
Add the hidden support
Place one chenille stem along the back of each strip. Fold each sharp end back before sewing it in place.
Use matching yarn to make a small securing stitch every few crochet stitches. Keep the strip relaxed while you sew.
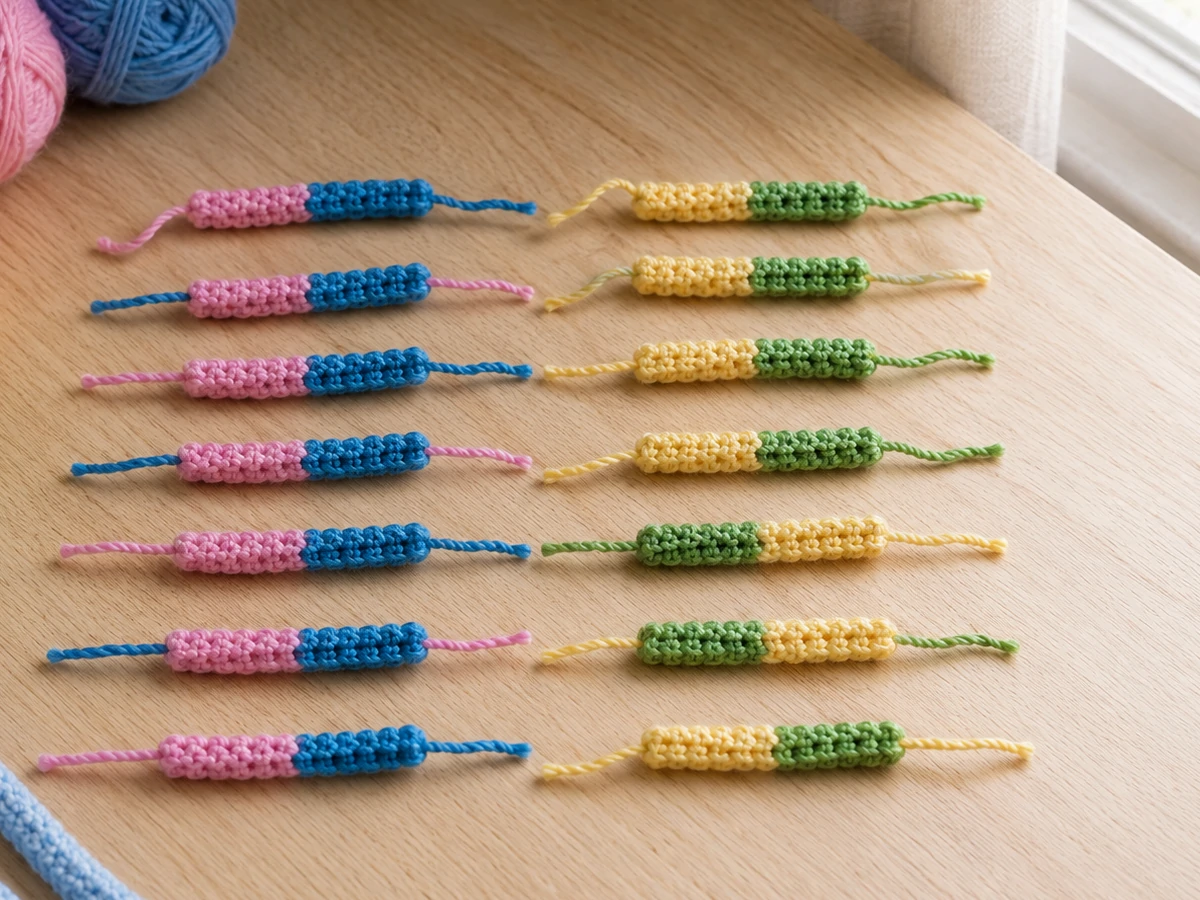
6. Make 20 Base-Pair Rungs
The middle pieces are very simple. Each rung is made from two short sections of chain in matching base colors.
One Base-Pair Rung
With the first base color, ch 4.
Change to its matching base color and ch 4 more.
FO. Leave a yarn tail at each outer end for sewing.
Make 20 rungs total. Use a mix of A–T, T–A, G–C, and C–G.
Do not make A–G, A–C, T–G, or T–C pairs.
7. Join the Flat DNA Ladder
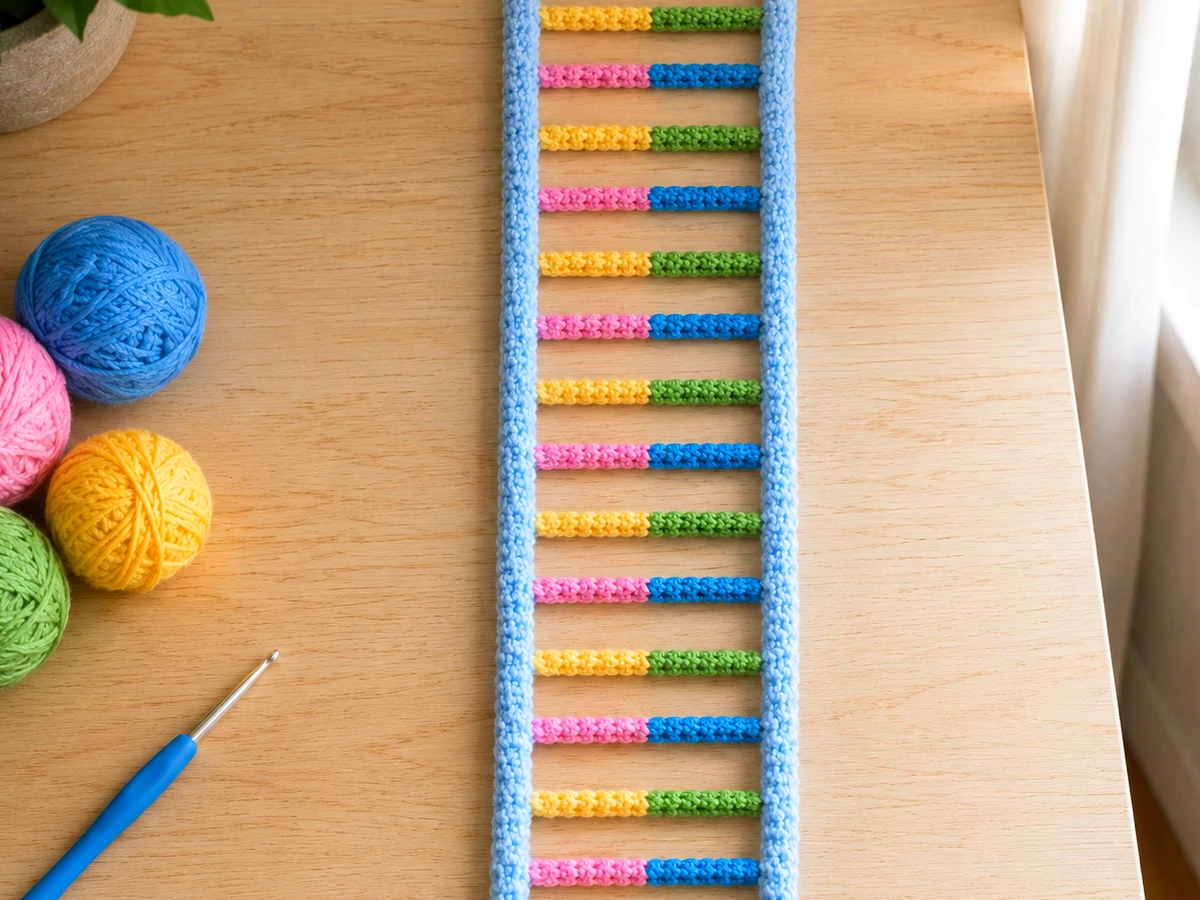
Keep everything flat for this part. It is much easier to see your spacing before the crochet DNA double helix pattern free model is twisted.
Lay out the backbones
Put the two strips next to each other with about 1.5 to 2 inches between them.
Use every other stitch
Attach the rungs at stitches 1, 3, 5, 7, and so on through stitch 39. This gives you 20 even positions.
Sew the first rung
Sew one end to the inside edge of the left backbone. Sew the other end to the matching position on the right backbone.
Add the remaining pairs
Work from one end to the other. Keep the rungs relaxed instead of pulling the two sides together.
8. Shape the DNA Double Helix
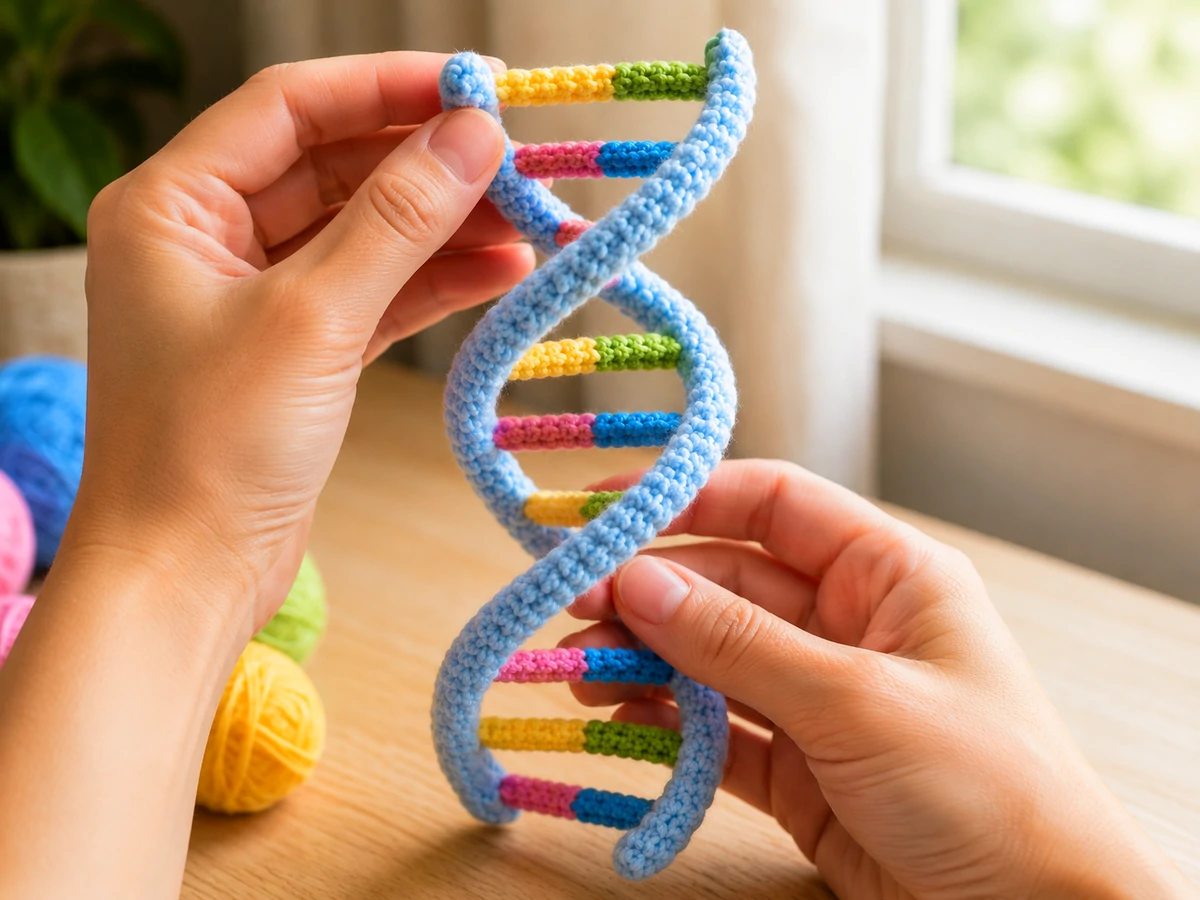
Now the flat ladder becomes the part we recognize as DNA.
Start at one end
Hold the bottom of both backbones. Begin curving the two supported strips around a center line.
Spread the twist
Do not make one tight twist at the top. Shape the curve slowly along the full length.
Make it right-handed
Use your right hand as a simple check. Point your right thumb along the center of the model. The helix should rise in the direction your fingers curl.
Aim for about two turns
This crochet DNA double helix pattern free model uses 20 base pairs, so about two full turns gives it a simple B-DNA look.
Check the center
Make sure the colored rungs are still visible. Gently move any rung that has folded behind a backbone.
9. Common Mistakes and Easy Fixes
The backbones are different lengths
Count them again. Each strip should have 40 sc. A very tight starting chain can also make one strip look shorter.
The ladder pulls inward
One or more base-pair rungs are too tight. Loosen the sewing before shaping the helix.
The model looks like a wave
Curve the two backbones around a center line. Do not simply bend the flat ladder from side to side.
The base colors are paired incorrectly
Check each rung before weaving in the ends. Every pair should be A–T or G–C.
10. Crochet DNA Double Helix Pattern Free FAQ
Is this crochet DNA double helix pattern free for beginners?
Yes, if you already know how to chain and single crochet. The sewing takes more time than the crochet.
Why does A pair with T and G pair with C?
Those are the complementary base pairs in normal double-stranded DNA. Adenine pairs with thymine, and guanine pairs with cytosine.
How many base pairs are in one DNA turn?
Common B-DNA has about 10 to 10.5 base pairs per full turn. This craft uses 20 pairs and is shaped into about two turns.
Is this model scientifically exact?
No. It is a simple yarn model. It shows the two outer backbones, complementary base pairs, and the double-helix shape, but it is not made to molecular scale.
Can I make the model without the chenille stems?
Yes. It will stay softer and flatter. A wire-free version works better as a hanging decoration than as an upright 3D display.
Can I make a longer DNA model?
Yes. Make longer matching backbones and add more rungs. If you want to keep a simple B-DNA look, use roughly 10 to 11 pairs for each full turn.
Final Thoughts
This crochet DNA double helix pattern free project looks more complicated than it is. The crochet is mostly chains and single crochet. The shape comes from careful assembly at the end.
Keep the two backbones the same length, remember A–T and G–C, and attach the rungs while the model is flat. Once that part looks even, shape the whole piece slowly into the helix.
If you enjoy this kind of project, you can also see our Biology Crochet Patterns guide for more science-themed crochet ideas.
More Free Crochet Patterns
Browse more simple patterns and beginner projects in the CrochetEco pattern library.
Browse the Pattern Library

Reader discussion
Reader Comments
Tried this pattern? Share what worked, ask a question, or help another crocheter.
Your turn
Comments are moderated to keep the discussion useful and family-friendly. Please do not post personal information.