
How to Start a Temperature Blanket: A Beginner’s Guide
Turn a whole year of weather into one blanket — everything you need to plan, choose colours, and crochet your first row
A temperature blanket is one of the most rewarding projects in crochet, and one of the simplest to actually work. You crochet one row a day, in a colour that matches that day’s temperature, for a whole year. By December you’re holding a record of the entire year in yarn.
Learning how to start a temperature blanket is mostly about planning, not skill. The crochet itself is a single easy stitch repeated every day. This guide walks you through every decision — colours, temperature ranges, yarn amounts, and your first row — so you begin with confidence instead of guessing in January and regretting it in June.
Most people start on January 1st, which means the best time to plan is the weeks before. Read this now, gather your yarn, and you’ll be ready.
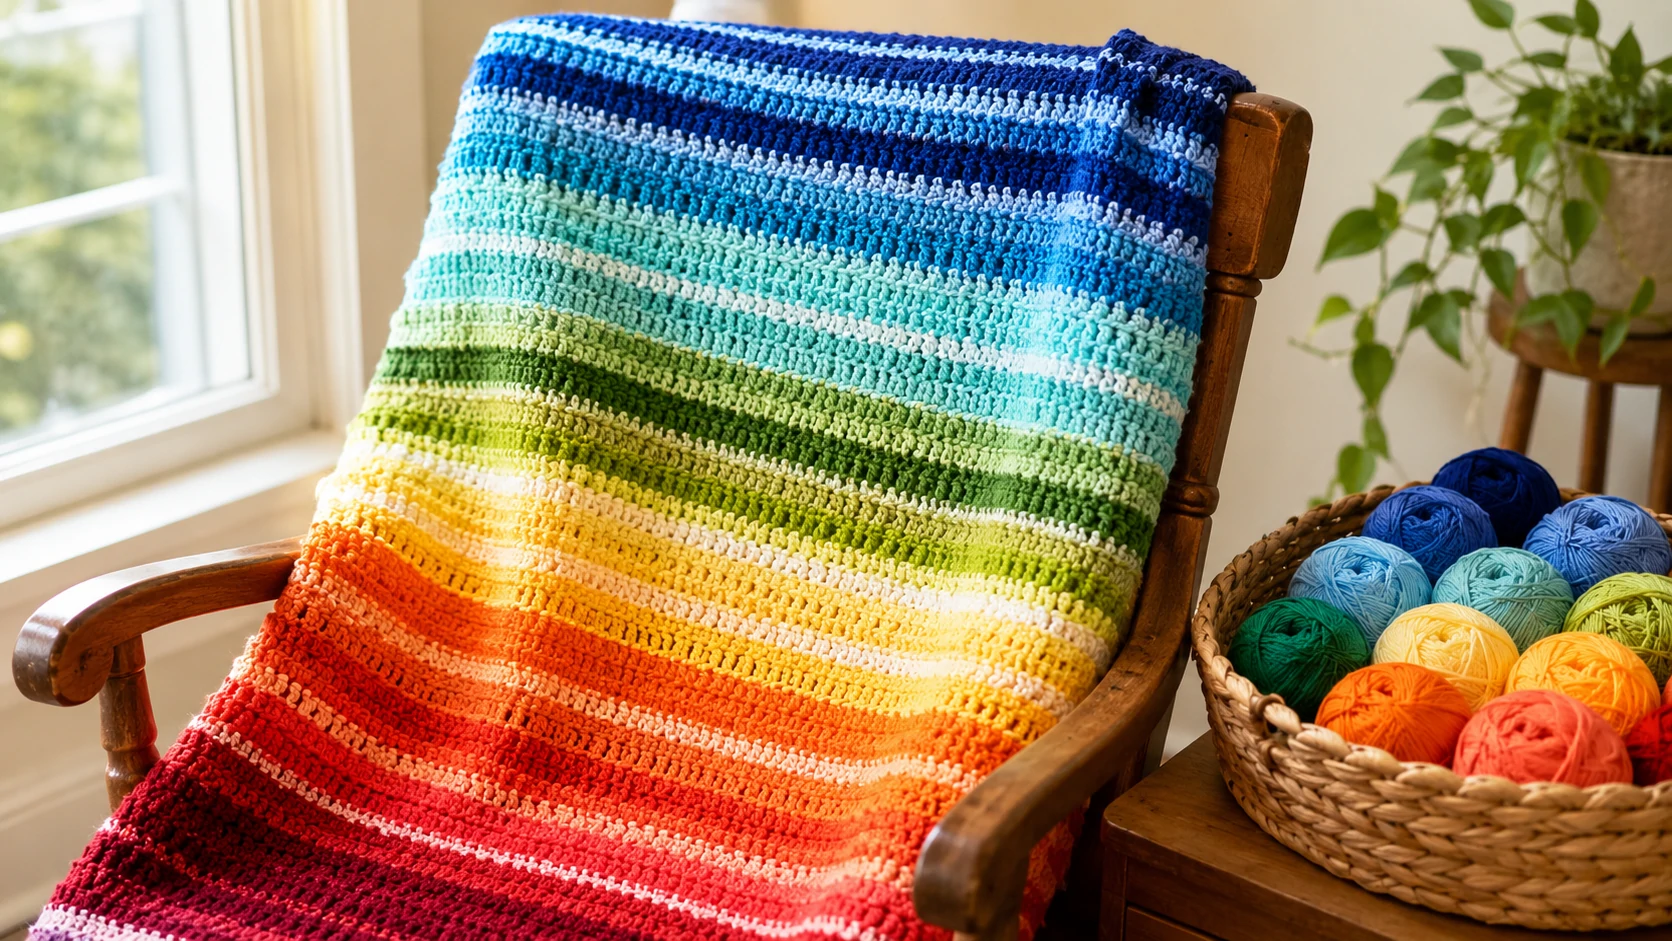
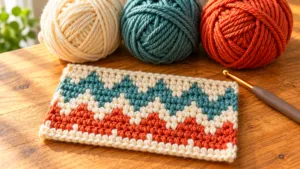
Every stripe is a day, every colour a temperature — a whole year turned into yarn.
📋 What’s in this guide
- What a temperature blanket actually is
- 5 decisions to make before you start
- What you need
- Choosing your colours
- Setting your temperature ranges
- A sample colour chart to copy
- How much yarn you’ll need
- Choosing your stitch
- Crocheting your first row
- How to keep going all year
- Common beginner mistakes
- Frequently asked questions
What a Temperature Blanket Actually Is
The idea is simple. You pick a set of colours, and you assign each colour to a range of temperatures. Then, every day, you look up your local temperature and crochet one row in the matching colour.
A cold January day might be deep blue. A warm July afternoon might be bright red. Row by row, the blanket builds up a picture of the year — cool at the start and end, warm in the middle, with all the ups and downs of spring and autumn in between.
No two are ever alike, even from the same chart, because no two years of weather are the same. That’s the whole appeal: it’s a project that turns something ordinary into something personal.
You’re not really tracking weather. You’re making a keepsake of a year of your life — the crochet just happens to be the easy part.
People also make temperature scarves, wall hangings, and even a single granny square a day if a full blanket feels like too much. The method below works for all of them. If you want to see finished examples before you start, Ravelry’s temperature blanket gallery is worth an evening of browsing for colour and layout inspiration.
5 Decisions to Make Before You Start
If you’re wondering how to start a temperature blanket without wasting yarn or losing motivation by March, it comes down to five choices. Make them now, on paper, before you touch a hook. Ten minutes of planning saves months of regret.
Which temperature will you track?
Most people use the daily high. Some use the average of the high and low, and a few track both by working two rows or a split square each day. For your first blanket, use the daily high — it’s the easiest to look up and gives the clearest colour changes.
Which location?
Usually your home town. But some people track the weather of a place that matters to them — where a child was born, where they got married, a home they miss. If you’ll be travelling, decide in advance: home weather all year, or wherever you happen to be.
How many colours?
Between 8 and 12 is the sweet spot. Fewer than 8 and the blanket looks flat. More than 12 and some colours will barely appear. Ten is a reliable choice for most climates.
Celsius or Fahrenheit?
Whichever your weather app uses. It only changes the numbers on your chart, not the method. This guide shows both.
Blanket, scarf, or squares?
A full blanket is 365 rows and a real commitment. A scarf is the same idea, narrower. A square-a-day lets you carry the project and join at the end. Beginners often do best with a scarf or squares — you get the same joy with less pressure.
What You Need to Start a Temperature Blanket
Yarn in 8–12 Colours
Same weight and brand for all colours so they behave the same. Worsted (size 4) is the usual choice. More on amounts below.
Crochet Hook
Match it to your yarn — usually 5 mm (H/8) for worsted. Use the same hook all year for consistent width.
A Colour Chart
Your key linking each colour to a temperature range. Print it and pin it up. A sample is below.
A Weather Source
Any weather app or website that shows the daily high for your location. Consistency matters more than which one.
Scissors & Yarn Needle
For trimming and weaving in the many ends this project creates.
A Notebook or App
To log each day’s temperature and colour, in case you fall behind and need to catch up.
Not sure which hook goes with your yarn? Our crochet hook size chart matches every weight to the right size.
Choosing Your Colours
This is the decision that makes or breaks the finished look, so it’s worth slowing down here.
The classic approach is a rainbow gradient: cool blues and purples for cold, greens and yellows for mild, oranges and reds for hot. It reads instantly as temperature and looks striking on a bed.
But you don’t have to. Muted and neutral palettes are increasingly popular, and they suit modern rooms better. You could run from cream through greys to deep charcoal, or use soft dusty versions of the rainbow. The method is identical — only the colours change.
Make sure neighbouring colours are clearly different from each other. If your “15–19°C green” and “20–24°C green” look almost the same, the whole point is lost. Lay all your yarn in temperature order and check the change is visible between each one before you commit.
Buy the common colours in larger amounts and the extreme ones in small amounts — you’ll use far more mild-weather colour than record-breaking hot or cold. More on that in the yarn section.
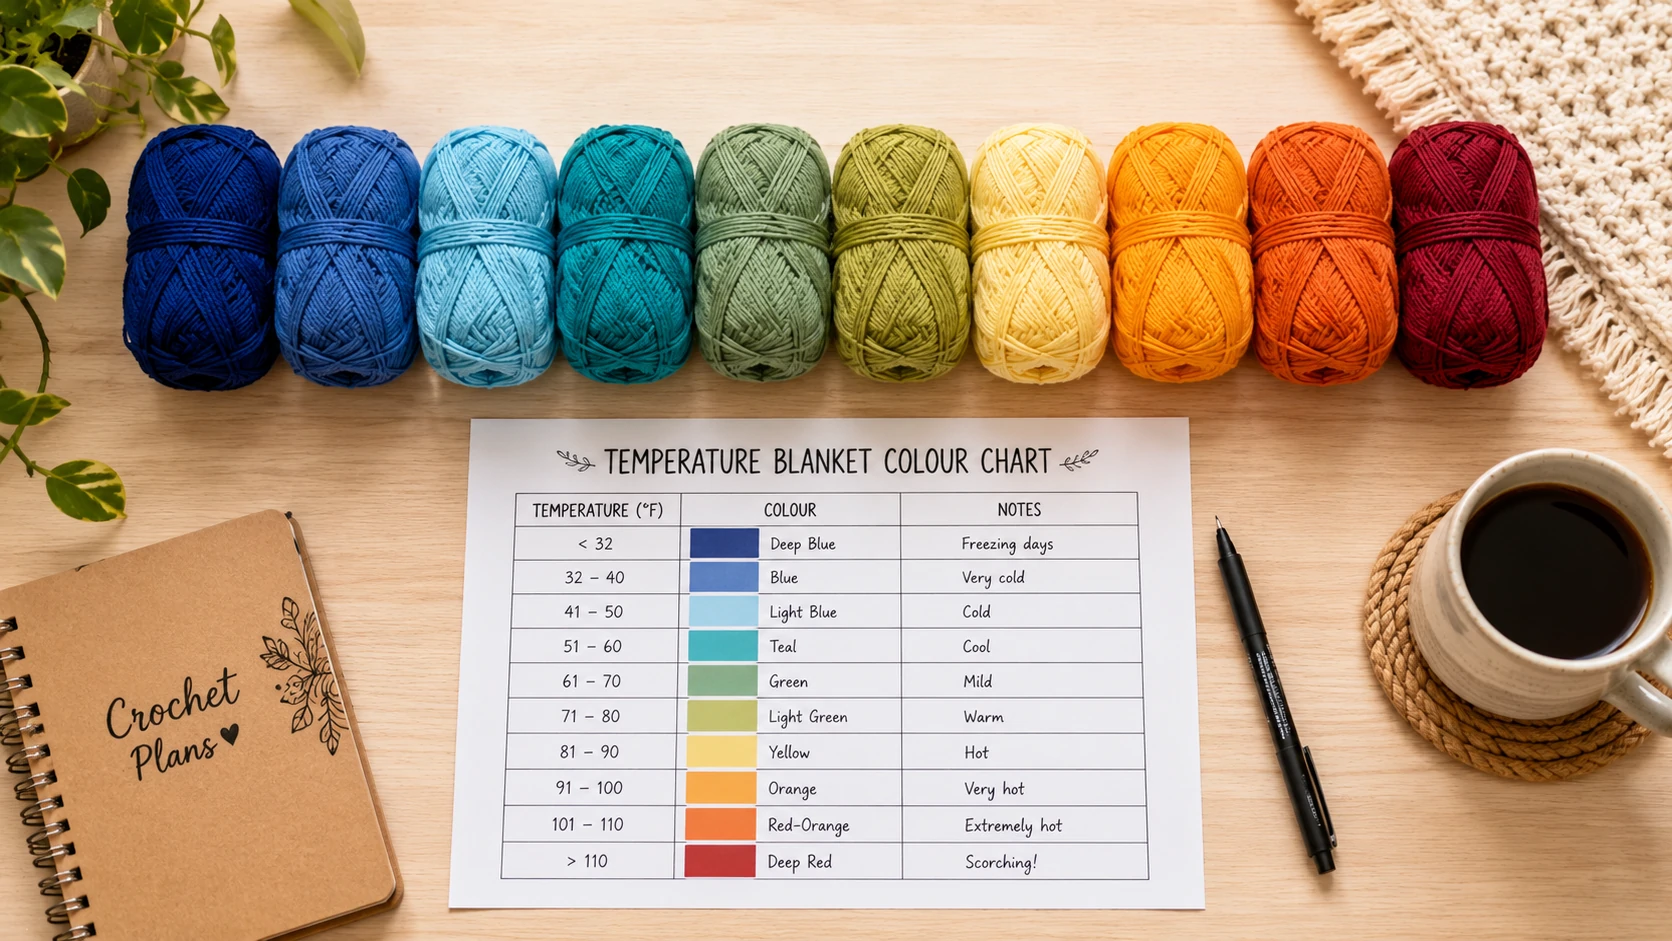
Lay every colour out in temperature order before you buy a single extra skein — this is where most planning mistakes get caught.
Setting Your Temperature Ranges
This is the step beginners skip and later regret. You need to match your ranges to your climate, not copy someone else’s chart from a different part of the world.
Here’s the simple method. Look up the record high and record low for your area — the National Weather Service climate pages list historical records for most US locations for free. Take that full span and divide it by the number of colours you chose. That’s the size of each range.
Working it out
Say your area runs from about -5°C in deep winter to 35°C in high summer. That’s a 40-degree span. With 10 colours, each colour covers a 4-degree range: the first colour is -5 to -1, the next is 0 to 3, and so on up to 35.
In Fahrenheit, a span of 20°F to 95°F is 75 degrees. Divided by 10 colours, that’s roughly 7 to 8 degrees per colour.
A chart built for Florida will leave a Canadian blanket stuck on three colours all winter. Always build your ranges from your own local record high and low. It takes five minutes and it’s the difference between a varied blanket and a dull one.
A Sample Colour Chart to Copy
Here’s a ready-made example for a temperate climate, using 10 colours. Adjust the numbers to your own area, then keep the colours or swap them for your palette.
🌡️ Sample 10-Colour Temperature Chart
| Colour | Celsius | Fahrenheit | Feels like |
|---|---|---|---|
| Deep purple | Below -1 | Below 30 | Freezing |
| Dark blue | 0 – 4 | 32 – 39 | Very cold |
| Blue | 5 – 9 | 41 – 48 | Cold |
| Teal | 10 – 14 | 50 – 57 | Cool |
| Green | 15 – 19 | 59 – 66 | Mild |
| Yellow-green | 20 – 24 | 68 – 75 | Warm |
| Yellow | 25 – 28 | 77 – 82 | Very warm |
| Orange | 29 – 32 | 84 – 90 | Hot |
| Red-orange | 33 – 36 | 91 – 97 | Very hot |
| Deep red | Above 36 | Above 97 | Scorching |
Print your final chart and pin it near where you crochet. When you fall a few days behind — and everyone does — a written chart and your temperature log make catching up painless.
How Much Yarn You’ll Need
This is the most-asked question, and the honest answer is: a lot, but spread across many colours.
A worsted-weight blanket about 150 cm (60 inches) wide uses roughly 4,000 to 6,000 total yards across all colours for a full year. But you won’t buy that evenly.
| Colour type | How often it appears | Buy |
|---|---|---|
| Mild-weather colours (your area’s normal range) | Most days of the year | Large amounts — several skeins each |
| Warm and cool colours | Spring and autumn | Medium amounts — 1–2 skeins |
| Extreme hot and cold colours | A handful of days, if any | Small amounts — one skein or less |
Before you start, look up your area’s typical monthly temperatures. That tells you which colours will appear most, so you buy those in bulk and the extremes in small amounts. And always check the dye lot — buy your common colours all at once, because matching a dye lot ten months later is nearly impossible.
Working out yardage per row depends on your stitch and width — for that, our guide on hooks and yarn weights helps you swatch and estimate before you commit to buying.
Choosing Your Stitch
The golden rule: pick a simple stitch you can work without thinking, because you’ll be repeating it 365 times. This is not the project for a complicated pattern.
| Stitch | Best for | Note |
|---|---|---|
| Single crochet | A dense, sturdy blanket | Slow, and makes a very long blanket over 365 rows |
| Half double crochet | A good all-round choice | Balanced height and speed — a popular pick |
| Double crochet | A lighter, faster blanket | Taller rows, so it grows quickly |
| Granny stripe | Texture and speed | The open gaps stop it curling |
| Moss / linen stitch | A woven, blended look | Beautiful but slower per row |
365 rows of tall stitches makes a very long blanket. Many people use half double crochet, or work in panels, or do a square a day, specifically to keep the finished size manageable. Decide this now, not in October when your blanket already reaches the floor.
Simple stitches also curl less. If your first rows are curling, our guide on why crochet curls explains why and how to fix it before it becomes a year-long problem.
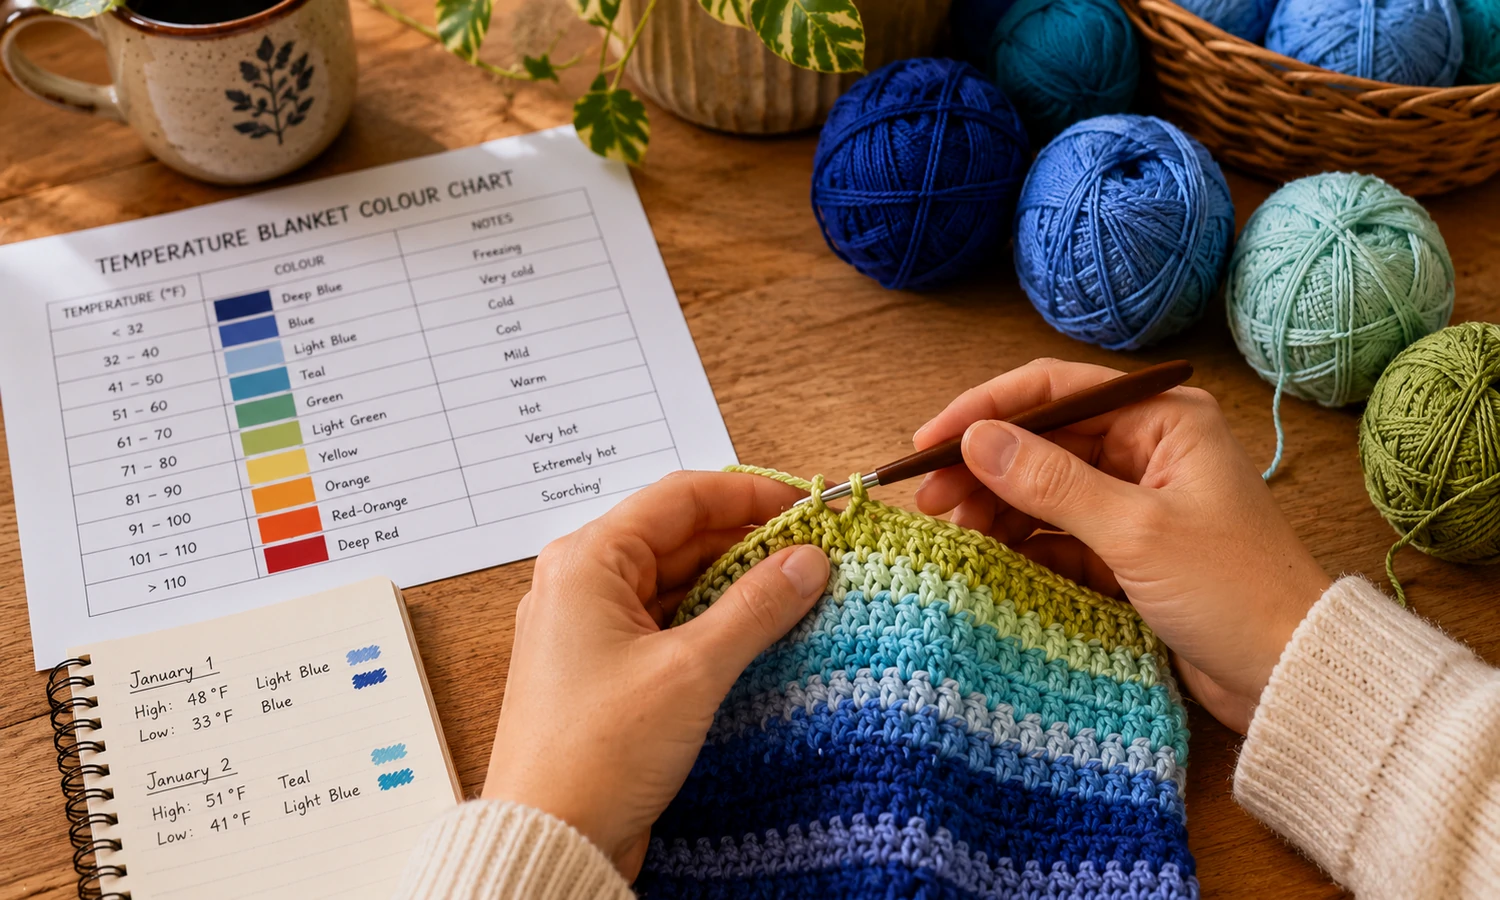
Day one looks like this: chart pinned up, notebook open, and one row in the right colour.
How to Start a Temperature Blanket: Your First Row
Here’s exactly how to start a temperature blanket on day one. Once you’ve done this, every other day is just a single row in the right colour.
Decide your width and chain
Chain to the width you want your blanket. For a lap blanket, aim for about 120 cm (48 inches) of chain; for a full blanket, 150 cm (60 inches). Make the chain loosely so the bottom edge doesn’t pull in — chain with a hook one size larger if yours tends to be tight.
Look up day one’s temperature
Check your weather source for today’s high. Find the matching colour on your chart. That’s your yarn for row 1.
Work your foundation and first row
With your day-one colour, work your chosen stitch across the whole chain. This is your set-up row. Leave a tail at least 12 cm long at the start and end — you’ll either weave these in or use them for a fringe later.
Day two and onward
Each new day, check the temperature, pick the colour, and work one row across. Change colour by joining the new yarn at the start of the row. That repeating action is the entire project.
The hardest part of a temperature blanket isn’t the crochet. It’s remembering to do one row a day — and even that becomes a small, calming ritual within a week.
How to Keep Going All Year
Finishing a year-long project is a different skill from starting one. These habits are what separate the blankets that get finished from the ones abandoned in April.
Log every day, even when you don’t crochet. Write down the date, temperature, and colour. Then if you fall behind, you can catch up exactly rather than guessing.
Batch the catch-up. Life happens. Missing a week is fine as long as you logged the temperatures. Sit down on a Sunday and work the missed rows in order.
Weave in ends as you go. 365 rows means up to 730 ends. Weaving a few in each week is bearable; leaving them all for December is not.
Keep it visible. A blanket in a drawer gets forgotten. A blanket on the sofa arm gets one row added every evening.
You don’t have to quit. Because you logged the temperatures, you can catch up whenever you like — even months later. The blanket doesn’t know you missed May until August. This is exactly why the daily log matters more than daily crochet.
Common Beginner Mistakes
Copying a chart from a different climate. The single biggest mistake. Build your ranges from your own area’s record high and low, or half your blanket will be one colour.
Choosing too complicated a stitch. You have to repeat it 365 times. Simple wins. Save the fancy stitch for a scarf.
Not planning the size. Tall stitches over 365 rows create a blanket that drags on the floor. Decide on height, panels, or squares before day one.
Buying all yarn evenly. You’ll run out of mild colours and have skeins of “scorching red” left over. Buy to match your climate.
Not logging temperatures. Miss a few days without a log and you’re guessing. The notebook is as important as the hook.
Frequently Asked Questions
When should I start a temperature blanket?
Most people start on January 1st and work through December, so the blanket records a full calendar year. But you can start on any date — your birthday, a baby’s birth, an anniversary — and run it for twelve months from there. Plan your colours and buy your yarn in the weeks before your start date.
How much yarn do I need for a temperature blanket?
A worsted-weight blanket around 150 cm wide uses roughly 4,000 to 6,000 total yards across all colours for a full year. You’ll use far more of your mild-weather colours than your extremes, so buy the common colours in bulk and the rare ones in small amounts.
How many colours should a temperature blanket have?
Between 8 and 12 works best. Ten is a reliable choice for most climates. Fewer than 8 looks flat, and more than 12 means some colours barely appear. Make sure neighbouring colours are clearly different so the temperature changes are visible.
What stitch is best for a temperature blanket?
A simple one you can work without thinking, since you’ll repeat it 365 times. Half double crochet is a popular all-round choice. Single crochet is sturdy but slow, double crochet grows fast but makes a long blanket, and granny stripe adds texture while resisting curling.
Can a complete beginner make a temperature blanket?
Yes — it’s one of the best beginner projects, because the crochet is a single easy stitch repeated daily. The skill is in the planning, not the stitching. If a full blanket feels daunting, start with a temperature scarf or a square a day using the same method.
What if I miss a few days?
It’s completely fine, as long as you log each day’s temperature in a notebook or app. Then you can catch up whenever you like by working the missed rows in order. This is exactly why keeping a daily temperature log matters more than crocheting every single day.
Final Thoughts
Learning how to start a temperature blanket looks like an enormous undertaking, but it’s really 365 tiny, easy steps. The crochet is simple. The planning is what makes it work — your colours, your ranges built from your own climate, and a daily log to keep you on track.
Spend an evening this week choosing your colours and building your chart. Then, on your start date, all you have to do is check the temperature and crochet one row. Do that, and a year from now you’ll be holding something no one else in the world has: your year, in yarn.
New to Crochet? Start Here First 🧶
Learn every stitch you need for your temperature blanket, from the very first chain.
Beginner’s Guide →

Reader discussion
Reader Comments
Tried this pattern? Share what worked, ask a question, or help another crocheter.
Your turn
Comments are moderated to keep the discussion useful and family-friendly. Please do not post personal information.